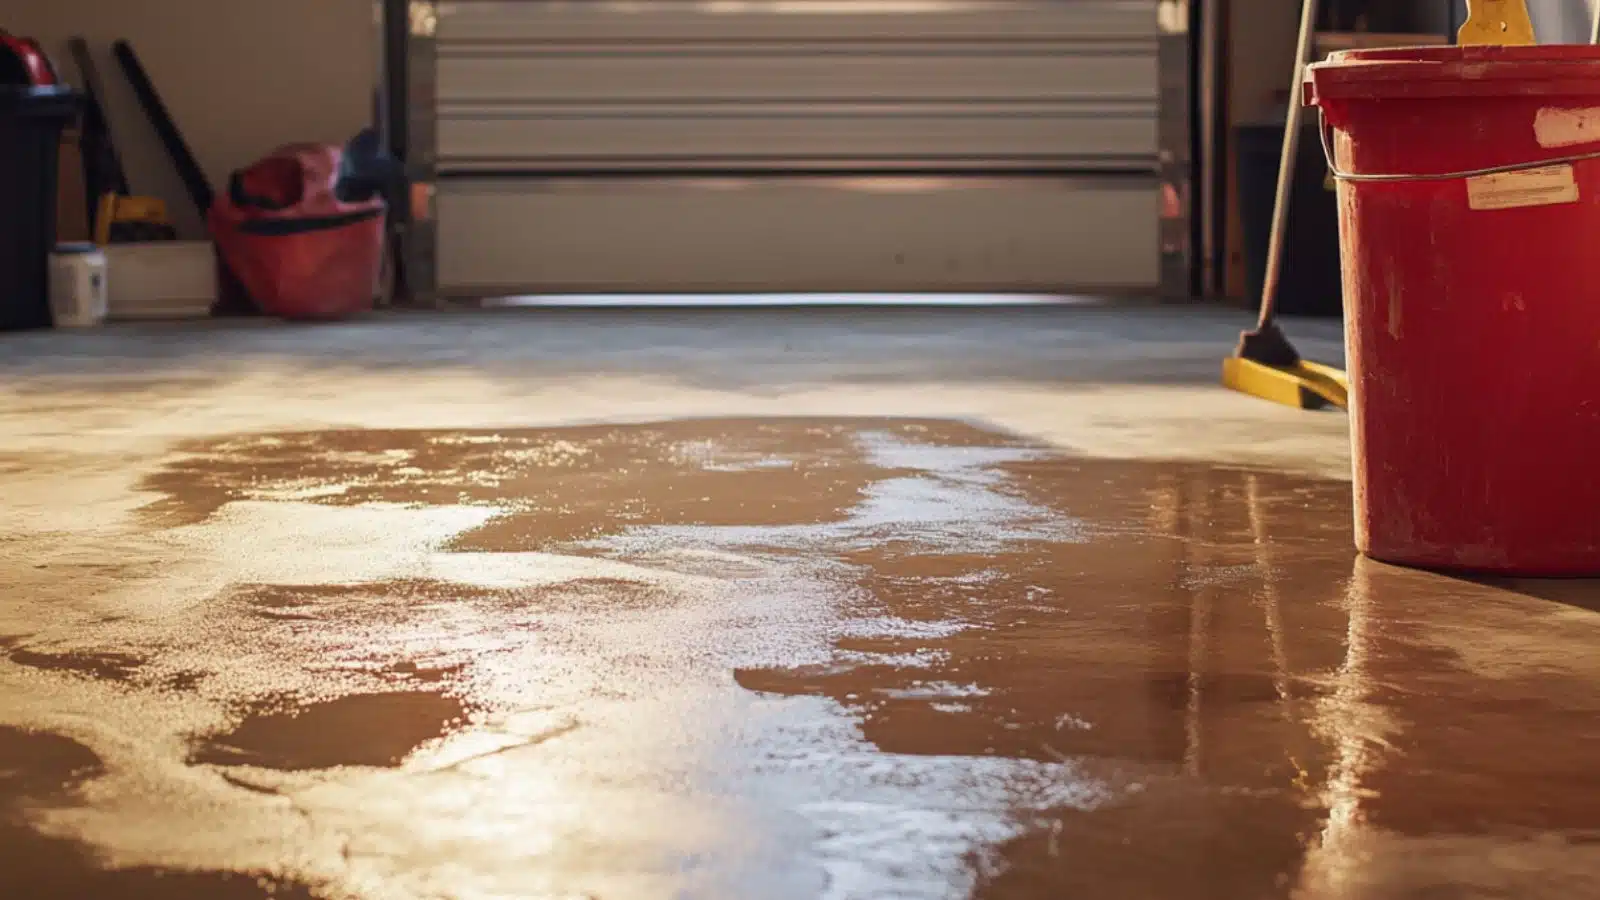
Transform Your Garage Floor with Concrete Resurfacing for a Fresh, Durable Look
Table of Contents
The garage is often one of the most overlooked areas of the home when it comes to design and maintenance. Yet, it’s one of the most heavily used. Between car traffic, storage, and occasional DIY projects, garage floors endure a lot. Over time, this results in cracking, staining, and a dull, dusty surface that drags down the look and feel of the entire space.
Enter concrete resurfacing—a practical, cost-effective, and highly aesthetic way to refresh your garage floor. It not only improves appearance but also enhances durability, increases slip resistance, and extends the life of your flooring.
According to home improvement experts, resurfacing your garage floor can boost resale value and offer up to 70% ROI. But even if you’re not selling soon, the transformation is worth it for everyday use and enjoyment.
This post walks you through everything you need to know about concrete resurfacing for garage floors. We’ll cover types of finishes, tools and materials, prep work, step-by-step application, maintenance tips, and how to add a touch of design flair. Whether you’re a DIY enthusiast or planning to hire a pro, this guide provides the insight to achieve sleek, polished results.
Understanding the Basics of Concrete Resurfacing
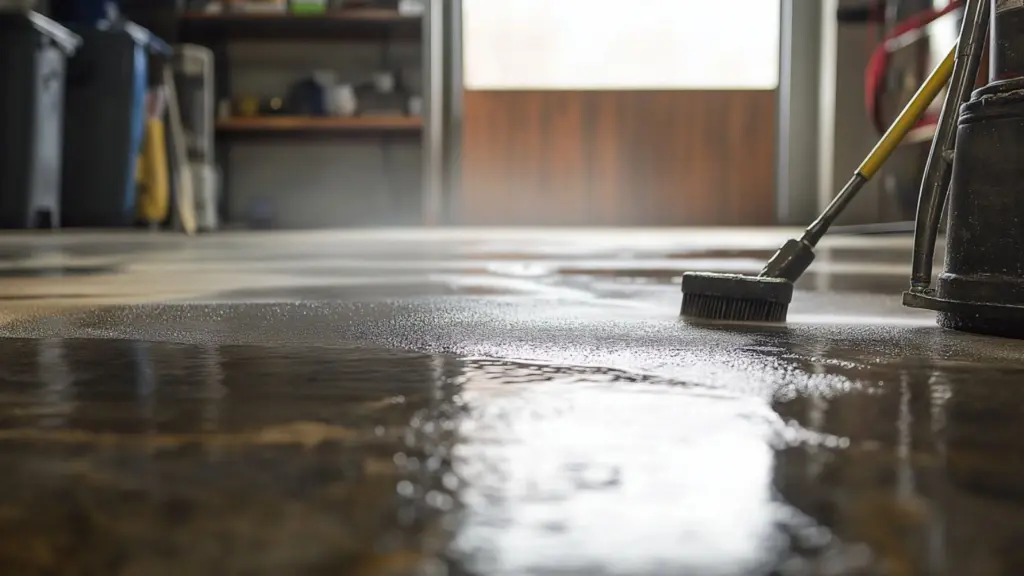
Before diving into style options, it’s important to understand what concrete resurfacing is—and what it’s not. Resurfacing is a process of applying a thin layer of a specially formulated concrete overlay over existing concrete. It’s designed to cover up cracks, chips, stains, or surface wear without requiring a full slab replacement.
Resurfacing compounds are typically polymer-based, meaning they’re more flexible and adhesive than standard concrete mixes. This allows them to bond well with the original surface while providing added strength.
Resurfacing differs from coatings like epoxy or paint, which sit on top of the concrete. Instead, it bonds into the surface, creating a long-lasting base that can be customized with colors, textures, or finishes.
Table: Concrete Resurfacing vs. Other Garage Floor Treatments
| Feature | Resurfacing | Epoxy Coating | New Concrete Slab |
|---|---|---|---|
| Surface Bonding | Strong | Moderate | Full replacement |
| Aesthetic Customization | High | Very High | Moderate |
| Cost Efficiency | Affordable | Moderate | Expensive |
| Durability | Excellent | Excellent | Excellent |
| Installation Time | 1–2 days | 2–3 days | Several days |
Preparing Your Garage Floor for Resurfacing
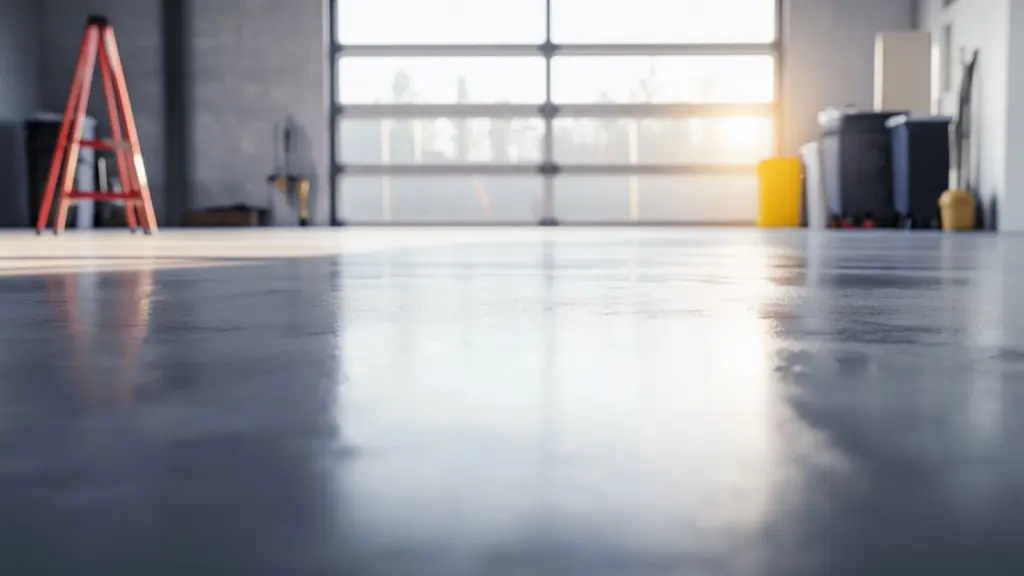
The success of your resurfacing project depends heavily on preparation. Concrete overlays need a clean, stable surface to adhere to—so cutting corners here is not an option.
Begin by clearing everything out of the garage and inspecting the floor. Look for oil stains, deep cracks, loose debris, or old paint coatings. All of these can interfere with bonding and need to be addressed.
Pressure washing is essential to remove dust, dirt, and grease. For stubborn oil spots, use a degreaser and scrub brush. Cracks should be filled with a compatible patching compound and allowed to cure.
If the floor has an old sealer or paint, it may require grinding or etching to roughen the surface and ensure adhesion.
Table: Garage Floor Prep Checklist
| Task | Purpose |
|---|---|
| Clear all items | Full access and unobstructed workspace |
| Pressure wash floor | Remove surface dirt, grease, and debris |
| Fill cracks and holes | Create an even surface for overlay application |
| Grind or etch old coatings | Ensure proper bond with resurfacing material |
| Let dry completely | Moisture-free surface for proper adhesion |
Choosing the Right Resurfacing Finish for Your Style
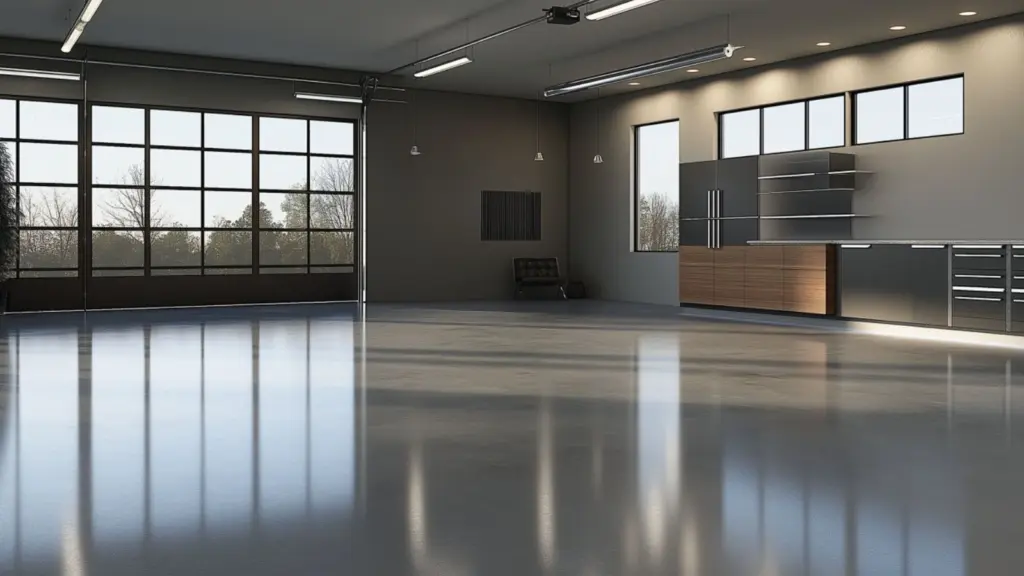
Concrete resurfacing doesn’t have to result in a plain gray slab. One of the best parts of this process is the ability to customize your finish, texture, and color to match your aesthetic preferences or the overall home design.
For a sleek, industrial look, polished concrete offers a high-gloss finish that reflects light and creates a clean, minimalist vibe. For something warmer, you can opt for stained concrete in shades like taupe, charcoal, or espresso.
Stamped overlays mimic the look of natural stone, tile, or even wood grain and are ideal if you want to add sophistication and texture. Meanwhile, broom finishes offer a more subtle, matte effect with a non-slip surface—great for high-traffic garages.
Color tints and dyes can also be mixed into the resurfacing compound or added as a topcoat to match cabinetry, wall colors, or vehicle finishes.
Table: Popular Garage Floor Resurfacing Finishes
| Finish Type | Style Vibe | Best For |
|---|---|---|
| Polished Concrete | Sleek, modern, reflective | Minimalist or industrial aesthetics |
| Stained Concrete | Warm, earthy tones | Traditional or rustic homes |
| Stamped Overlay | Textured, high-end appearance | Decorative garage studios |
| Broom Finish | Subtle, slip-resistant | Heavy-use garages, safety-focused |
| Dyed Overlay | Bold or subtle color control | Personalized, color-matched designs |
Step-by-Step Guide to Resurfacing Your Garage Floor
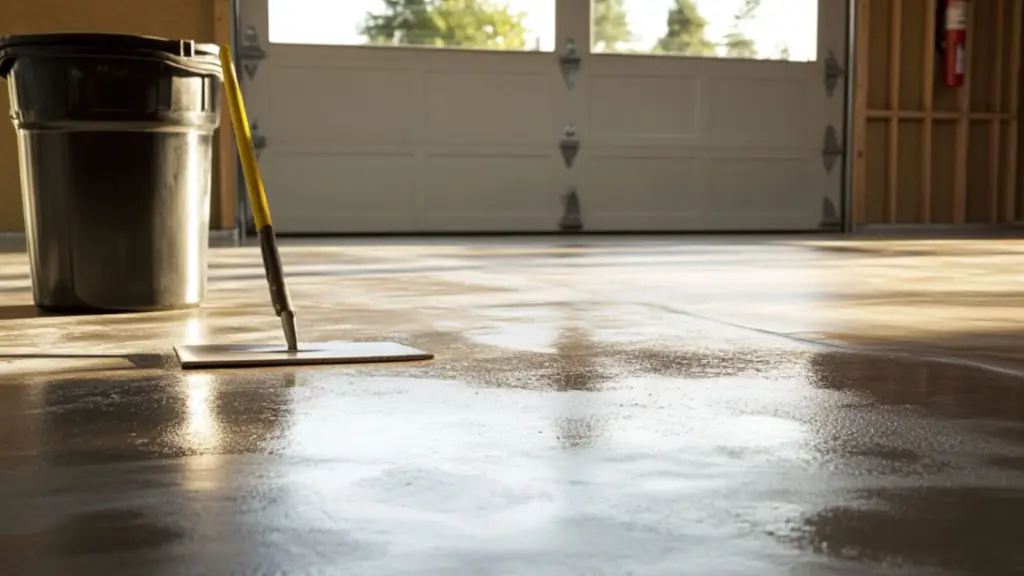
If you’re planning a DIY approach, following a structured step-by-step process ensures smooth application and long-term success. While the process is relatively straightforward, timing and accuracy are key.
1. Clean the Surface: Begin with a deep clean using a pressure washer and degreaser.
2. Repair and Patch: Fill cracks or holes with a compatible patching material.
3. Mix the Resurfacer: Use a drill-mounted mixer to blend the overlay until lump-free and consistent.
4. Apply the Mix: Pour and spread using a trowel or squeegee, working in sections to maintain a wet edge.
5. Add Texture or Finish: Depending on your chosen style, apply stamping, trowel finish, or broom texture before it sets.
6. Cure and Seal: Let the surface dry according to the product instructions, then seal for durability and stain protection.
Table: Resurfacing Timeline Overview
| Step | Estimated Time |
|---|---|
| Cleaning | 1–2 hours |
| Repair & Patching | 2–4 hours (plus curing) |
| Mixing & Application | 3–5 hours |
| Finishing & Texturing | 1–2 hours |
| Curing Time | 24–48 hours (before sealing) |
Adding Design Features and Custom Touches
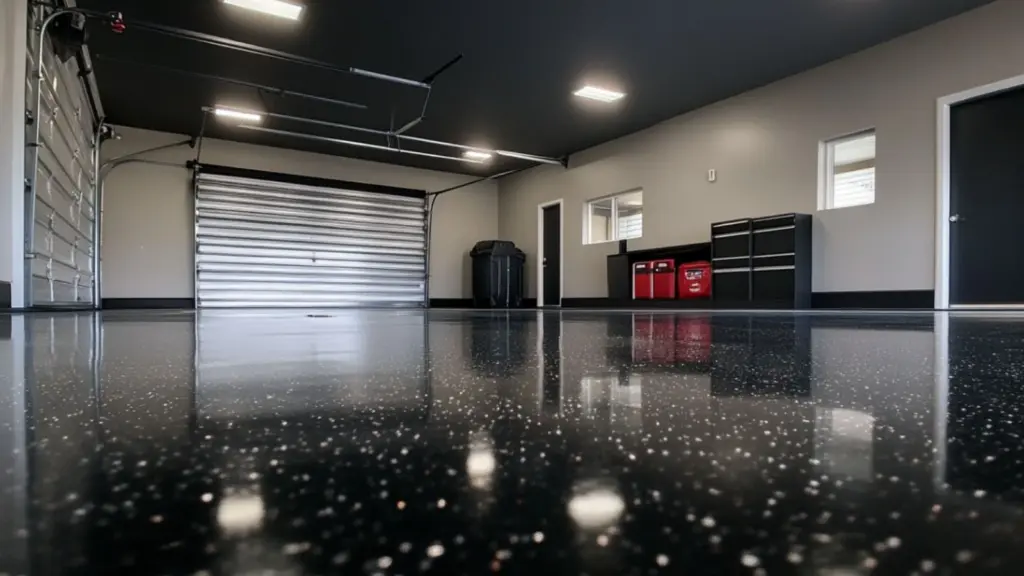
For those who want to go beyond utility, resurfacing is the perfect opportunity to introduce unique design elements into your garage. With so many customization options, you can create a space that feels like a true extension of your home.
Consider adding a decorative border with a contrasting stamp pattern or a high-gloss epoxy topcoat for shine and color depth. You can also embed metallic flakes into the finish to create shimmer—great for showcasing cars or equipment.
Resurfacing also allows you to add logos, stencils, or personalized graphics, ideal for turning a garage into a gym, showroom, or hobby workshop.
Table: Custom Garage Design Options
| Feature | Visual Impact |
|---|---|
| Decorative Borders | Adds framing and visual separation |
| Metallic Flakes | Creates luxury car showroom effect |
| Epoxy Topcoat | Enhances color and shine durability |
| Personalized Graphics | Ideal for branding or creative themes |
Long-Term Maintenance Tips for a Lasting Finish
A resurfaced garage floor is designed for durability, but like all quality surfaces, it needs regular maintenance to retain its beauty and function.
Start with routine cleaning—sweeping or vacuuming to remove debris and dust that can scratch the surface over time. For deep cleaning, use a pH-neutral cleaner with warm water and a microfiber mop.
Avoid harsh chemicals or acidic cleaners, as they can erode sealants or dull polished finishes. Place mats or rugs near entry points to trap grit and moisture from tires or shoes.
Depending on traffic and wear, reseal the surface every 2–3 years. This refreshes its appearance and extends its resistance to stains, chemicals, and moisture.
If heavy equipment or vehicles are used in the space, use felt pads under machinery and avoid dragging sharp objects across the floor.
Table: Garage Floor Maintenance Best Practices
| Task | Frequency | Purpose |
|---|---|---|
| Sweep/Vacuum | Weekly | Prevent debris accumulation |
| Mop with neutral cleaner | Monthly | Maintain clean and polished surface |
| Reseal surface | Every 2–3 years | Refresh protection and appearance |
| Spot clean oil spills | Immediately | Prevent staining or sealant damage |
Conclusion
Concrete resurfacing is more than a quick fix—it’s a transformation. By updating your garage floor with this practical and stylish solution, you elevate a utilitarian space into something polished, durable, and uniquely yours. From modern finishes to personalized touches, resurfacing is a smart investment in both function and design.
With proper preparation, thoughtful material selection, and consistent maintenance, your resurfaced garage floor will serve you beautifully for years to come—whether it’s for parking, projects, or simply admiring a space that now reflects your home’s full potential.
