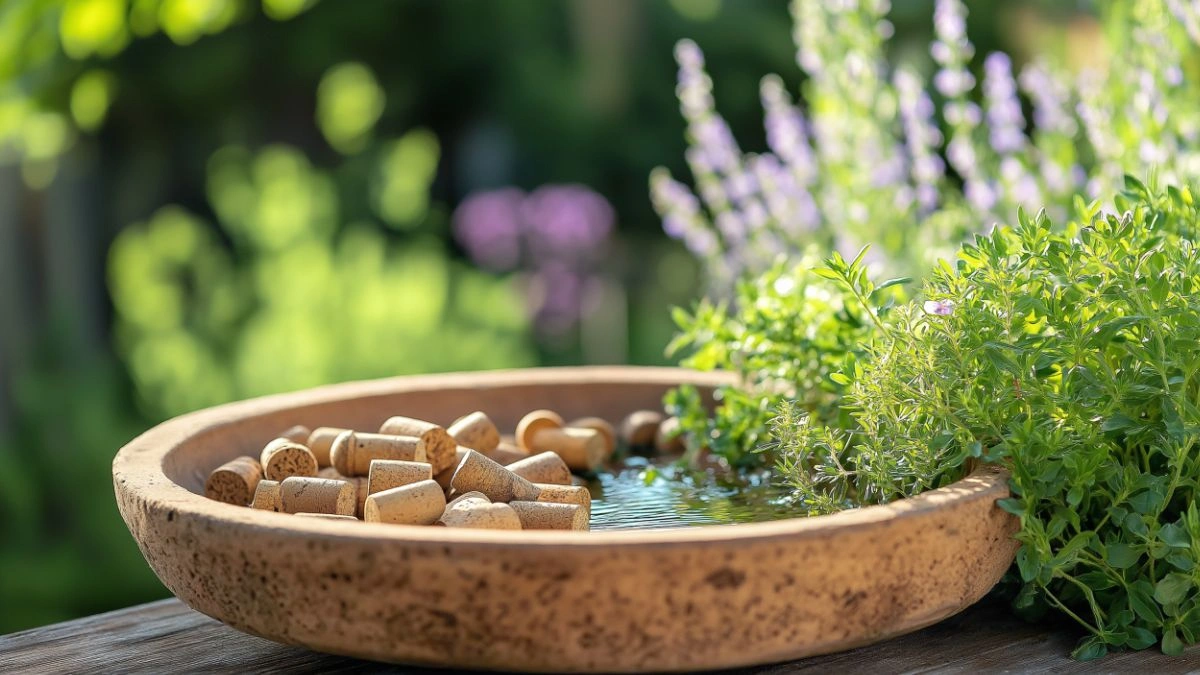
Budget-Friendly Bee Watering Station Using Household Item
Table of Contents
Bees are essential pollinators, contributing to over 70% of the crops we consume and supporting biodiversity in our gardens. Yet, while many gardeners know to plant bee-friendly flowers, few realize the importance of providing fresh water. Especially during hot summer days, bees need a safe, shallow source of hydration—one without the risk of drowning.
Unfortunately, many water sources like birdbaths or ponds can be too deep or slippery for bees. That’s where a bee-specific watering station comes in. And the best part? You don’t need to spend a dime. With just a few everyday items from around your home, you can craft a beautiful, functional station that keeps your local pollinators happy and hydrated.
In this guide, we’ll walk you through everything you need to know to create a bee watering station using items you likely already own. From selecting safe materials to creative design ideas, you’ll discover how easy it is to make your outdoor space more pollinator-friendly without breaking your budget.
Understanding the Needs of Thirsty Pollinators
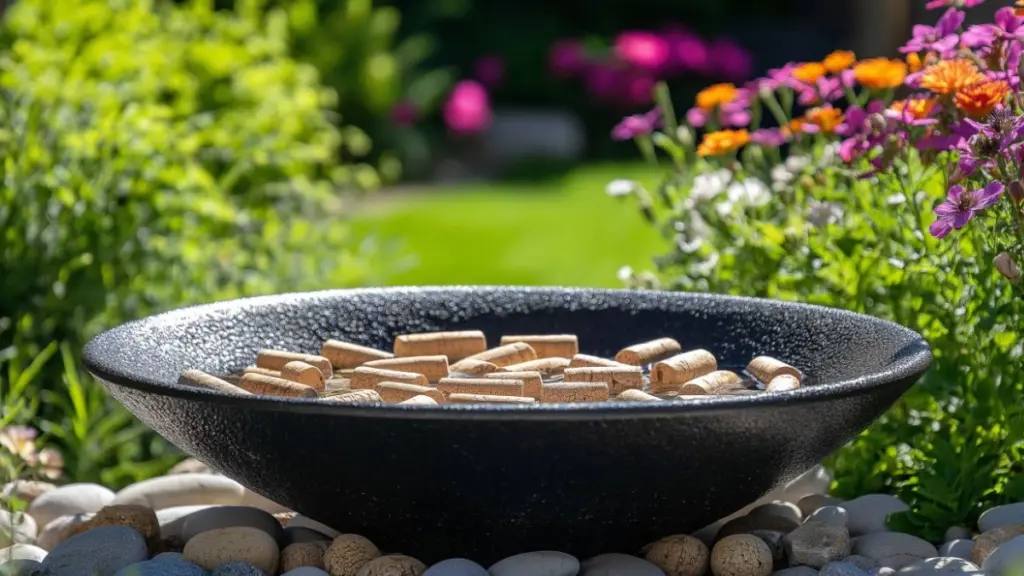
Bees, butterflies, and other pollinators don’t just rely on flowers for survival—they also need clean water to digest food, maintain hive temperature, and stay hydrated. However, they require shallow sources with stable landing zones. This is where a simple bee watering station outshines more conventional features like fountains or birdbaths.
Bees drink by standing on a solid surface while sipping from nearby water. If water is too deep or the edges are too slick, they can fall in and drown. That’s why it’s crucial to add non-slip textures such as rocks, corks, or pebbles for them to perch on safely.
Pollinator Watering Station Requirements
| Feature | Why It Matters |
|---|---|
| Shallow water depth | Prevents drowning |
| Stable landing surfaces | Allows bees to safely access water |
| Clean, chemical-free water | Ensures health and safety |
| Easy to refill and clean | Promotes hygiene and long-term use |
A bee watering station is an act of eco-conscious design—small in scale but deeply impactful.
Choosing the Right Container from Around the House
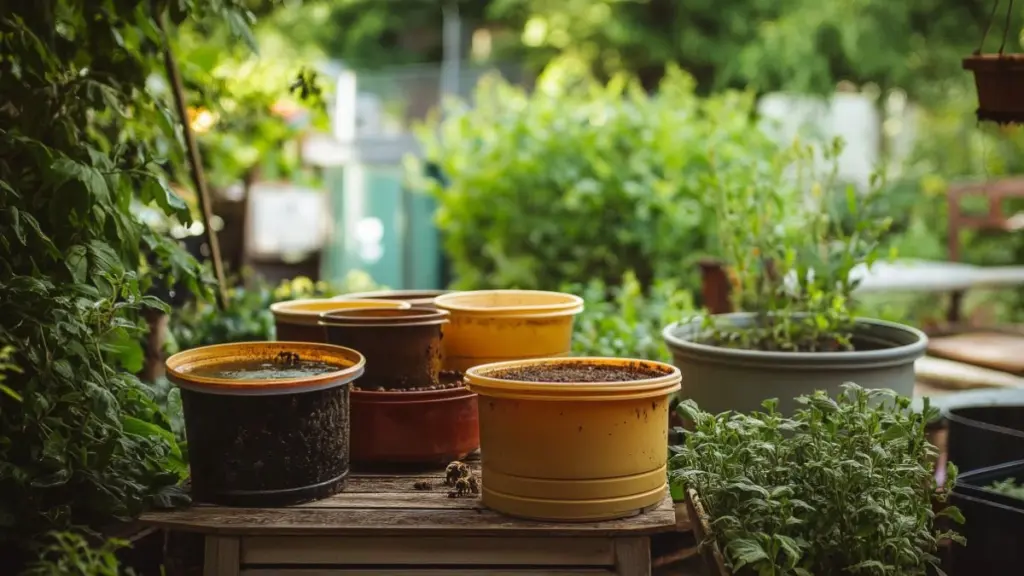
Before heading to the store, take a look around your kitchen, garden shed, or garage. Many common household items can be upcycled into charming and functional bee watering stations.
Look for wide, shallow containers—about one to two inches deep. Glass pie dishes, ceramic saucers, old plant drip trays, or even the lid of a mason jar can serve as the base. The goal is to hold enough water to attract pollinators, but not so much that it becomes a hazard.
DIY Container Ideas and Tips
| Household Item | Ideal Feature | Pro Tip |
|---|---|---|
| Old pie plate | Shallow and wide | Use with flat rocks to stabilize |
| Plant saucer | Water-safe, blends into the garden | Place near flowering plants |
| Mason jar lid | Compact and easy to refill | Pair with cork pieces |
| Small glass baking dish | Easy to clean, durable | Add colored marbles for fun look |
Avoid anything that could rust, leach chemicals, or break easily in outdoor weather.
Creating Safe Landing Zones with Natural Materials
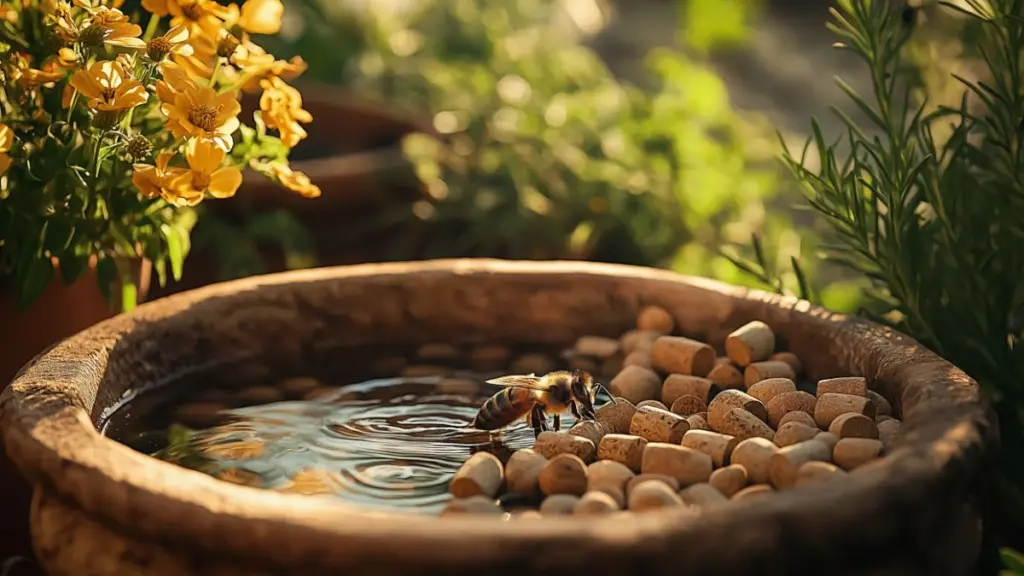
Once you’ve chosen your container, the next step is to fill it with materials that give bees a place to safely land. This transforms a simple dish of water into a thoughtfully designed bee haven.
Smooth pebbles, river rocks, marbles, and corks are all excellent options. Place them snugly into the container so they peek just above the water level. These surfaces should remain dry on top while allowing bees to reach water from the edges.
Best Landing Material Choices
| Material | Benefits | Where to Source |
|---|---|---|
| Pebbles | Natural and attractive | Garden path or hardware store |
| Corks | Float and provide grip | Recycled from wine bottles |
| Glass marbles | Bright and decorative | Craft drawer or toy box |
| Broken terracotta | Rustic look and eco-friendly | Old pots or planters |
Make sure materials are thoroughly rinsed before use, especially if sourced from outdoor areas or recycling bins.
Placement Tips to Attract Bees Naturally
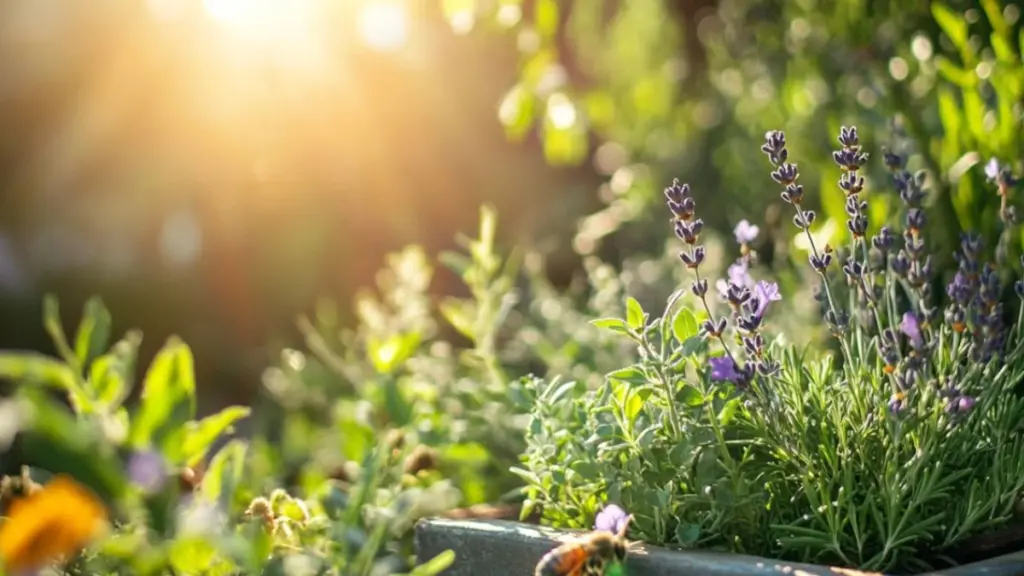
Where you place your bee watering station can make a big difference in how often it’s visited. Ideally, your setup should be in a sunny, sheltered spot near flowering plants. Bees are attracted to color and scent, so placing the station within your pollinator garden or herb bed increases its visibility.
Avoid placing it under trees or in overly shady spots where water might stagnate or attract mosquitoes. If pets or children share your yard, keep the station elevated or tucked into a planter to prevent spills.
Best Placement Guidelines
| Placement Factor | Tip for Success |
|---|---|
| Sunlight | Choose a location with partial to full sun |
| Flower proximity | Keep near blooms or herbs |
| Wind protection | Shelter from strong gusts with rocks or fencing |
| Accessibility | Easy to refill but not frequently disturbed |
Try placing a few drops of sugar water in the station the first time to help attract bees. Just avoid chemicals or soaps.
Decorative Touches for a Whimsical Backyard Aesthetic
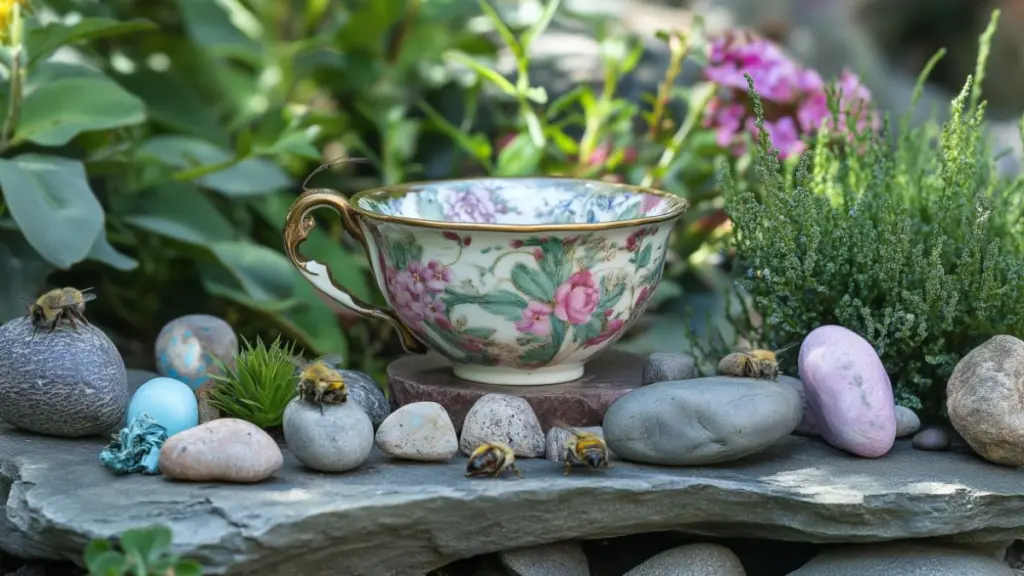
Even the most practical bee watering station can be beautiful. Add personality to your project by incorporating small, decorative elements that reflect your garden’s style. Think painted stones, vintage saucers, colorful tiles, or themed containers like teacups or bowls with floral patterns.
This is a great opportunity to involve kids or friends in a quick weekend project. Paint ladybugs on stones, use mosaic tile bases, or tuck the station into a fairy garden theme for extra charm.
Ideas to Add Decorative Flair
| Decorative Element | Garden Style it Matches | Bonus Feature |
|---|---|---|
| Painted pebbles | Whimsical, cottagecore | Fun DIY with kids |
| Vintage teacup tray | Shabby chic, floral garden | Elegant and unexpected |
| Mosaic stone base | Mediterranean, modern rustic | Adds visual texture |
| Driftwood surround | Coastal or naturalistic | Frames the space naturally |
Remember that aesthetics should never compromise safety—decor should always be non-toxic and stable.
Maintenance Made Simple
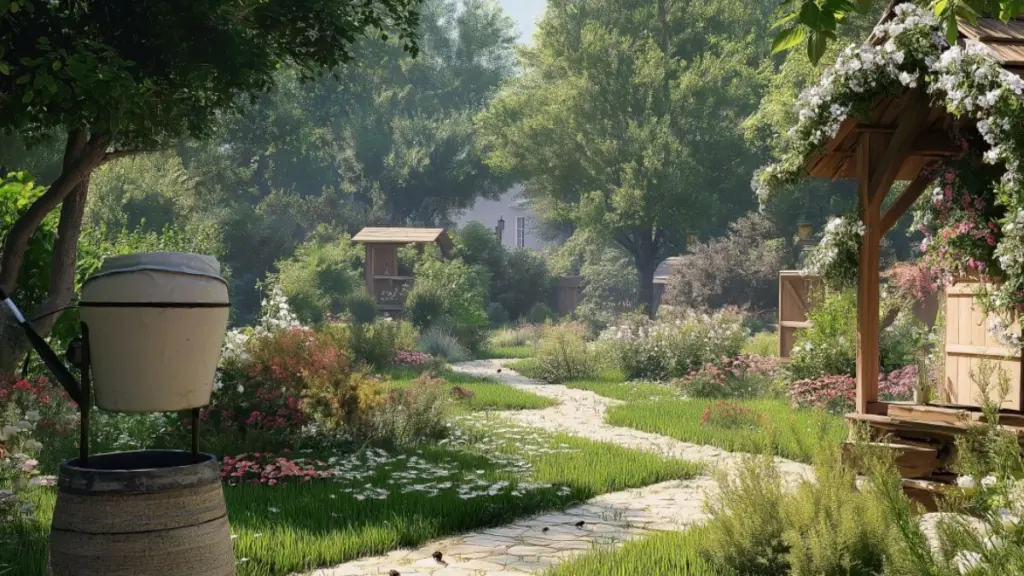
Maintaining your bee watering station is key to keeping it safe and inviting. While bees aren’t picky, they do rely on cleanliness. Stagnant water can become a breeding ground for harmful bacteria or mosquitoes, which can deter beneficial pollinators.
Aim to clean the container and refresh the water every two to three days, especially in hot weather. This can be as easy as a quick rinse with a garden hose and a wipe with a clean cloth. Avoid soaps or chemical cleaners—hot water or vinegar diluted with water (1:3 ratio) is more than enough.
During colder months, you can store the station or repurpose it for other wildlife needs, like feeding birds or holding seeds.
Simple Bee Station Maintenance Schedule
| Task | Frequency | Tip |
|---|---|---|
| Refresh water | Every 2–3 days | Use rainwater when possible |
| Rinse stones and dish | Weekly | Avoid soaps; use warm water only |
| Deep clean | Bi-weekly | Vinegar solution and rinse well |
| Inspect for wear | Monthly | Replace cracked containers |
Keeping your bee station fresh ensures it stays a buzzing favorite for seasons to come.
Conclusion
Creating a bee watering station with household items is a simple, rewarding way to support biodiversity right in your backyard. It doesn’t take much—just a few repurposed items, some thoughtful placement, and a little care.
This budget-friendly project serves more than just the bees—it enriches your garden’s ecosystem, adds charm to your outdoor decor, and reminds us that even the smallest gestures can make a lasting difference. Whether you’re nurturing a vibrant flower bed or a balcony herb garden, a watering station is a thoughtful addition that will keep your garden buzzing with life.

