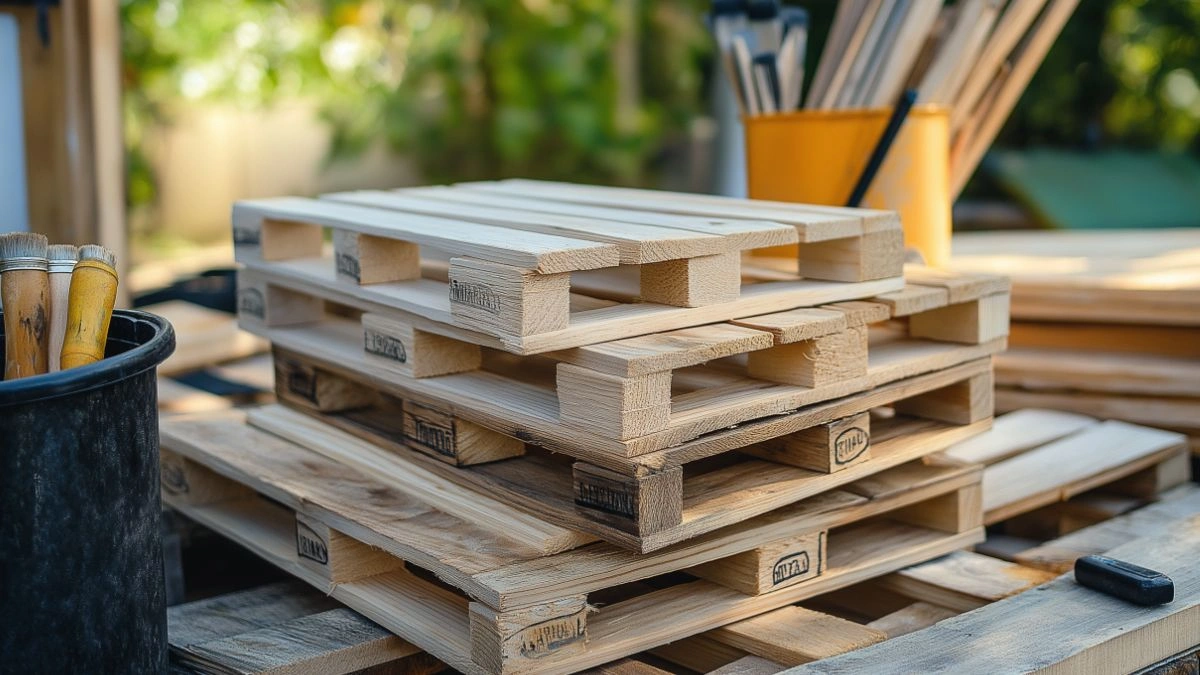
Charming DIY Pallet Patio Deck Ideas to Try This Weekend
Table of Contents
Backyard patios don’t have to come with a hefty price tag or require professional installation to feel special. In fact, one of the most creative and cost-effective ways to upgrade your outdoor space is with a DIY pallet patio deck. Pallets are widely available, often free, and packed with rustic character—making them the perfect foundation for a cozy outdoor retreat.
According to a 2023 home trend survey, more than 70% of homeowners are prioritizing outdoor living upgrades. And as more people embrace sustainable and budget-conscious choices, pallets have emerged as a go-to material for weekend warriors and design-savvy DIYers. Whether you’re working with a small balcony or a wide backyard, pallet decks offer flexibility, charm, and a serious sense of accomplishment when finished.
In this post, you’ll discover practical, stylish, and beginner-friendly DIY pallet patio deck ideas you can complete in just a weekend. We’ll cover step-by-step setup strategies, creative design options, and ways to layer your deck with personality—from lighting and seating to greenery and rugs. If you’re craving an outdoor upgrade that’s both affordable and rewarding, these pallet deck ideas are exactly what your weekend needs.
Prep Your Space: Groundwork for a Stable Pallet Deck
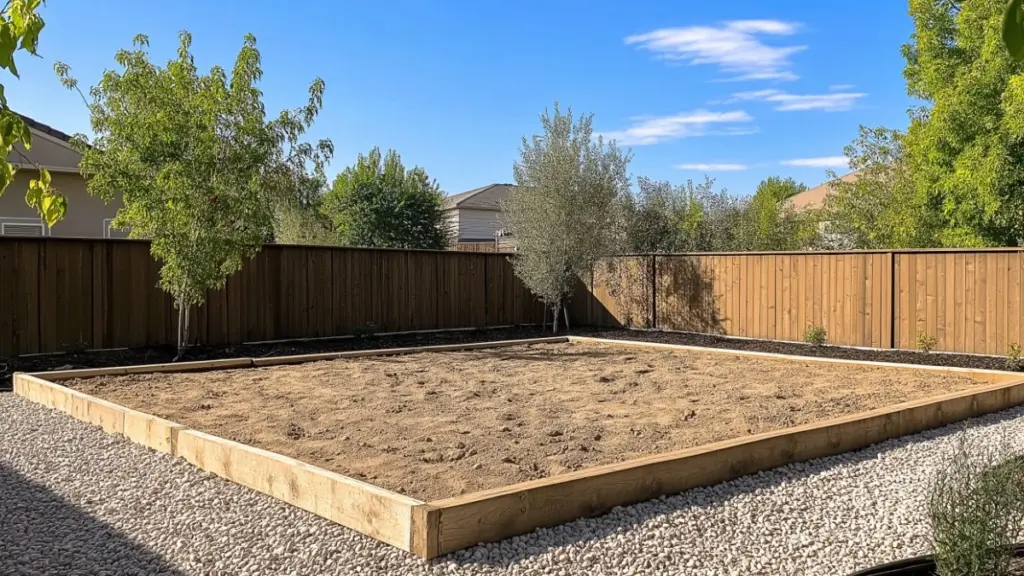
Before diving into the building process, setting the foundation for your pallet deck is essential. Proper preparation ensures your deck stays level, secure, and beautiful for seasons to come.
Clear and Level the Area
Start by marking your deck dimensions. Remove any grass, weeds, or debris from the space. Use a rake and shovel to level the soil. For uneven terrain, fill in low spots with compacted sand or gravel.
Lay a Weed Barrier
A simple landscaping fabric can help prevent weed growth under the deck. This saves you maintenance down the line and keeps the area clean.
Create a Gravel Base (Optional but Ideal)
Pour a 1- to 2-inch layer of gravel across the surface to promote drainage and stability. This is especially helpful in rainy climates or if you plan to use your pallet deck long-term.
Table: Ground Prep Checklist for Pallet Deck Installation
| Task | Why It Matters | Tools/Materials Needed |
|---|---|---|
| Mark and measure space | Ensures accurate layout | Tape measure, stakes, string |
| Remove grass/weeds | Prevents plant growth under deck | Shovel, rake |
| Level the soil | Avoids wobbling or gaps | Garden hoe, leveling tool |
| Add gravel (optional) | Improves drainage and lifespan | Gravel, landscaping fabric, rake |
Select, Clean, and Prep Your Pallets
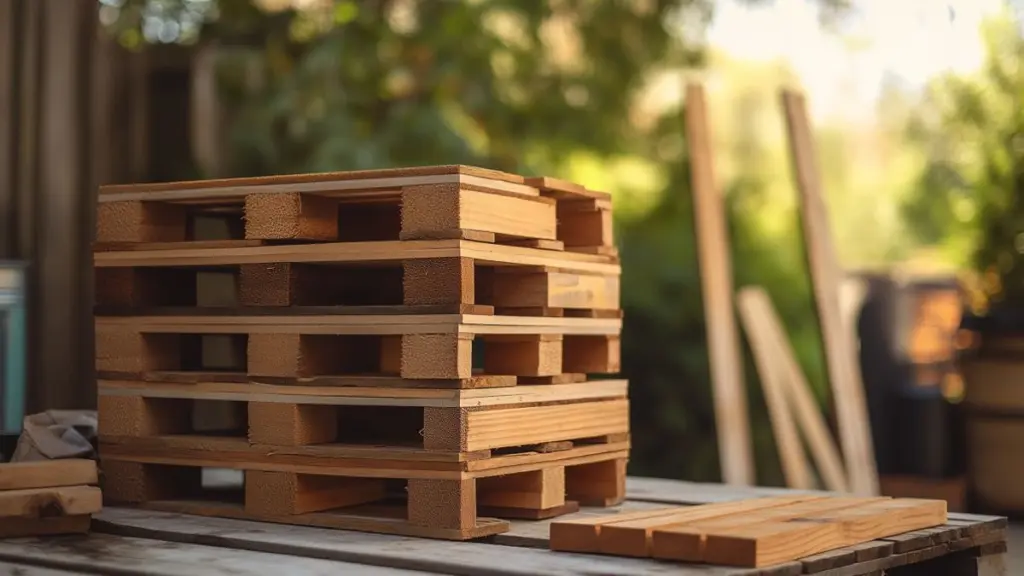
Not all pallets are created equal. Choosing the right ones ensures your deck is safe, durable, and aesthetically pleasing.
Where to Find Quality Pallets
Check local hardware stores, garden centers, or construction sites (always ask first). Look for pallets marked “HT” (heat-treated) rather than chemically treated, which are safer for home use.
Inspect for Damage
Avoid pallets with broken slats, mold, or stains. Ensure the boards are thick, securely nailed, and relatively uniform in size.
Clean and Sand Thoroughly
Scrub your pallets with a mixture of water and mild detergent. Let them dry completely. Then use coarse sandpaper or a power sander to smooth splinters and rough edges.
Optional: Apply Wood Preservative or Stain
To extend the life of your deck, apply a weatherproofing stain or sealant. Natural wood finishes enhance the rustic charm, while black or white paint offers a more modern aesthetic.
Table: Pallet Selection and Prep Guide
| Step | Key Details | Budget Tip |
|---|---|---|
| Choose “HT” pallets | Non-toxic and suitable for outdoor use | Most are free if you call ahead |
| Clean and dry thoroughly | Removes debris and mold | Use a scrub brush and garden hose |
| Sand rough edges | Prevents splinters and adds polish | Rent a power sander for quick results |
| Seal or stain (optional) | Increases longevity and resists weather | Use leftover paint from other projects |
Design the Layout: Patterns, Shapes, and Anchoring Options
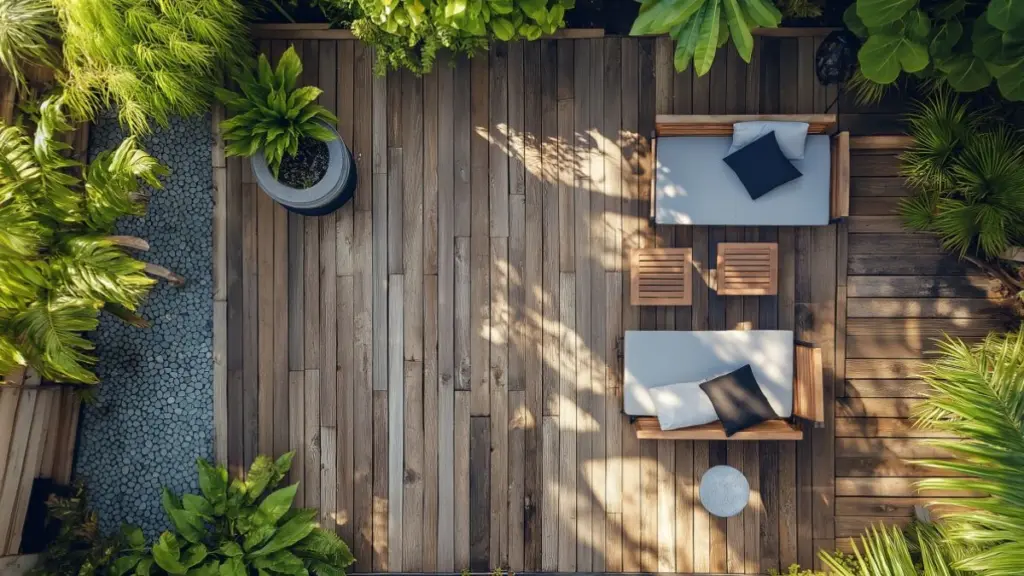
One of the joys of pallet decks is their flexibility. Depending on your space and style, you can choose from various layout designs to create a unique look.
Basic Grid Pattern
Arrange pallets in a rectangular or square layout, placed side-by-side. This is the simplest and quickest method—great for small patios or beginner DIYers.
Chevron or Staggered Layout
For a more custom feel, alternate pallet direction to create a staggered brick or chevron pattern. This adds texture and visual interest to larger spaces.
Raised Platform Look
Stack two layers of pallets for a more defined deck that sits higher off the ground. Add a plywood topper if you want a smooth surface or prefer to hide gaps.
Secure the Structure
Use metal brackets, corner braces, or screws to attach pallets to each other. Anchor the entire structure with landscaping spikes or bolts if needed, especially in windy areas.
Table: Layout Styles and Features
| Layout Style | Best For | Installation Notes |
|---|---|---|
| Basic side-by-side | Quick setup, small spaces | Minimal cutting, easy leveling |
| Staggered pattern | Larger or irregular areas | Some cutting and adjusting needed |
| Double-stacked platform | Lounging areas, bold aesthetics | Requires extra pallets and anchors |
| Diagonal/angled layout | Eye-catching design | Advanced cutting and bracing required |
Add Seating, Lighting, and Soft Textures
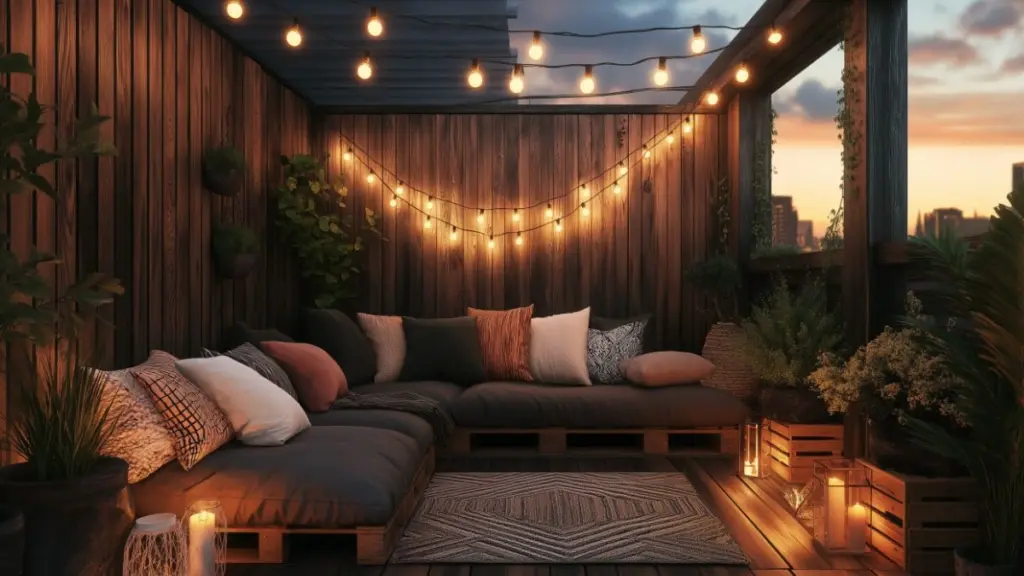
Now that the structure is in place, it’s time to style it. Creating a cozy atmosphere with seating, lights, and textures transforms your pallet deck from functional to fabulous.
Seating Solutions on a Budget
Build a pallet bench using extra pallets and outdoor cushions. Or use folding chairs, garden stools, or repurposed indoor seating covered with weatherproof fabric.
Cozy Lighting for Evenings
Hang solar string lights overhead or weave them through nearby trees. Lanterns, battery-operated candles, or LED torches add ambiance without needing electricity.
Outdoor Rugs and Pillows
Layer in warmth with patterned outdoor rugs, throw pillows in durable fabrics, and waterproof cushions. Choose colors and prints that suit the season or your home’s palette.
Layer in Greenery
Add potted plants or a DIY vertical garden using extra pallet boards. This softens the space and brings life and movement to your design.
Table: Deck Styling Elements
| Element | Function | Budget Tips |
|---|---|---|
| Seating | Comfort and functionality | DIY pallet bench + thrifted cushions |
| Lighting | Evening ambiance | Solar string lights and reused jars |
| Rugs & pillows | Adds color and softness | End-of-season sales or outdoor fabric DIY |
| Plants | Brings nature to your deck | Use cuttings or budget-friendly annuals |
Use Creative Add-Ons: Pergolas, Privacy Screens, and Paint
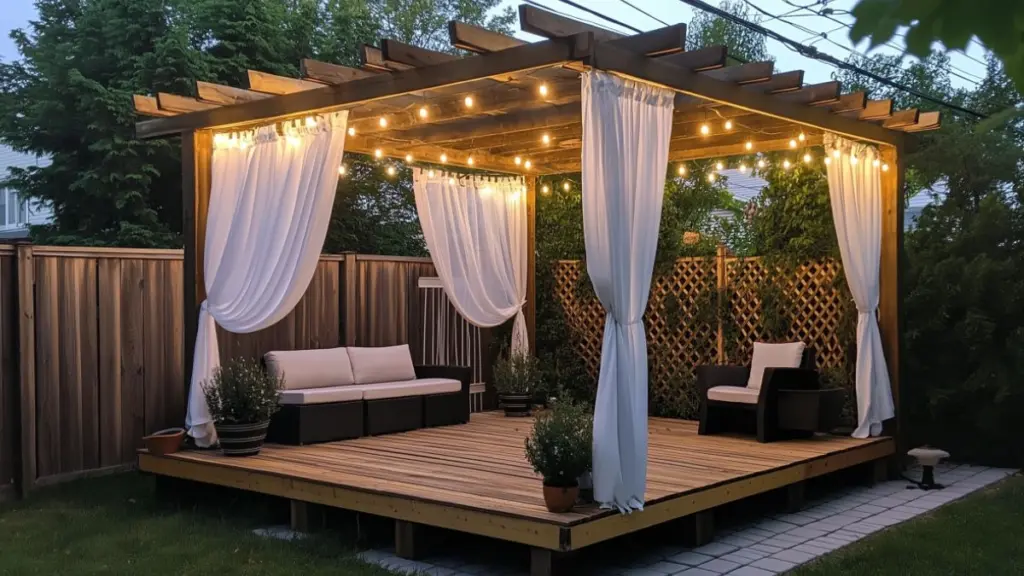
To personalize your pallet patio even more, consider building out vertical elements or adding finishing details that enhance comfort and aesthetics.
DIY Pergola or Canopy
Use wood beams or metal poles to build a simple pergola frame over your deck. Drape sheer curtains, shade cloth, or string lights to complete the look.
Privacy Screens
Repurpose vertical pallets into a privacy wall. Stain or paint them, and hang planters or art for added personality. This works great if you have close neighbors or street-facing patios.
Painted Accents and Borders
Add a painted edge around the perimeter or stencil a design across the top layer. This gives your DIY deck a custom, designer-level finish.
Table: Upgrade Features for Customization
| Feature | Enhances… | DIY Ideas |
|---|---|---|
| Pergola or canopy | Shade and vertical interest | Build with reclaimed wood + fabric roof |
| Privacy screen | Intimacy and style | Vertical pallet walls with vines or art |
| Painted details | Character and charm | Stencil pattern or contrast border color |
Conclusion
With just a few tools, a stack of pallets, and a bit of weekend effort, you can create an inviting patio that feels like an extension of your home. These charming DIY pallet patio deck ideas prove that great outdoor design doesn’t require a massive budget—just creativity, care, and a willingness to try something new.
Whether you choose a minimalist grid deck or a layered setup with built-in benches and string lights, the beauty of pallets lies in their adaptability. Each design can be customized to fit your space, your style, and your budget. And when the project’s complete, you’ll not only have a cozy new retreat—but the satisfaction of knowing you built it yourself.

