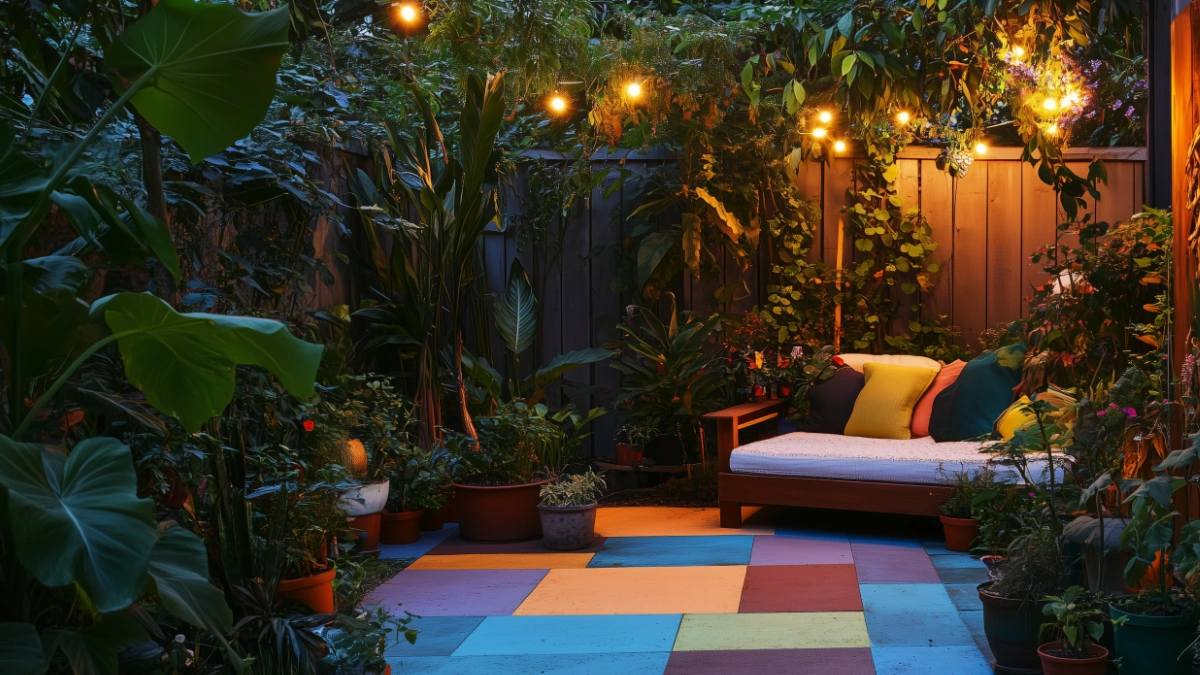
Creative Painted Pavers: Transform Walkways and Driveways in Small Spaces
Table of Contents
Did you know that a well-designed walkway can increase a home’s curb appeal by up to 20%? For apartment dwellers and homeowners with limited outdoor space, creating impact with style is all about the details—and that starts from the ground up. Painted pavers offer a fun, budget-friendly, and highly customizable way to transform ordinary walkways and driveways into personalized, design-forward statements.
Whether you’re sprucing up a compact garden path, jazzing up a tiny front porch entry, or redefining the look of a shared driveway, painted pavers can infuse creativity into every step—literally. This guide explores a variety of painted paver ideas tailored to small space living. From geometric patterns and faux tile illusions to nature-inspired motifs and seasonal color schemes, you’ll find practical inspiration plus tips for longevity, application, and style cohesion.
By the end, you’ll be equipped with everything you need to turn your walkway or driveway into a mini masterpiece that’s both functional and fabulous.
Choosing the Right Pavers for Painting
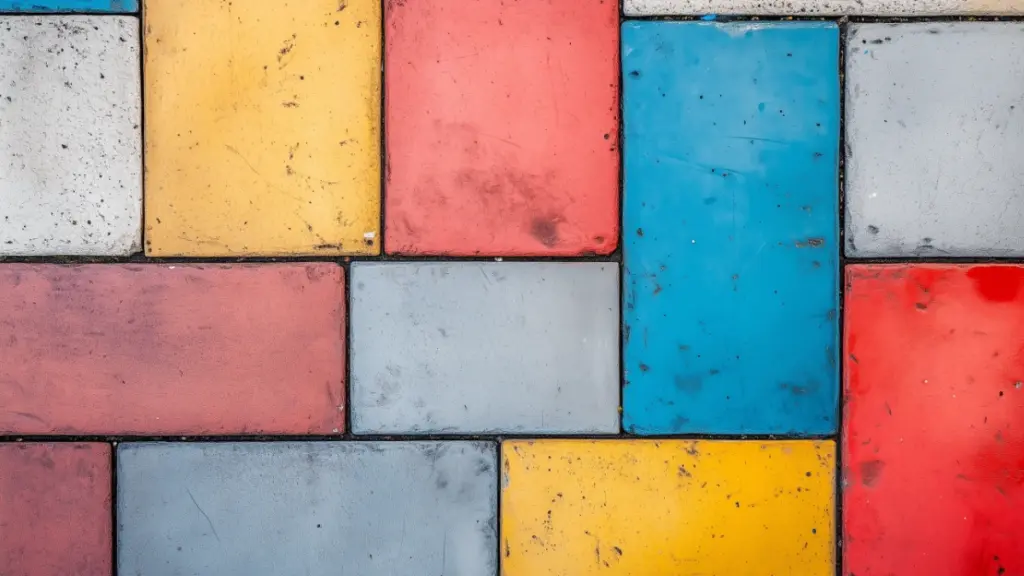
Before grabbing your paintbrush, it’s essential to select the right type of pavers. Certain materials take paint better, and size or shape also plays a role in your final design.
Paver Comparison Table
| Paver Type | Paint Compatibility | Aesthetic Appeal | Best For |
|---|---|---|---|
| Concrete | Excellent | Clean, modern look | Painted patterns, solid color |
| Brick | Good | Rustic, warm | Traditional spaces |
| Stone | Fair | Natural, irregular look | Earthy or boho designs |
Go for smooth-surfaced concrete pavers for sharp, clean paint lines. Irregular stones can also be painted but tend to work better with abstract or faded patterns.
Creative Patterns for Small Walkways
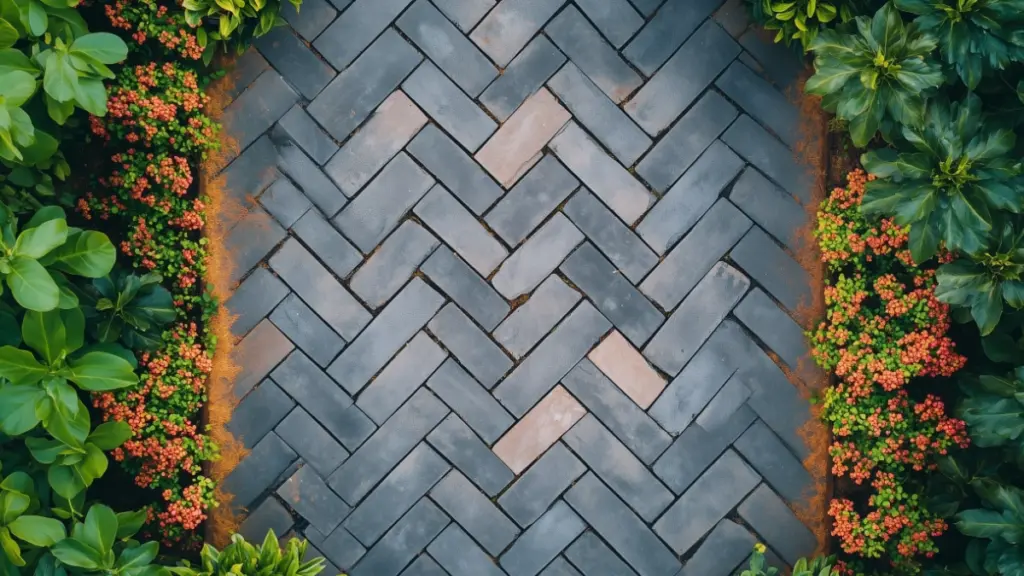
In small spaces, pattern plays a powerful role in shaping perception. The right motif can elongate a short path or add energy to an overlooked entryway.
Popular Pattern Ideas
| Pattern Style | Visual Effect | Works Well In |
|---|---|---|
| Herringbone | Dynamic, directional | Short walkways |
| Checkerboard | Bold, balanced | Square patio paths |
| Mosaic Medallion | Artistic focal point | Entry landings or corners |
Paint each paver before setting them, or use stencils for crisp lines after installation. For added charm, mix solid pavers with patterned ones for a designer look.
Color Palettes That Make Small Spaces Pop
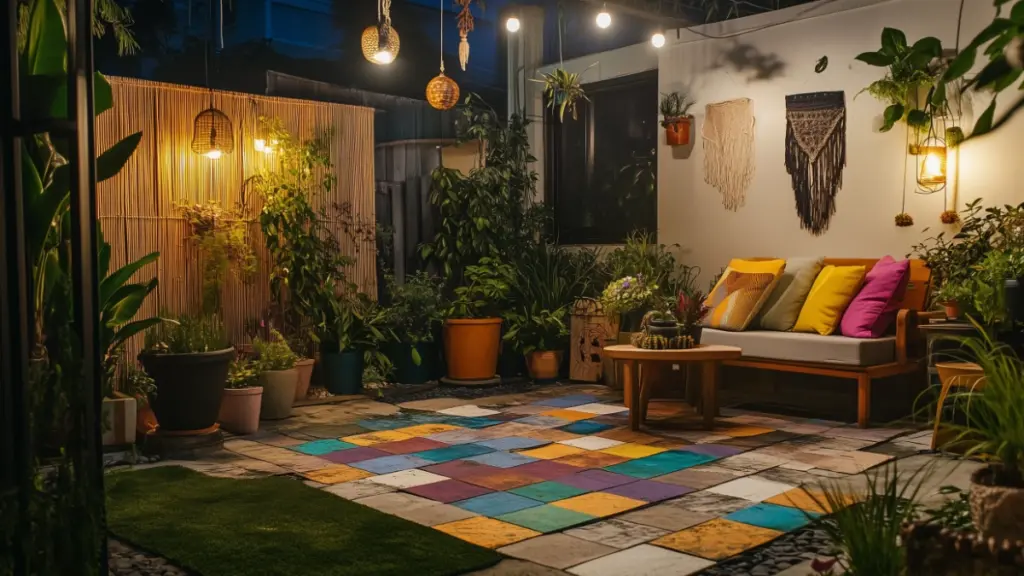
Choosing the right color scheme can brighten tight corners or unify the look of fragmented outdoor areas. The goal is to enhance visual flow without overwhelming.
Color Palette Guide
| Color Theme | Mood Created | Accent Pairings |
|---|---|---|
| Coastal Cool | Airy, refreshing | Navy, light blue, sand tones |
| Urban Monochrome | Sleek, modern | Charcoal, white, slate gray |
| Botanical Brights | Cheerful, bold | Leafy green, coral, sunflower |
Opt for weatherproof, UV-resistant exterior paints to keep your colors vibrant through all seasons.
How to Paint Pavers for Long-Lasting Results (Expanded Section 1)
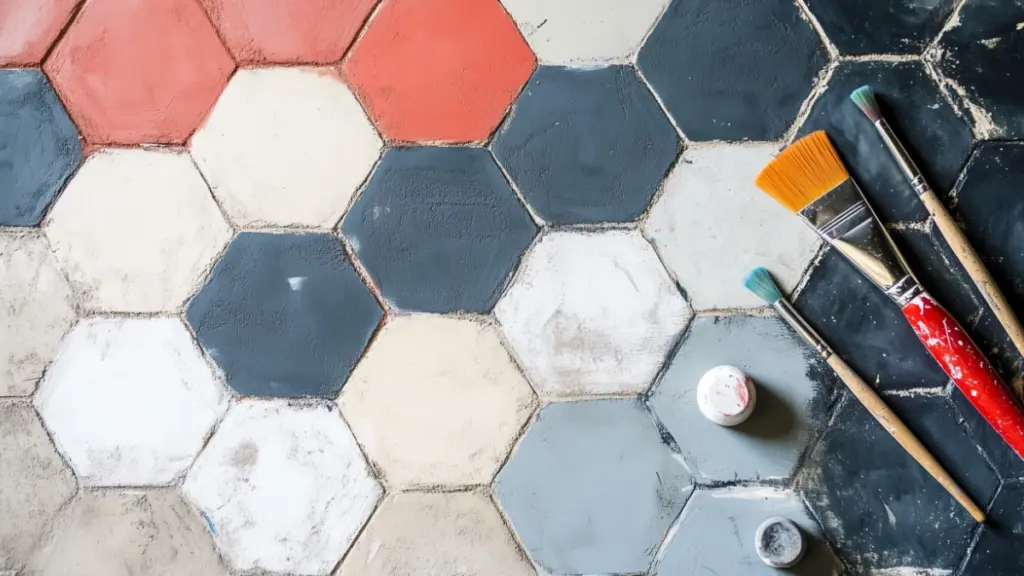
Painting pavers is easy—but painting them to last? That takes a few extra steps. Here’s your simple, go-to process for achieving a professional finish that endures sun, rain, and foot traffic.
- Clean Thoroughly
Remove all dirt, moss, and grime using a stiff-bristle brush or pressure washer. Let pavers dry completely before painting. - Prime for Adhesion
Use a masonry primer designed for outdoor use to help the paint bond better to the surface. - Use the Right Paint
Exterior latex or acrylic paint with UV and water resistance is ideal. For driveways, choose paint rated for vehicular wear. - Seal the Deal
Apply a clear sealant to protect your design and prevent fading, chipping, or peeling.
Painting Steps Overview Table
| Step | Tool/Material Needed | Duration |
|---|---|---|
| Clean | Brush or power washer | 30–60 mins |
| Prime | Outdoor masonry primer | 2–4 hours dry |
| Paint | Exterior paint + brushes | Varies by size |
| Seal | Clear sealant spray/roller | 24-hour cure |
Incorporating Painted Pavers into Driveways (Expanded Section 2)
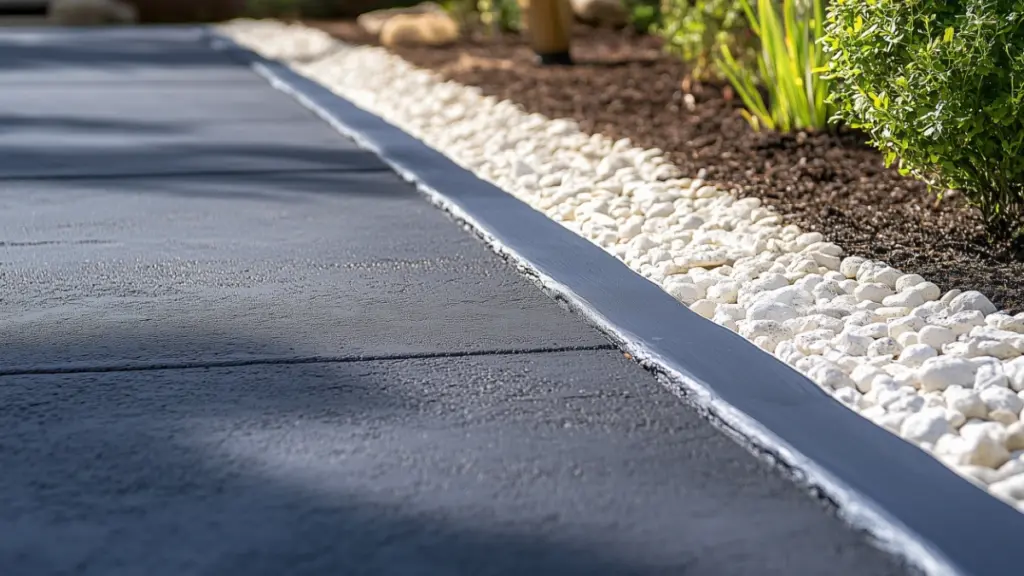
Driveways pose a unique challenge: they’re not just decorative, they’re functional and heavy-duty. But with thoughtful design and the right materials, painted pavers can thrive here too.
- Choose Durable Pavers
Opt for interlocking concrete pavers with a flat, non-textured surface for best adhesion. - Keep It Minimal
Go for low-traffic designs: border accents, center stripes, or alternating painted pavers to break up large expanses. - Protect the Surface
Apply a high-performance, non-slip sealer that can withstand vehicle pressure and outdoor exposure.
Driveway Painting Tips Table
| Tip | Why It Matters |
|---|---|
| Avoid painting the entire surface | Reduces peeling in high-traffic zones |
| Use contrasting borders | Adds visual structure and guides parking |
| Reapply sealant annually | Maintains durability and color vibrancy |
Design Themes to Match Your Outdoor Decor
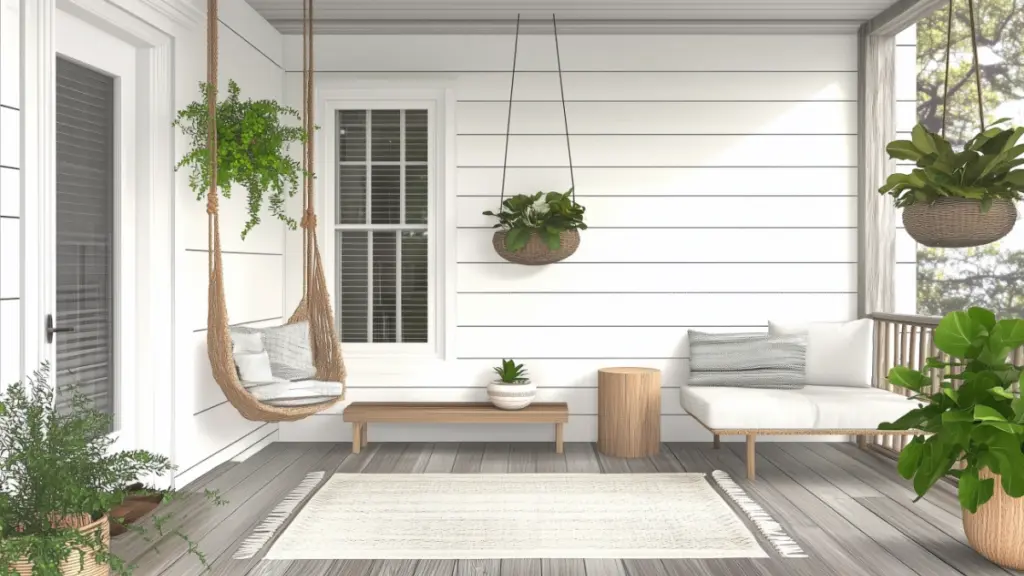
Tie your painted paver project into your existing decor by matching themes and textures. This creates a cohesive look even in limited square footage.
Design Theme Guide
| Style | Paver Pattern | Complementing Decor |
|---|---|---|
| Zen Minimalist | Single-tone stencil | Bamboo fencing, smooth stones |
| Eclectic Boho | Mixed mosaic | Macrame, terracotta planters |
| Scandinavian | Geometric neutrals | Wooden furniture, pale greenery |
Sticking to two or three tones within a chosen palette can help unify a small space and prevent visual clutter.
Budget-Friendly DIY Painted Paver Projects
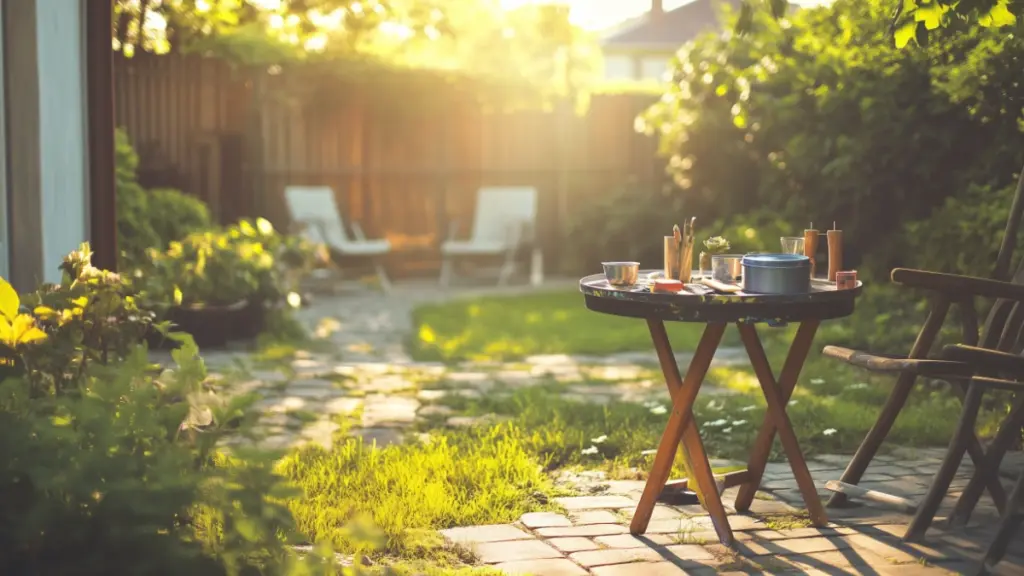
One of the best things about painted pavers? You don’t need to break the bank. Many of these upgrades can be done for under $100 using basic materials and a free weekend.
DIY Budget Breakdown Table
| Item | Estimated Cost |
|---|---|
| Concrete pavers (set) | $30–$50 |
| Outdoor paint (quart) | $15–$25 |
| Primer + sealer | $20–$30 |
| Brushes/stencils | $10–$20 |
Reuse materials, get creative with leftover paints, or invite a friend for a paint day to turn it into a fun group project.
Conclusion
Creative painted pavers are proof that even the smallest spaces can make a big statement. From subtle stenciling to bold color play, these projects allow you to personalize your space with charm and character. Whether you’re looking to enhance a walkway, refresh a driveway, or simply add a pop of personality to your patio, the ideas here are practical, budget-conscious, and designed to stand the test of time. With a bit of prep, the right tools, and a spark of creativity, your outdoor surfaces can become works of art you’ll enjoy every day.

