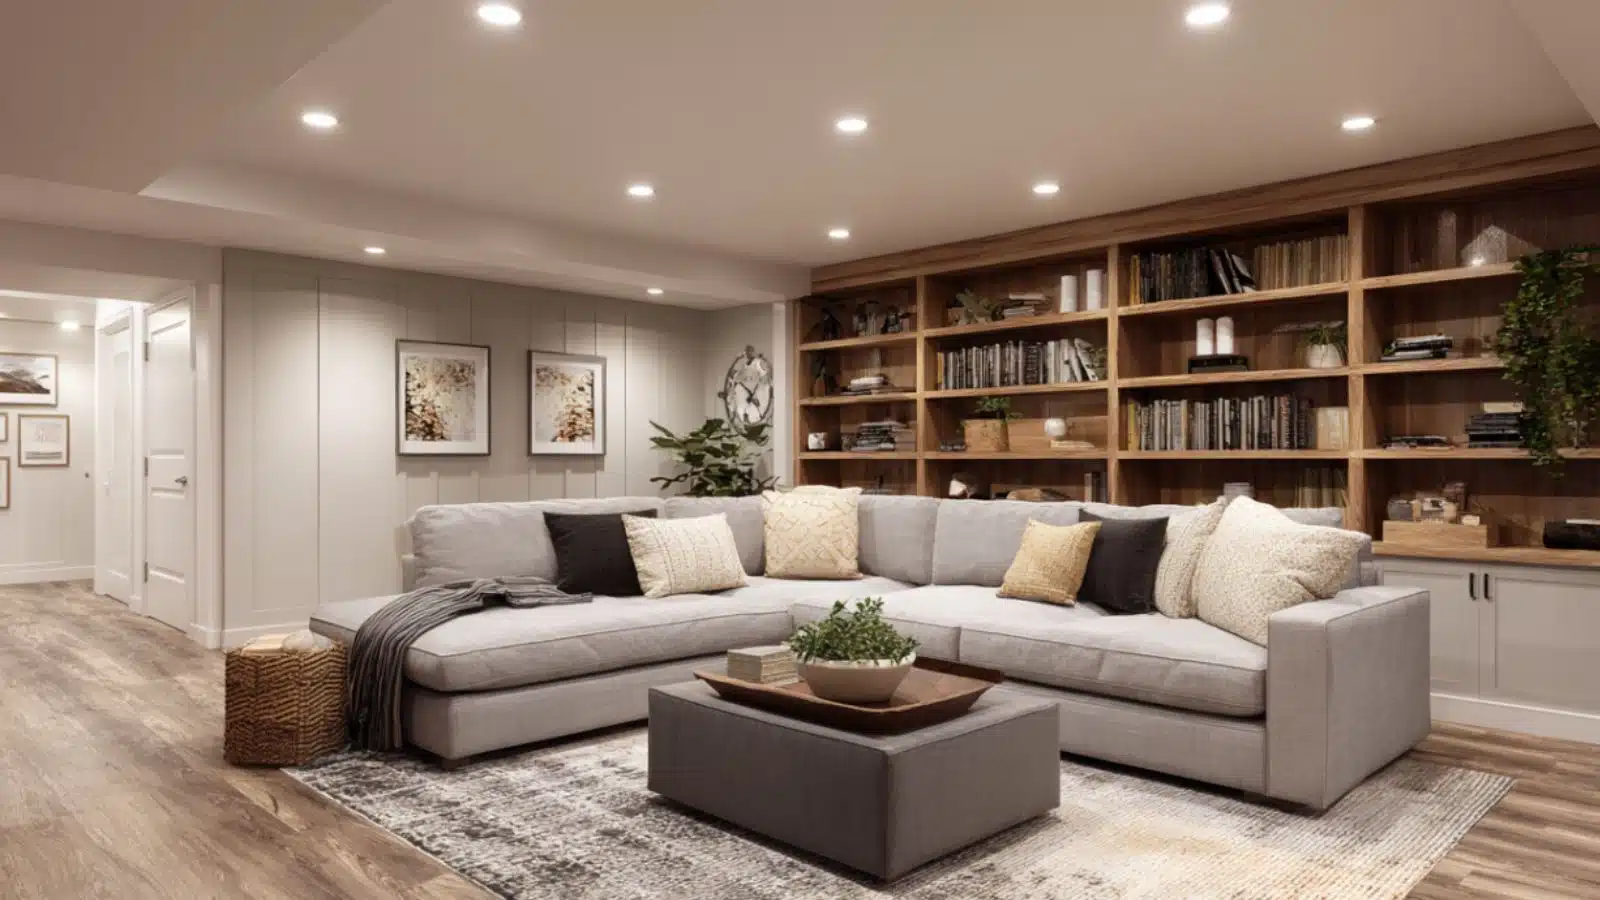
DIY Basement Finishing Tips for a Polished Look: Transform Your Space from Basic to Beautiful
Table of Contents
Basements often feel like the forgotten zone of a home—dark, underutilized, and full of potential waiting to be unlocked. But with the right planning, tools, and inspiration, your basement can become one of the most valuable and stylish spaces in your home. In fact, according to Remodeling Magazine’s 2024 Cost vs. Value Report, homeowners can recoup nearly 70% of the cost of a finished basement in resale value.
The beauty of finishing a basement lies in its flexibility. Whether you dream of a cozy family lounge, a guest suite, a gym, or a home theater, a polished finish can elevate your basement from cold and unfinished to warm and welcoming. And best of all—it’s a project you can tackle yourself.
In this blog post, we’ll walk you through expert-level DIY basement finishing tips to achieve a sleek, professional look. We’ll cover everything from moisture control and insulation to lighting, layout, flooring, and design touches. You’ll find detailed tables, visual ideas, and MidJourney prompts to bring each concept to life. Whether you’re working with a tight budget or just love rolling up your sleeves, these ideas will help you confidently transform your basement into a beautiful extension of your home.
Start with Proper Moisture and Insulation Prep
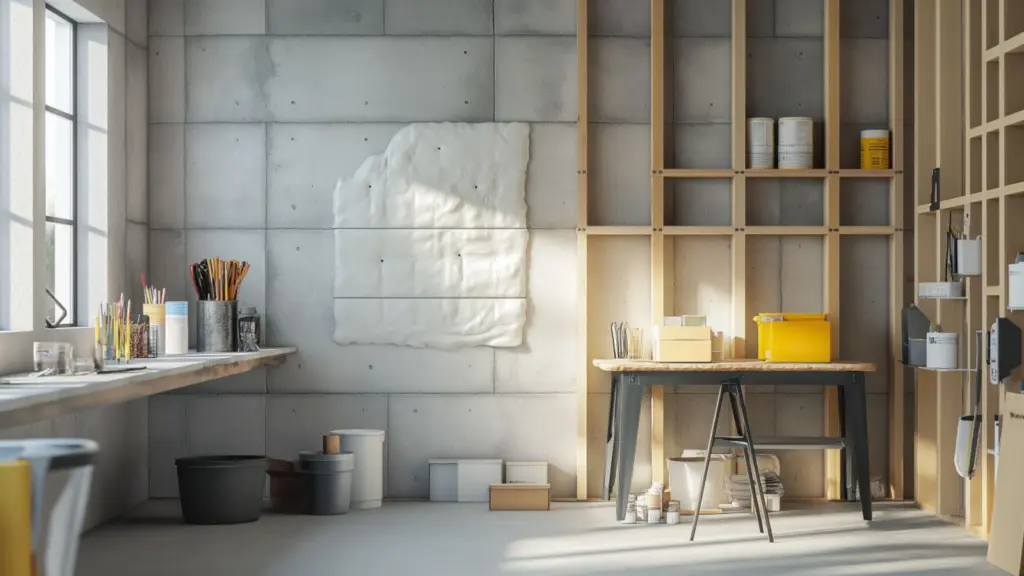
Before you even think about paint colors or layout, it’s essential to tackle two foundational tasks: moisture control and insulation. Basements are prone to dampness, which can lead to mold, mildew, and long-term damage. Skipping this step can sabotage even the most stylish finishes.
Start by inspecting your basement for visible leaks, cracks, or condensation. Address these issues with waterproofing paint, sealants, or by regrading the foundation outside to redirect water. Install a vapor barrier along exterior walls and under flooring to protect against ground moisture.
When it comes to insulation, you have several options. Foam board insulation is ideal for foundation walls—it resists moisture and improves energy efficiency. In ceiling cavities, consider using fiberglass batts to soundproof between floors and keep warmth contained.
Moisture & Insulation Checklist:
| Task | Why It Matters | Tools/Materials Needed |
|---|---|---|
| Check for leaks/cracks | Prevent water damage | Flashlight, sealant, caulk gun |
| Apply waterproofing | Stops moisture penetration | Waterproofing paint, roller |
| Install vapor barrier | Keeps interior dry and mold-free | Plastic sheeting, tape |
| Insulate walls and ceilings | Improves comfort and sound | Foam board, fiberglass batts |
Investing time here ensures a solid foundation—literally and figuratively—for every design choice that follows.
Design a Functional Basement Layout
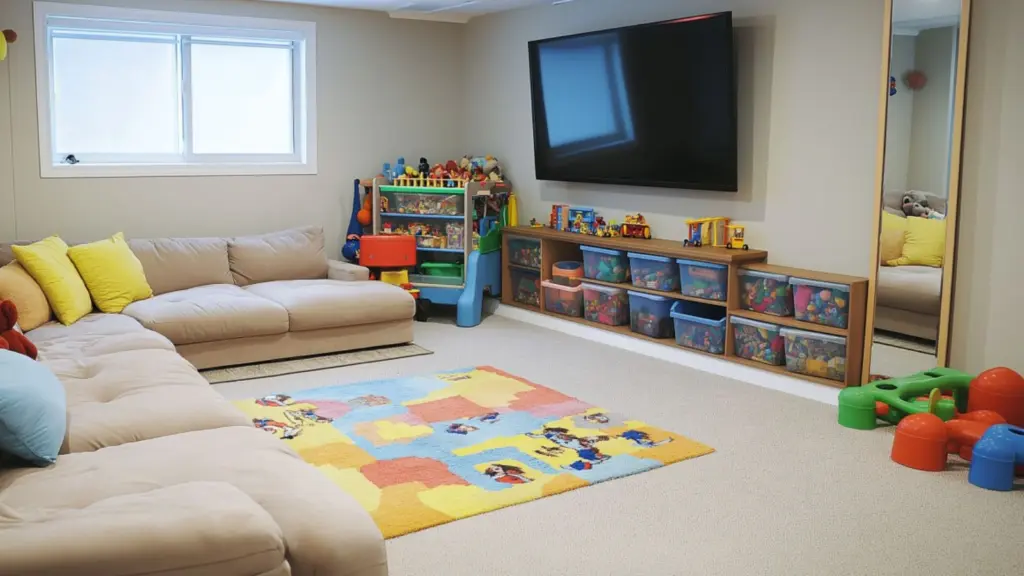
Basements come with their own spatial quirks—support beams, lower ceilings, and awkward corners. Smart layout planning is key to making your basement both beautiful and functional.
First, define how you want to use the space. Will it be multi-purpose with zones (e.g., a home office + a TV lounge)? Or are you creating a single-use space like a gym or guest suite? Use painter’s tape or string to map out these zones directly on the floor before building walls or installing flooring.
Also consider ceiling height. If you’re dealing with exposed ductwork or pipes, embrace them with an industrial aesthetic or box them in neatly with drywall soffits. Keep furniture minimal near low-clearance areas to avoid a cramped feel.
Smart Layout Zones for Common Basement Designs:
| Room Purpose | Ideal Layout Zone | Tips for Flow and Function |
|---|---|---|
| Media Room | Far from stairs/noise | Use darker walls and layered lighting |
| Home Gym | Near natural light or window | Add mirrors to expand visual space |
| Guest Suite | Private corner | Include nearby access to bathroom |
| Kids’ Play Area | Near open center space | Use rugs for play zone definition |
Choose Basement-Appropriate Flooring Options
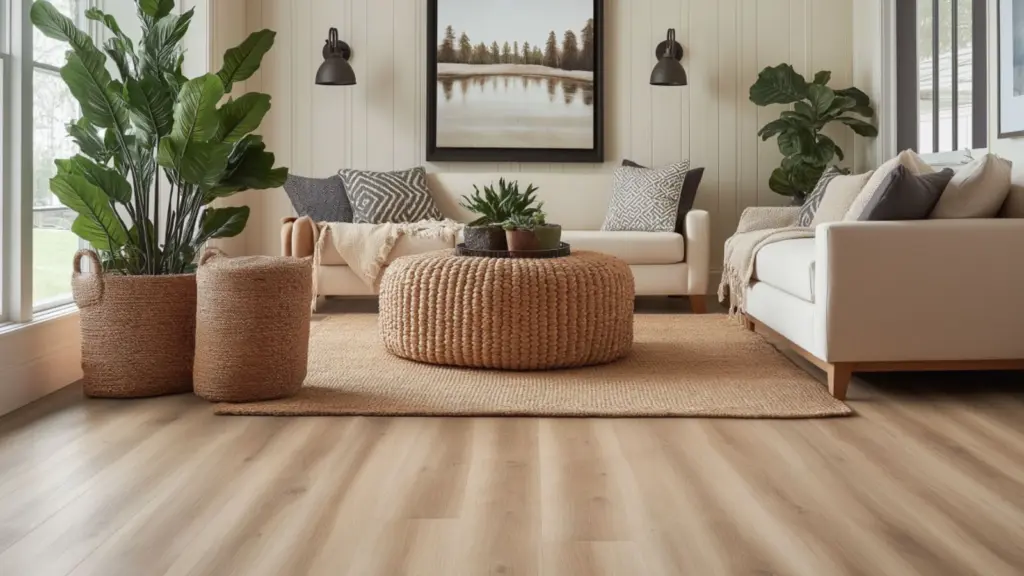
Basement flooring requires a bit more consideration than above-ground spaces due to potential dampness and temperature shifts. It’s essential to pick materials that are moisture-resistant, durable, and stylish.
Luxury vinyl plank (LVP) is one of the best choices—it mimics hardwood, resists water, and is easy to install over a subfloor or concrete. Another great option is tile, particularly for laundry or bathroom areas. If you want warmth underfoot, consider interlocking foam tiles or even engineered wood with proper underlayment.
Avoid carpet unless it’s designed for basements and paired with moisture-resistant padding. Otherwise, it can trap moisture and lead to mold.
Basement Flooring Comparison Table:
| Flooring Type | Pros | Cons |
|---|---|---|
| Luxury Vinyl Plank | Water-resistant, stylish, durable | Can be cold without underlayment |
| Engineered Wood | Warmer, upscale look | Needs vapor barrier, more costly |
| Porcelain Tile | Moisture-proof, modern finish | Hard underfoot, cooler in winter |
| Foam Mats/Rugs | Soft, great for kids/gym areas | Less elegant, limited durability |
Upgrade Your Basement Ceiling with a Clean Finish
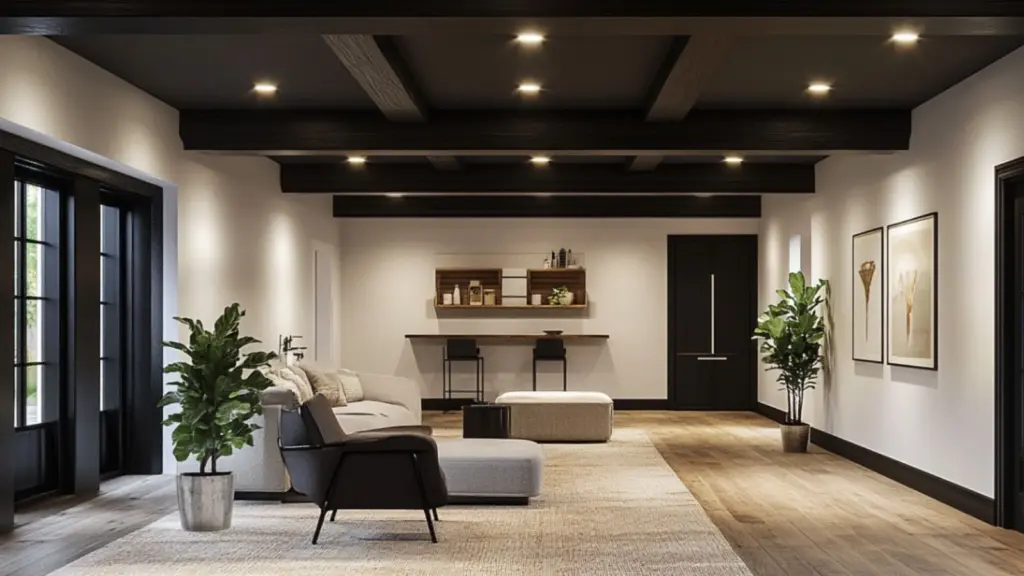
Low ceilings or exposed joists often make basements feel cramped or industrial. But with a few clever techniques, your ceiling can become an eye-catching design feature.
One popular solution is a drywall ceiling, which offers a polished, seamless look. However, it’s less accessible for future repairs. If utility access is important, consider drop ceilings with sleek tiles that complement your decor. Another trendy option? Paint the exposed ceiling beams and pipes in a dark tone like charcoal or matte black—it creates a sense of depth and hides imperfections while maintaining access to systems.
For soundproofing, add insulation or acoustic panels. You can also incorporate recessed lighting to keep the space feeling open and airy without sacrificing headroom.
Basement Ceiling Finishing Ideas:
| Ceiling Type | Look & Feel | Best Use Case |
|---|---|---|
| Drywall Ceiling | Smooth and finished | Family rooms, home theaters |
| Exposed Beams | Industrial and spacious | Lofts, game rooms, modern basements |
| Drop Tile Ceiling | Functional and easy to access | Utility or laundry areas |
| Acoustic Panels | Sleek and sound-dampening | Media spaces, music rooms |
Install Thoughtful Basement Lighting Solutions
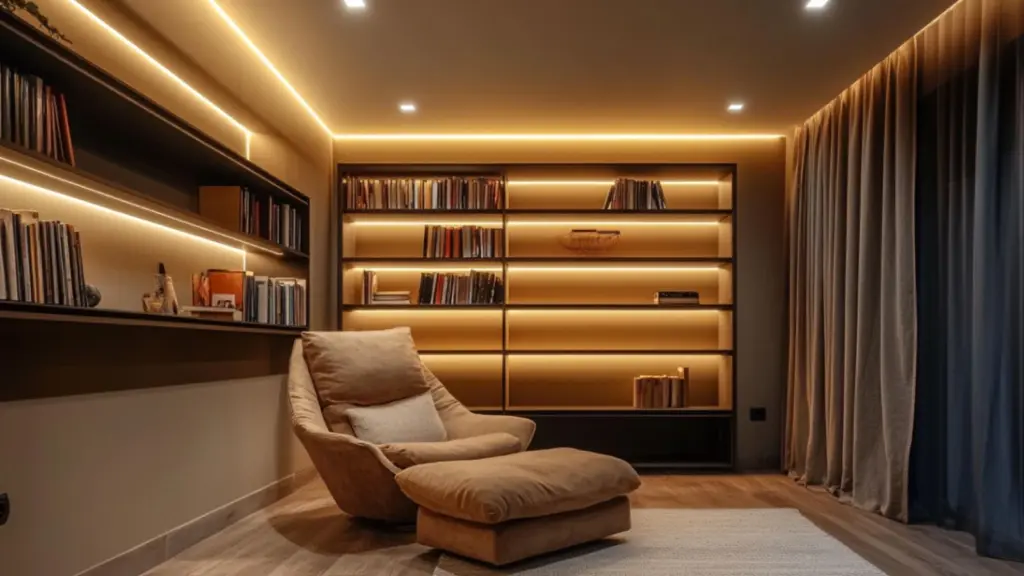
Since basements often lack natural light, thoughtful lighting is crucial to achieving a polished look. Layered lighting—ambient, task, and accent—adds depth and usability to the space.
Start with recessed ceiling lights for general illumination. Add floor lamps or sconces to warm the mood in reading nooks or sitting areas. Don’t forget task lighting in zones like a home office or kitchenette. LED strip lights under cabinets or shelves can highlight architectural details or collectibles.
Smart bulbs can help adjust the color temperature based on time of day, especially important in basements with little or no windows.
Lighting Types and Placement Tips:
| Lighting Type | Where to Use | Styling Benefit |
|---|---|---|
| Recessed Lighting | Across ceiling grid | Clean look, evenly distributed light |
| Floor Lamps | Next to seating or reading areas | Adds warmth and ambiance |
| Under-Cabinet LEDs | Kitchenette or shelving units | Highlights design and adds dimension |
| Sconces | Along hallway or stair walls | Prevents shadows, adds detail |
Add Wall Treatments for Texture and Personality
Unfinished basement walls can feel flat or cold. Introducing wall treatments gives the space a finished, intentional look. Consider painted shiplap for a farmhouse vibe, peel-and-stick wallpaper for easy DIY elegance, or even wood slat walls for a modern touch.
Accent walls are especially effective in basements—use them behind the TV, around a fireplace, or to define a zone like a mini bar. You can also use drywall with decorative trim or panel molding for a traditional, high-end look.
Wall Treatment Ideas:
| Wall Type | Style Effect | Ease of DIY |
|---|---|---|
| Painted Shiplap | Cozy, cottage charm | Moderate (requires cuts/fastening) |
| Peel-and-Stick Wallpaper | Quick pattern or color infusion | Easy (no tools needed) |
| Wood Slat Panels | Modern and dimensional | Moderate to advanced |
| Board & Batten | Classic and polished | Moderate (layout + trim cutting) |
Conclusion
Finishing a basement on your own may seem like a major project—but with the right approach and attention to detail, it’s absolutely achievable. From moisture-proofing and smart insulation to stylish flooring, ceilings, and decor elements, every choice contributes to a polished, livable space that enhances your entire home.
Whether you’re transforming your basement into a family retreat, a guest oasis, or a creative escape, these DIY finishing tips will guide you toward a space that feels cohesive, cozy, and beautifully designed. The basement is no longer an afterthought—it’s your home’s hidden gem waiting to shine.
