DIY Bathroom Decor Ideas to Personalize Your Space
Table of Contents
Bathrooms may be some of the smallest rooms in the home, but they hold huge potential for creativity. If you’ve ever looked around your bathroom and felt like something was missing, you’re not alone. Many people overlook this space when decorating—but it doesn’t have to be that way. In fact, the bathroom is one of the easiest places to make stylish, meaningful upgrades without major renovations.
Recent design reports show that over 60% of homeowners prefer DIY decor to personalize their homes on a budget. And with bathrooms, the rewards are instant. Simple changes like handmade storage, custom wall art, or even a fresh vanity mirror can dramatically improve both form and function.
This blog will guide you through creative, easy-to-follow DIY bathroom decor ideas to make your space feel more like you. Whether you love boho touches, rustic accents, or minimalist design, there’s a project here for you. These ideas are budget-friendly, renter-friendly, and totally customizable—perfect for beginners and seasoned DIYers alike.
Build Floating Shelves for Stylish Storage
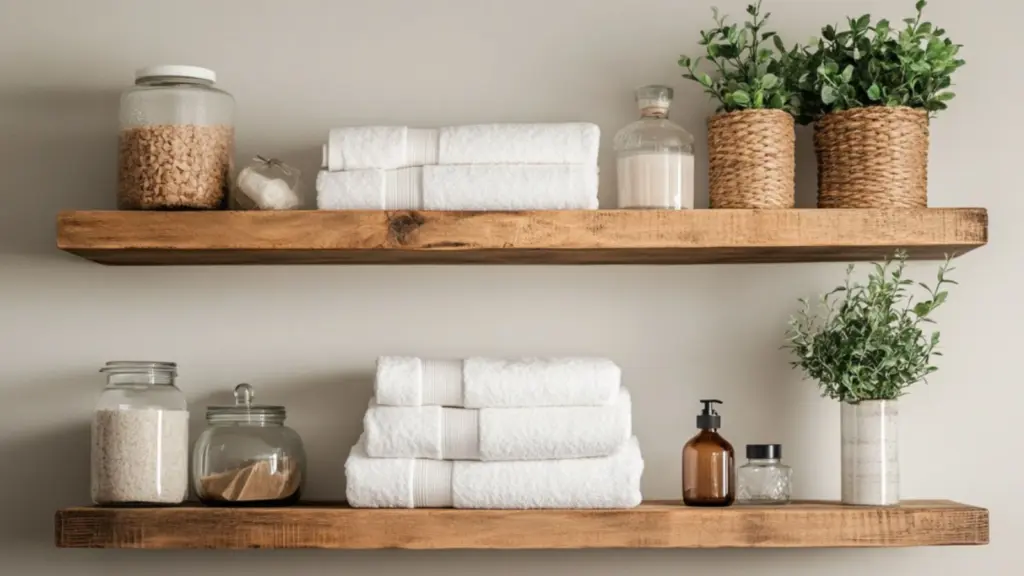
Floating shelves are one of the most popular DIY upgrades for any bathroom. Not only do they add storage space, but they also let you display personal items, decorative jars, or towels in a visually appealing way.
Choose a wood finish that complements your existing decor—natural oak for a minimalist look or a darker stain for farmhouse charm. Brackets can be hidden for a floating effect or styled with visible wrought iron for added personality.
Step-by-Step: DIY Floating Shelves
| Step | Description |
|---|---|
| Measure | Determine shelf length and wall spacing |
| Cut & Sand | Cut wood to size and sand edges for smoothness |
| Stain or Paint | Apply your finish of choice |
| Mount Brackets | Use wall anchors and screws for security |
| Style Shelf | Add jars, rolled towels, candles, and plants |
Use two or three shelves above the toilet or beside your vanity to make the most of vertical space.
Create a Custom Mirror Frame to Upgrade the Vanity
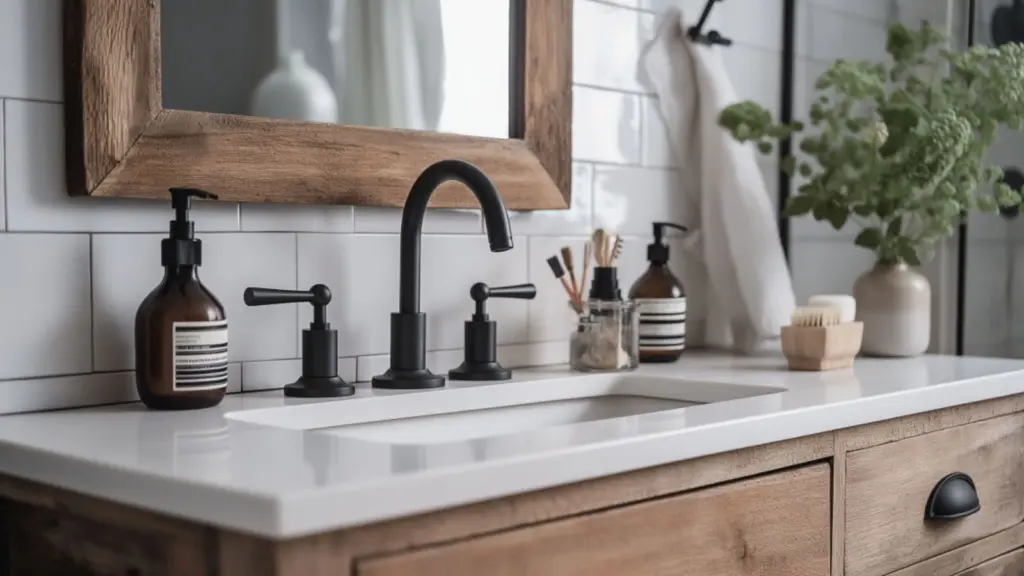
One of the fastest ways to elevate your bathroom is by giving your mirror a custom frame. Most builder-grade mirrors are frameless and functional but lack style. With some inexpensive wood and adhesive, you can create a high-impact, low-effort frame that looks built-in.
You’ll need trim or flat molding, wood glue or strong adhesive strips, and your choice of paint or stain. This project is completely customizable—choose a distressed finish for a rustic look or go for sleek black for modern appeal.
DIY Mirror Frame Checklist
| Material | Details |
|---|---|
| Wood Trim | Flat or decorative, pre-cut to size |
| Wood Stain or Paint | Choose based on bathroom color scheme |
| Adhesive | Liquid nails, Gorilla glue, or command strips |
| Measuring Tape | For accurate fitting around mirror |
| Level | Ensure alignment is straight |
Tips for a Professional Finish
- Clean the mirror before application
- Paint or stain before installation to avoid splatter
- Use corner clamps or masking tape to secure while drying
This easy upgrade adds architectural interest and can even increase perceived space by drawing attention to the mirror as a focal point.
Craft Wall Art with Everyday Materials
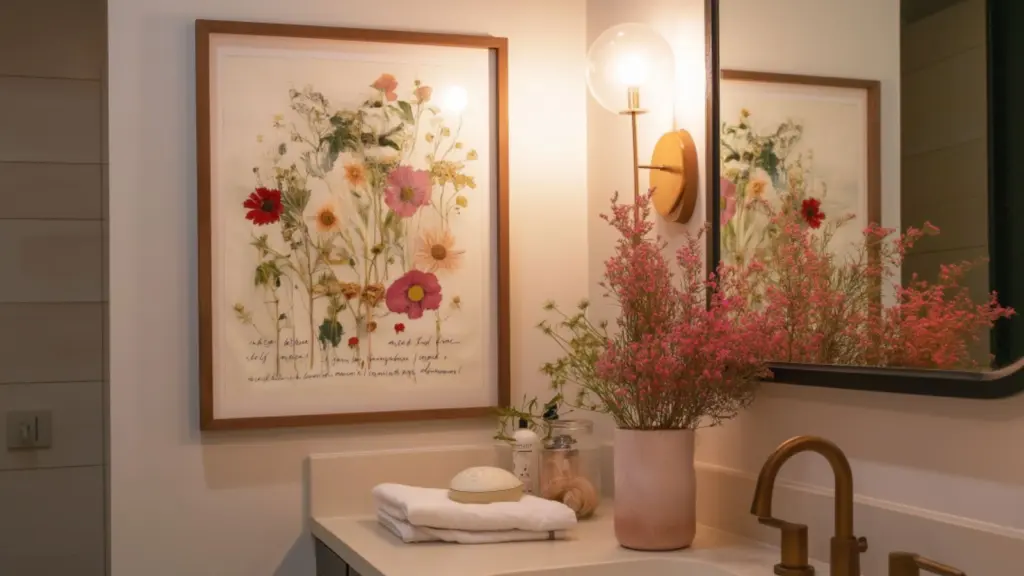
Wall art adds a personal touch to the bathroom and can be made with materials you already have. Try framed quotes, pressed botanicals, or abstract canvases using painter’s tape and acrylics.
You can also repurpose old picture frames and fill them with fabric, scrapbook paper, or even hand-drawn patterns. Group pieces in a grid or hang a single oversized piece for a bold statement.
DIY Wall Art Inspiration
| Art Style | Materials Needed | Best Placement |
|---|---|---|
| Abstract Canvas | Canvas, acrylic paint, painter’s tape | Above towel rack or toilet area |
| Pressed Flowers | Glass frame, dried blooms, cardstock | Near mirror or shelf wall |
| Typography Print | Printer, design software, nice paper | Entry area or next to the vanity |
This is the perfect weekend project and can be tailored to match your evolving style or the seasons.
Design a Hanging Organizer with Hooks and Baskets
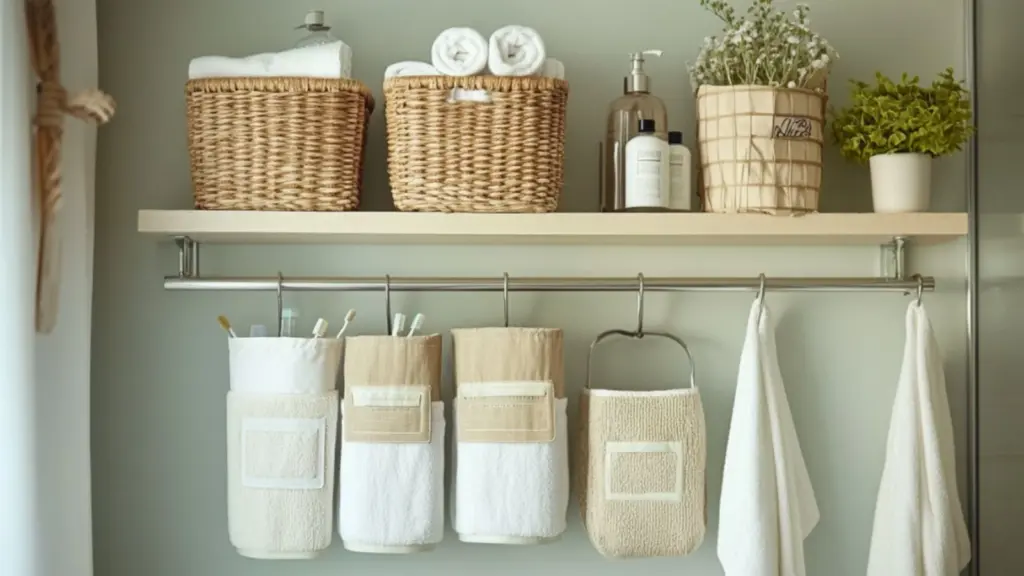
Bathroom counters get cluttered quickly, especially in small spaces. Solve that problem with a DIY wall-mounted organizer using hooks, hanging baskets, or even small crates.
Install a rail (like a curtain rod or dowel) on the wall, then hang wire baskets or fabric pouches from hooks. This setup is ideal for storing hair tools, toiletries, or rolled washcloths while keeping everything accessible.
Organizer Design Guide
| Component | Use Case | Styling Tip |
|---|---|---|
| Wire Baskets | Hair products, soaps, or skincare | Line with linen for a clean look |
| S-Hooks | Towels, scrunchies, or loofahs | Mix metal tones for interest |
| Fabric Pouches | Makeup, razors, or cotton pads | Label with stitched tags |
Mount the organizer near your vanity or inside the door for space-saving brilliance.
Refresh the Vanity with New Hardware and Paint
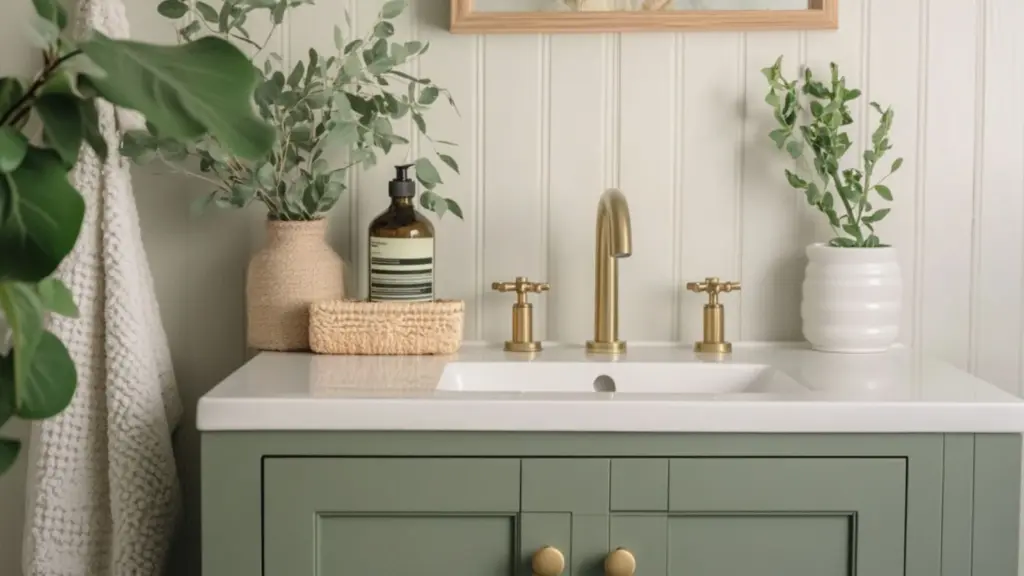
If your bathroom vanity feels outdated, a few small updates can breathe new life into it. Start by swapping out cabinet hardware—try gold pulls for glam, matte black for modern, or ceramic knobs for cottage charm.
For a more involved project, paint your vanity a fresh color. Sage green, charcoal, or navy are all trending choices. Just make sure to use a paint suited for high-humidity areas.
Vanity Refresh Options
| Upgrade Type | Description | Cost Level |
|---|---|---|
| New Hardware | Replacing knobs and pulls | Low |
| Paint or Refinish | Sand, prime, and repaint cabinet | Medium |
| Peel-and-Stick Wrap | Vinyl film for surface upgrade | Medium to Low |
This simple transformation makes your bathroom feel updated and custom without a full renovation.
Make Your Own Bath Tray or Caddy
A bath tray adds a spa-like feel to any bathroom. And with a basic board, some handles, and waterproof sealer, you can build your own. This tray can hold candles, a book, a cup of tea—or whatever makes your bath more enjoyable.
Measure your tub width and cut a board to fit. Sand and finish it, then add rubber stoppers or small wooden edges to prevent slipping.
DIY Bath Tray Instructions
| Step | Details |
|---|---|
| Measure Tub Width | Ensure tray spans the edges securely |
| Select Board | Choose durable, water-resistant wood |
| Add Stoppers | Prevent movement and add grip |
| Optional Handles | Attach for easy carrying and style |
| Seal Finish | Use waterproof polyurethane or marine seal |
This elegant piece turns ordinary baths into a mini retreat—ideal for relaxing after a long day.
Add Personality with Upcycled Accessories
Use what you already have to add charm to your bathroom. Old mason jars can become toothbrush holders, small crates can hold toilet paper, and candle jars can be reused for cotton rounds or bath salts.
Get creative with containers by painting them, adding labels, or wrapping them in jute or twine for a rustic look. Upcycled decor is affordable, eco-friendly, and endlessly customizable.
Upcycling Ideas
| Item | New Use | Design Tips |
|---|---|---|
| Mason Jar | Toothbrush or makeup brush holder | Paint lid or add label |
| Wine Crate | Mounted shelf or magazine rack | Sand edges and stain wood |
| Candle Jar | Storage for cotton pads or bath salts | Wrap with twine or decorative tape |
These small accents pull your decor together and add warmth and authenticity.
Conclusion
Bathroom decor is often overlooked—but with a little imagination, it can become one of the most inviting spaces in your home. These DIY bathroom decor ideas help you personalize your space in practical, beautiful ways. Whether you’re adding floating shelves, framing your mirror, or crafting your own wall art, each project reflects your unique style. Best of all, these upgrades are achievable, affordable, and enjoyable to create. Your bathroom is more than a utilitarian space—it’s a canvas for creativity and comfort.
