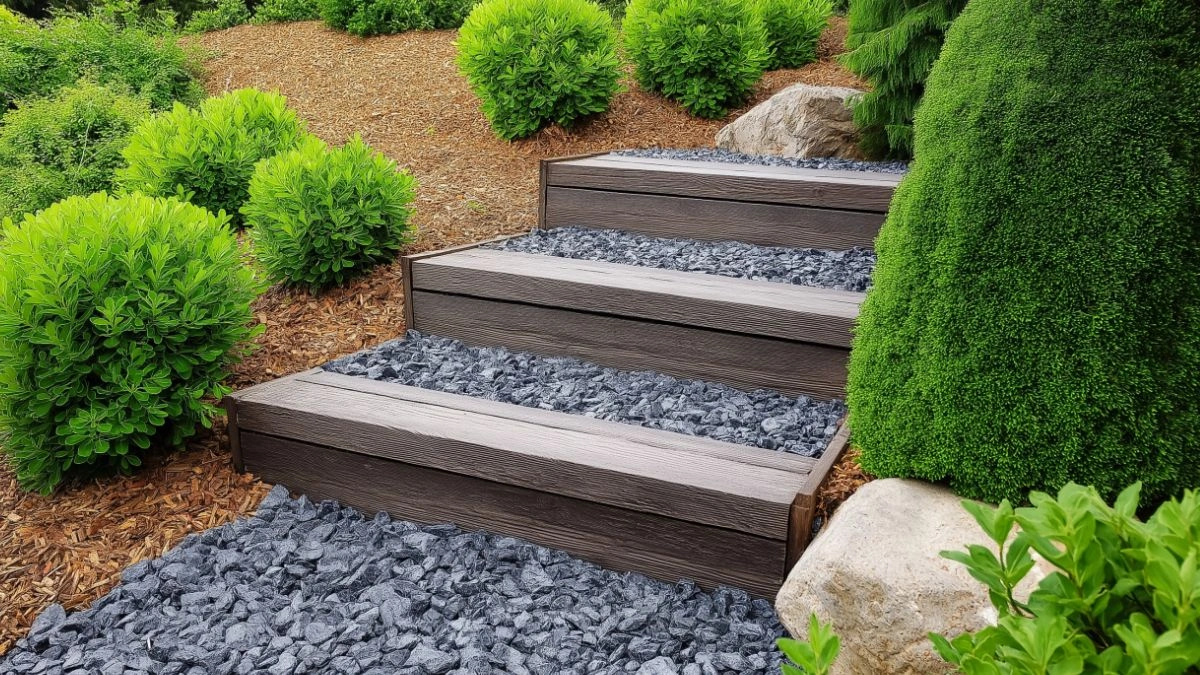
Easy DIY Stairs Outdoor Builds for Beginners
Table of Contents
Outdoor stairs don’t have to be intimidating. Whether you’re dealing with a sloped yard, connecting a patio to your garden, or adding access from your deck, stairs serve as both a functional necessity and a design opportunity. For beginners especially, learning how to build outdoor stairs can unlock endless landscaping possibilities—without the need to hire a contractor.
Recent home improvement data shows that DIY landscaping projects are on the rise, and outdoor stairs remain a top project due to their practicality and visual impact. When done right, even the most basic stair design can dramatically improve flow and safety in your outdoor space, while adding structure and curb appeal.
In this guide, we’ll break down easy DIY stairs outdoor builds step by step—tailored specifically for first-time builders. From material selection and layout planning to construction tips and safety enhancements, you’ll find beginner-friendly instructions that lead to professional-looking results. Whether you prefer rustic timber, classic pavers, or a gravel garden look, this guide will help you build with confidence and creativity.
Start with the Right Stair Style for Your Space
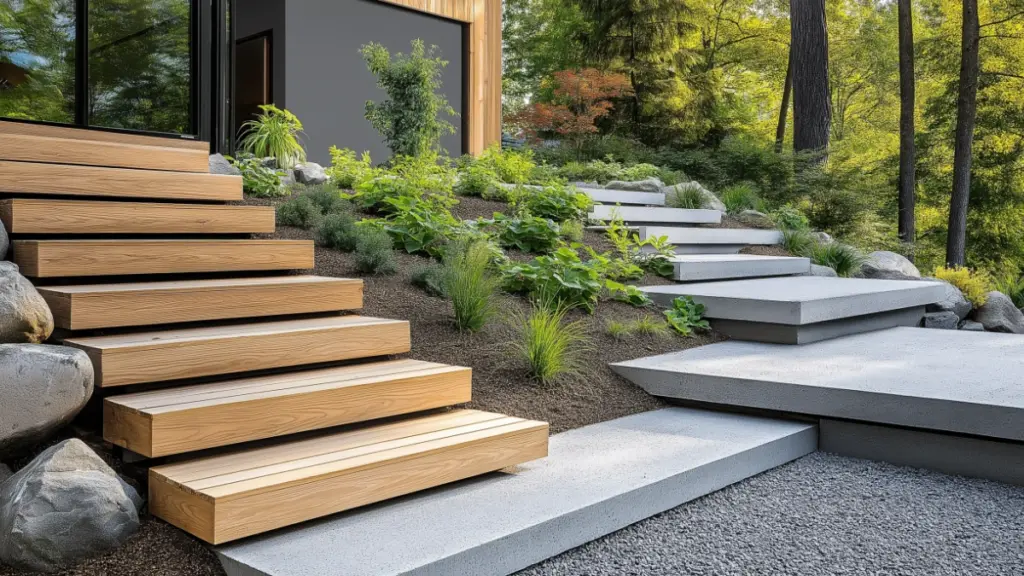
Choosing the appropriate stair style is the foundation of a successful project. Different layouts suit different slopes, home styles, and foot traffic needs.
Straight Staircases
The simplest style for most beginners, straight stairs work well for moderate slopes and areas with clear run space. They’re easy to measure and build, with uniform rises and treads.
L-Shaped or Turned Stairs
Perfect for tight spaces or when you need a turn in the path, this design adds dimension to your build and can integrate nicely with patios or garden features.
Terraced Steps or Garden Stairs
For gentle slopes, wide and shallow terraced steps built with timber or stone blend seamlessly into the natural landscape. These stairs often use gravel or stepping stones for an informal look.
Floating or Framed Steps
This modern option uses clean-lined frames filled with gravel or stone, often raised slightly off the ground for a minimalist effect. Great for contemporary homes and gardens.
Table: Stair Style Guide
| Stair Style | Ideal For | Complexity Level |
|---|---|---|
| Straight | Clear slopes, decks | Easy |
| L-Shaped | Limited space, design detail | Moderate |
| Terraced | Gentle slopes, garden paths | Easy |
| Floating | Modern look, raised beds | Moderate |
Measure and Map Out Your Stair Dimensions
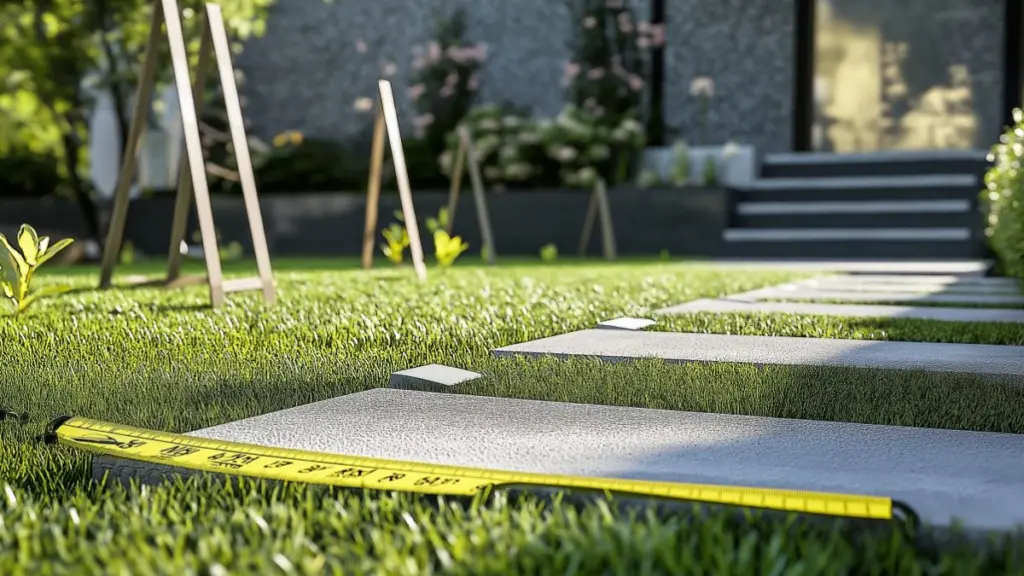
Before digging or cutting, it’s essential to calculate your stair layout precisely. Mistakes here can lead to uneven or unsafe stairs.
Step 1: Calculate Total Rise
Measure the vertical distance from the ground to your top landing (deck, porch, or yard level).
Step 2: Determine Riser Height
Divide the total rise by 6 to 8 inches (the ideal range for a single riser). Round to the nearest whole number to get your number of steps.
Step 3: Determine Tread Depth
Plan for treads (the horizontal part of the step) to be 10–12 inches deep. This gives a comfortable walking surface.
Step 4: Confirm Total Run
Multiply the number of treads by the tread depth to determine the total length your stairs will extend forward.
Table: Stair Dimension Breakdown Example
| Measurement | Calculation | Result |
|---|---|---|
| Total Rise | Ground to deck = 24 inches | 24 inches |
| Number of Steps | 24 ÷ 6 (ideal riser) | 4 risers |
| Tread Depth | 4 steps × 11″ tread | 44 inches run |
Build a Basic Set of Timber and Gravel Garden Steps
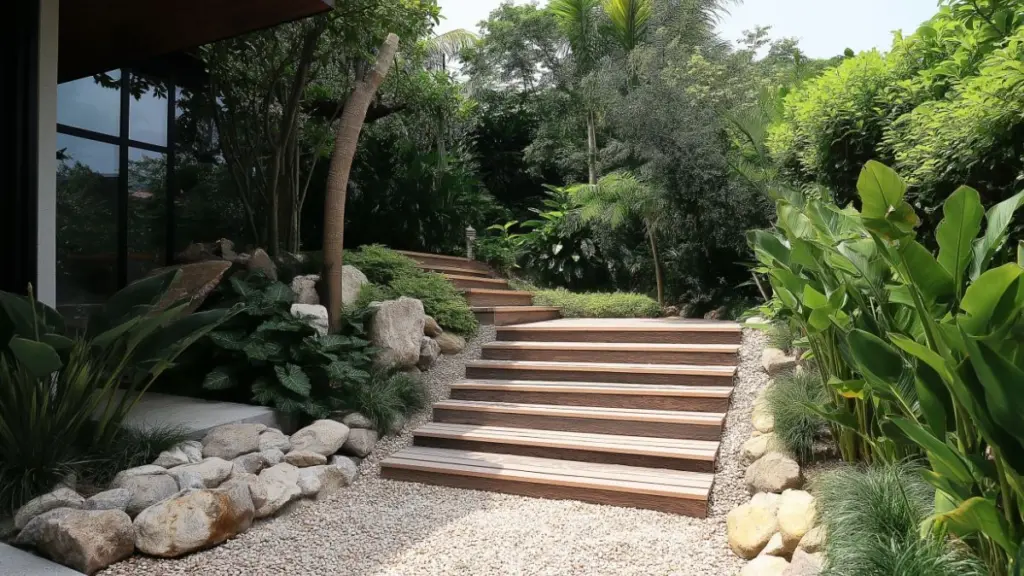
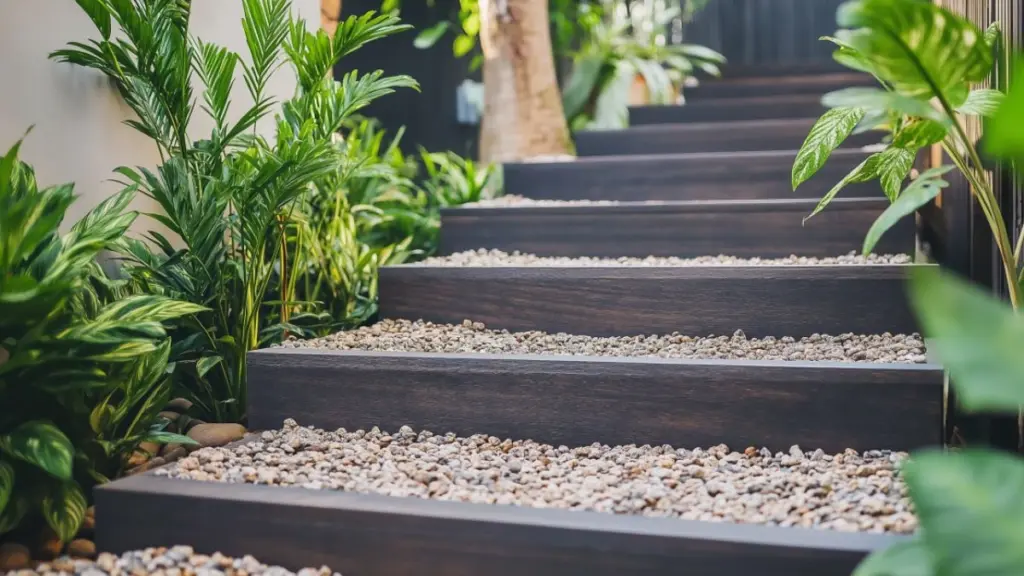
A great beginner project is timber-framed gravel stairs. These are simple, stylish, and well-suited for slopes that don’t require railings.
Step 1: Mark Your Layout
Use stakes and string to define your stair boundaries. Ensure the width is at least 36 inches.
Step 2: Dig Trenches
For each step, dig a trench equal to the height and depth of the timber (typically 6×6 or 4×4). Ensure the base is level and compacted.
Step 3: Anchor Timbers
Place your timber into the trench and secure with long rebar stakes through pre-drilled holes. Backfill behind the timber to hold it in place.
Step 4: Add Gravel Tread
Fill the space behind each riser with crushed gravel. Level and compact to form a stable, drainable tread surface.
Step 5: Repeat the Process
Continue step by step up the slope. Ensure consistent height and depth as you go, using a level.
Table: Materials Checklist for Timber Stairs
| Material | Purpose | Quantity (3 steps) |
|---|---|---|
| Pressure-treated 6x6s | Step risers | 3–4 timbers |
| Rebar stakes (12″) | Anchor timbers | 6–8 pieces |
| Crushed gravel | Step treads and drainage | 3–4 bags |
| Landscape fabric | Weed prevention | 1 roll |
Use Stepping Stones and Gravel for a Casual Build
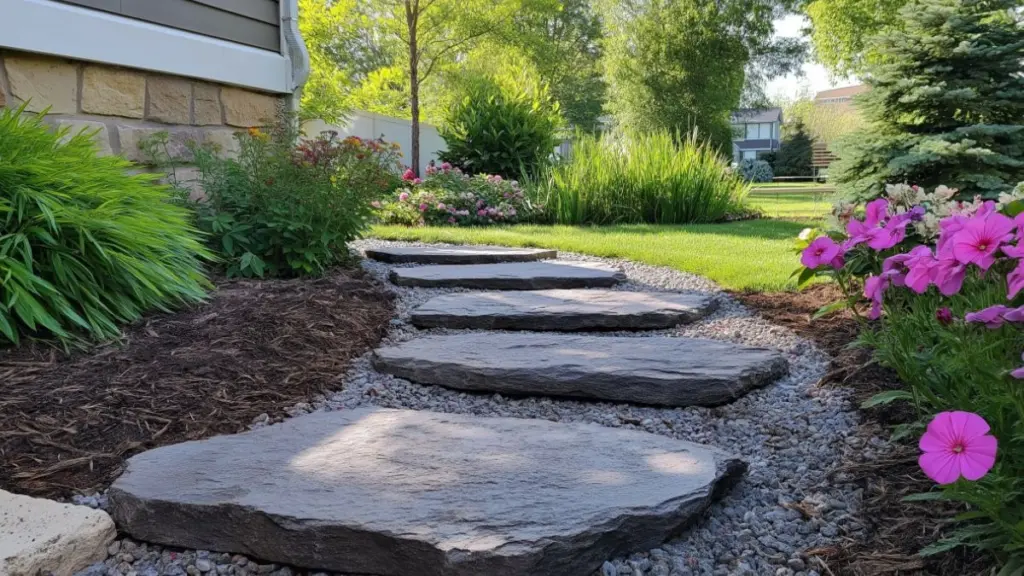
If your slope is gentle and you want a relaxed garden look, consider gravel and stone steps. This project involves minimal digging and allows more design flexibility.
Choose Your Stones
Select large, flat stones or concrete pavers. Aim for a non-slip surface with enough size to support a full footstep.
Excavate and Level
Scoop out a shallow hole for each stone, level the base with sand or gravel, and set the stone so it sits slightly above ground level.
Backfill and Edge
Add gravel or mulch around the stones to hold them in place and maintain drainage. Use steel or wood edging to prevent gravel from spilling.
Table: Stepping Stone Stair Materials
| Material | Function | Style Tip |
|---|---|---|
| Flat stones/pavers | Step surface | Choose color to match home style |
| Gravel or DG | Drainage and filler | Use around and between stones |
| Sand base | Helps level each step | Compact well before placing |
| Edging | Keeps materials contained | Wood, stone, or metal borders |
Incorporate Safety Features for Peace of Mind
Even beginner stair builds should consider safety—especially in high-traffic areas, wet climates, or where elevation changes are significant.
Add a Simple Railing
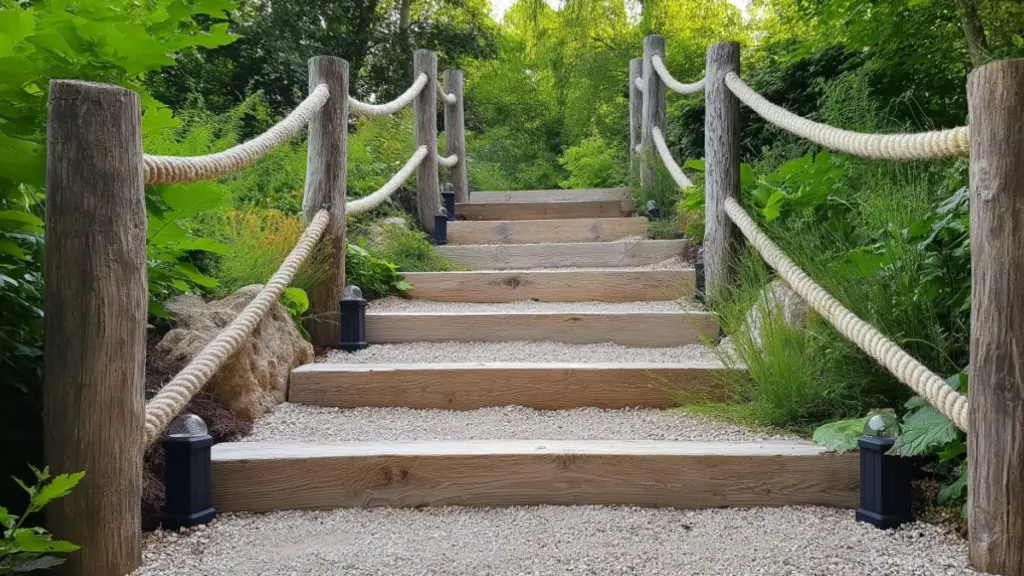
Install posts on each side and attach a wood or metal handrail. For garden stairs, rope railings add both function and charm.
Install Solar Lights or Step Lighting
Lighting improves visibility and adds evening ambiance. Use solar-powered step lights or low-voltage LEDs mounted along side walls.
Use Anti-Slip Surfaces
If you’re using wood, consider adding grip tape or textured paint. For gravel and stone, avoid smooth surfaces that may become slippery when wet.
Table: Outdoor Stair Safety Enhancements
| Feature | Benefit | Ideal Use Area |
|---|---|---|
| Handrails | Improves balance and support | Deck stairs, sloped entries |
| Step lighting | Nighttime safety and style | High-traffic areas |
| Non-slip treads | Prevents slipping | Wood or smooth surfaces |
| Edge markers | Visibility for riser depth | Stone or floating stair designs |
Maintain Your DIY Outdoor Steps Over Time
Building the stairs is only the beginning. To keep them safe, attractive, and weather-resistant, a little ongoing care goes a long way.
Wood Stair Maintenance
Treat with a weatherproof sealer once a year to prevent rot and fading. Check for loose boards or anchors after heavy rain or snow.
Gravel or Stone Care
Rake gravel back into place as needed. Replace or reset any stones that shift or sink over time.
Drainage Inspection
Make sure water doesn’t pool around the base of your stairs. Keep weep holes or gravel beds clear to maintain proper flow.
Vegetation Management
Trim back plants growing over the edges of stairs to prevent tripping hazards or excessive moisture buildup.
Table: Outdoor Stair Maintenance Schedule
| Task | Frequency | Best Practice |
|---|---|---|
| Seal wood surfaces | Annually | Use UV-protective outdoor sealant |
| Refill gravel or tread | As needed | Top up and re-tamp to prevent shifting |
| Check for loose parts | Bi-annually | Inspect after seasonal changes |
| Clear debris and weeds | Monthly | Prevent slipping and decay |
Conclusion
Outdoor stairs are more than just a functional element—they shape how you move through your yard, connect spaces, and define your landscape’s style. For beginners, tackling an easy DIY stairs outdoor build is a great way to gain confidence, sharpen your skills, and make a visible impact on your property.
From simple timber steps to artistic stone paths, there’s a stair design that fits your skill level and vision. With thoughtful planning, quality materials, and a touch of creativity, you’ll build stairs that not only serve a purpose—but welcome you and your guests with every step.

