Professional Kitchen Countertop Styling Tricks Revealed for a Polished Home Look
Table of Contents
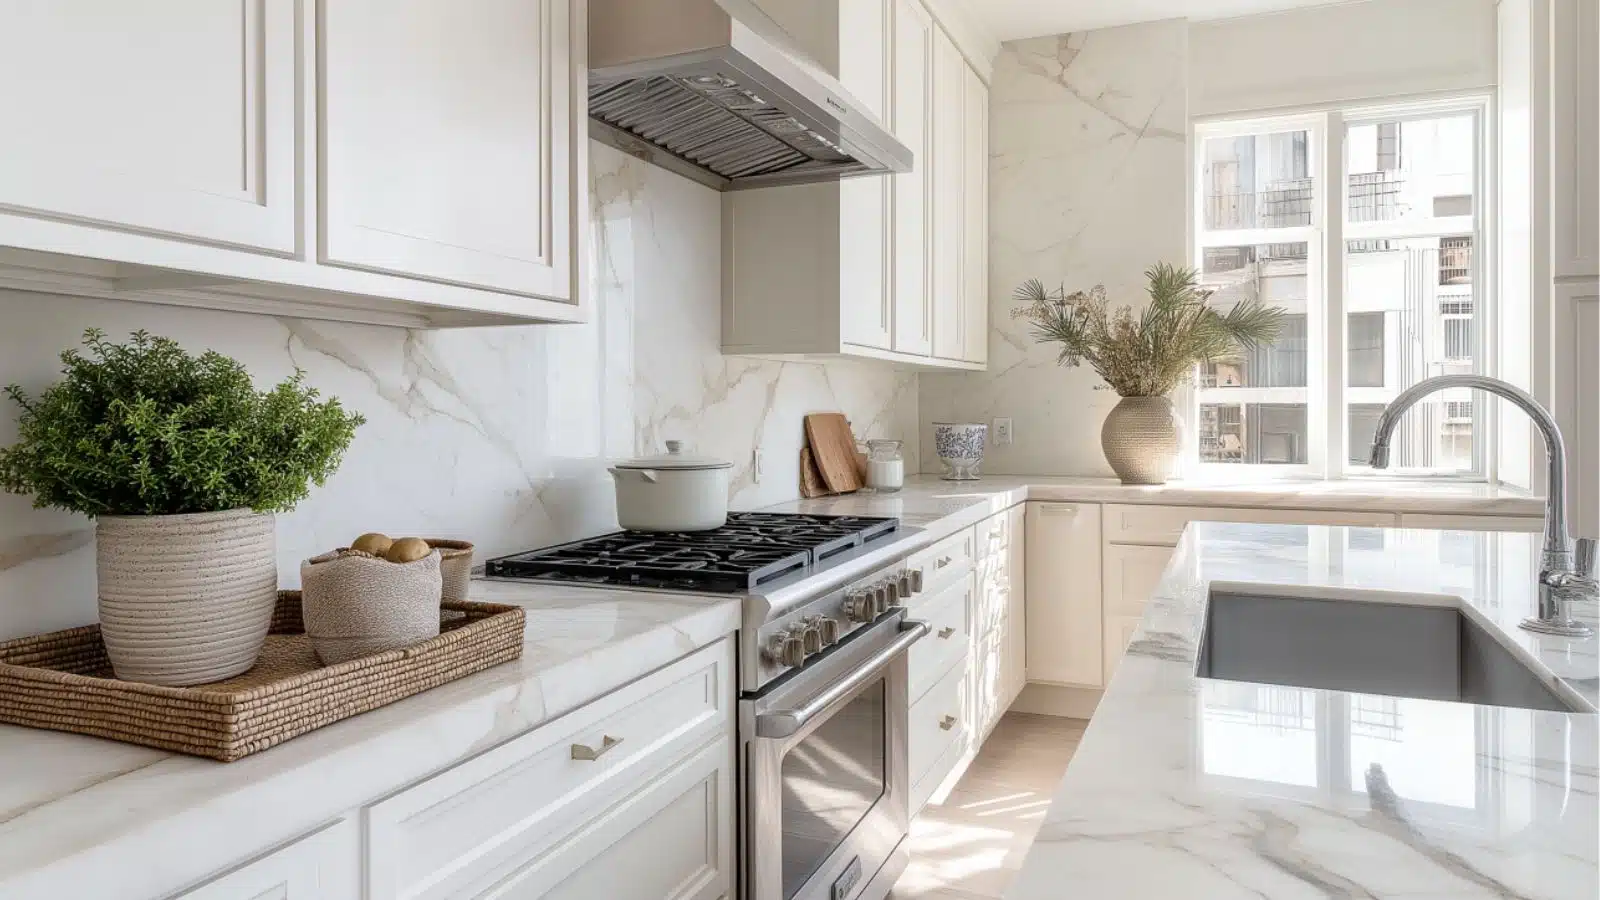
Your kitchen countertops are more than just workspaces—they’re style statements. While we often obsess over cabinetry, tile, and appliances, it’s the countertops that anchor the space and draw the eye. When styled with intention, they elevate the entire kitchen’s look from functional to fabulous.
Professional designers know that countertops shouldn’t be cluttered—but they also shouldn’t be bare. Achieving that perfect balance of beauty and utility is where the real styling magic happens. From chic layering techniques to thoughtfully selected accessories, countertop styling is one of the easiest ways to refresh your kitchen without a major renovation.
In this article, we reveal the insider tricks that professional designers use to style kitchen countertops. Whether you lean modern, farmhouse, or classic, these ideas will help you add personality, texture, and charm to your cooking space. We’ll explore layout principles, color theory, decorative essentials, and practical tips that transform everyday items into beautiful vignettes.
You’ll learn how to create visual flow, incorporate seasonal touches, and keep your counters beautiful without compromising on functionality. Let’s dive into the subtle art of countertop styling—where design meets daily life.
Start with a Clean Canvas and Define Your Zones
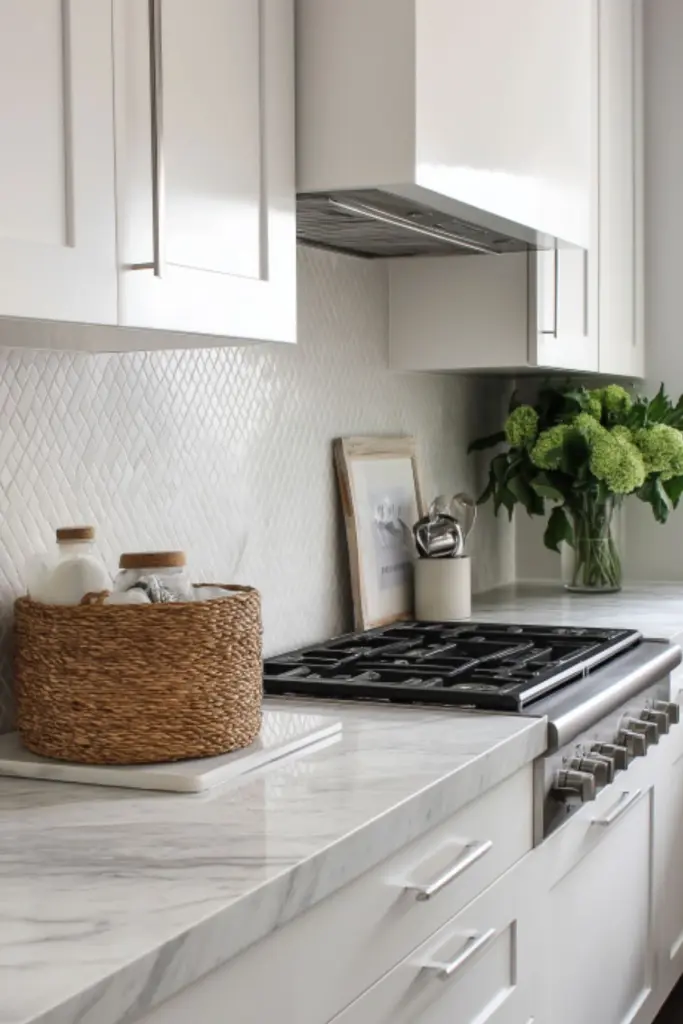
Before you style, you must simplify. Professional designers always begin with a clear countertop, stripping everything back to understand the space and layout. This allows you to define the zones of your kitchen: cooking, prep, cleaning, and display.
Each zone should serve a purpose. The cooking zone near your range might house oil, salt, and cutting boards. The sink area could feature hand soap and a small plant. And the unused corners? Prime real estate for decorative styling.
Groupings are key—items look more intentional when styled in curated clusters of odd numbers (typically three or five). And be mindful of visual weight; balance taller items with horizontal elements, like trays or low bowls.
Zone Styling Guide
| Kitchen Zone | Items to Include | Styling Tips |
|---|---|---|
| Cooking Zone | Olive oil, spices, utensil jar | Use a tray to ground essentials |
| Prep Area | Cutting boards, knives, produce bowl | Layer boards for texture |
| Sink Area | Soap dispenser, scrub brush, small plant | Add life with greenery and neutral tones |
| Corner Display | Candle, cookbook stand, vase | Mix heights and textures for interest |
Layering and Height: The Secret to Designer-Like Styling
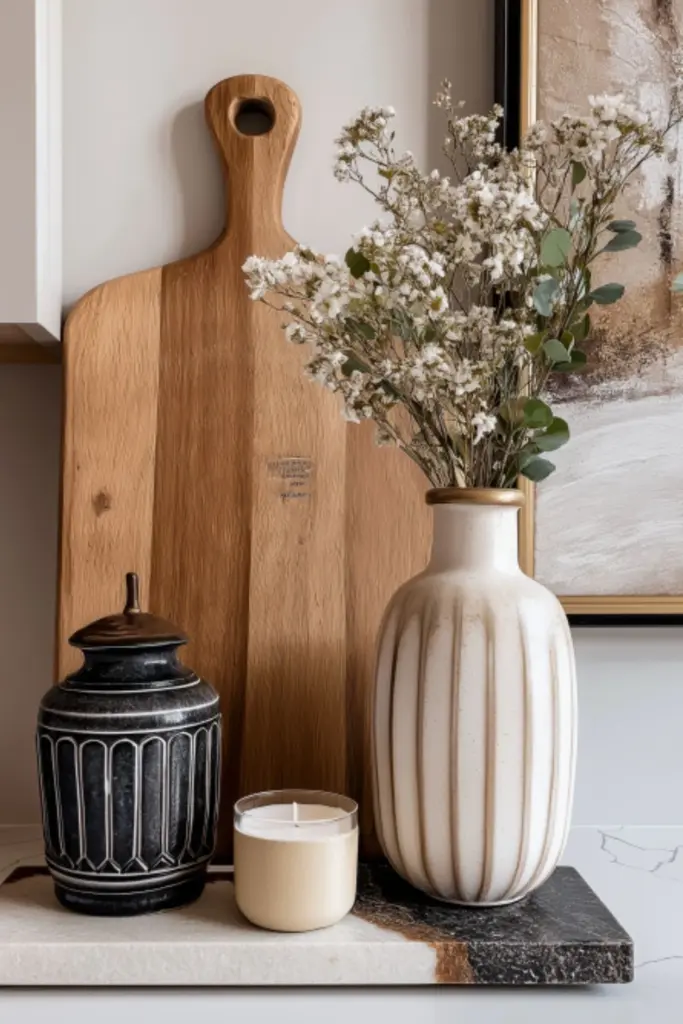
One hallmark of professional countertop styling is layering with height variation. Instead of letting items sit flat and isolated, designers build vignettes using items of different sizes and shapes to create visual interest.
Think vertical: use a tall vase, a medium-sized utensil holder, and a short candle or trinket dish in one corner to form a cohesive triangle. This draws the eye upward and adds depth. Cutting boards placed upright against the backsplash also bring vertical texture and warmth—especially in stone-heavy kitchens.
Don’t forget the horizontal layers. Trays, stacked cookbooks, or a folded tea towel can ground a collection and make it feel intentional, not cluttered. Trays are especially useful to create defined zones and add a base layer to your arrangement.
Height & Layering Composition Tips
| Element Type | Examples | Placement Strategy |
|---|---|---|
| Tall | Vase, lamp, upright cutting board | Use to anchor one side of the arrangement |
| Medium | Utensil crock, oil bottle, mug tree | Centerpiece or balance for taller object |
| Short | Salt cellar, candle, soap dish | Front or side to create flow |
| Base Layer | Tray, folded linen, book stack | Acts as visual frame; prevents “floating” items |
Choose a Cohesive Color Palette for Visual Harmony
Color is a powerful styling tool, and professionals use it strategically to tie countertop décor to the rest of the kitchen. A limited color palette—usually three to four hues—creates cohesion and avoids visual noise.
Start with your countertop’s tone and your kitchen’s overall color scheme. If you have warm granite, opt for earthy tones like beige, rust, or forest green. Cool-toned marble works beautifully with whites, blacks, or soft blues. Neutrals are always a safe bet, but don’t shy away from subtle pops of color—like a mustard jar or cobalt vase.
Keep in mind the undertones of materials. Wood can skew red, yellow, or gray. Mixing undertones can result in clashes, while aligning them feels effortlessly polished.
Color Coordination Tips
| Countertop Material | Suggested Palette | Accent Color Ideas |
|---|---|---|
| White Marble | White, gray, black | Sage green, brass, deep navy |
| Warm Granite | Beige, tan, rust | Olive, amber, charcoal |
| Black Quartz | White, wood tones, matte black | Gold, eucalyptus green, burnt orange |
| Butcher Block | Cream, terracotta, olive | Soft mint, vintage blue, linen white |
Functional Styling: Blending Beauty with Everyday Use
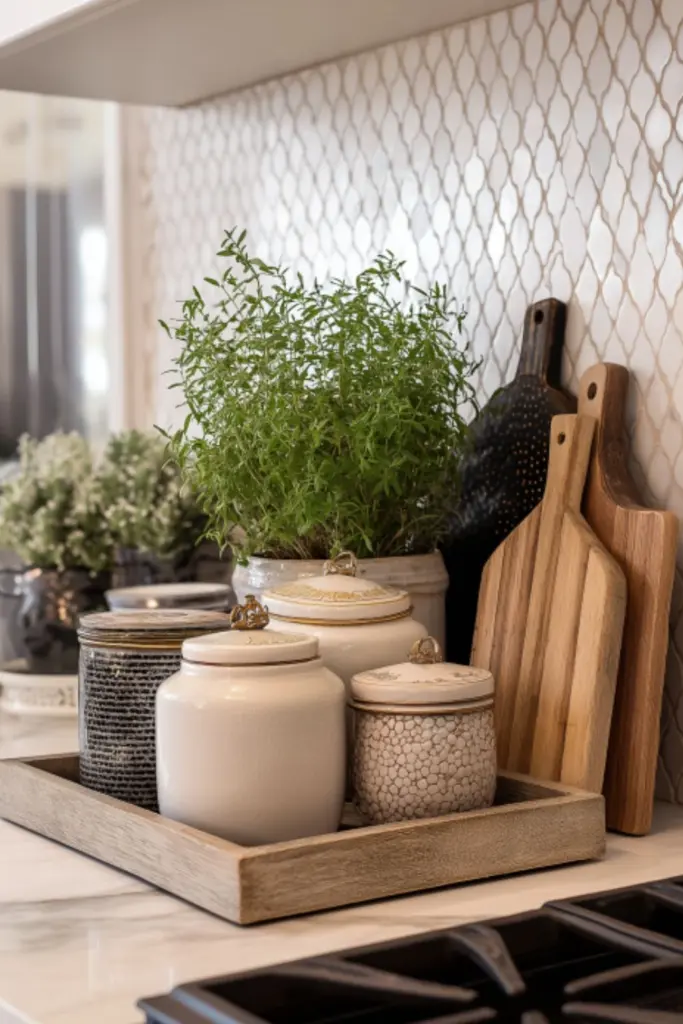
The best countertop styling doesn’t just look good—it works seamlessly with your daily routine. Professional designers aim to enhance functionality while maintaining aesthetic appeal. It’s about curating beauty from everyday essentials.
Elevate the Ordinary
Start by selecting attractive versions of items you use daily. A refillable glass soap dispenser, a handcrafted ceramic utensil holder, or a sleek olive oil decanter instantly add style without taking up extra space.
Group with Purpose
Use trays or cutting boards as styling anchors. Place oils, salt, pepper, and garlic in a small tray near the stove so they’re within reach while also looking tidy. This keeps clutter at bay and helps everything feel intentional.
Hide the Mess
Incorporate closed storage—like a lidded jar for coffee pods or a breadbox that doubles as a décor piece. Keeping clutter contained allows your styled pieces to shine without distraction.
Rotate with the Season
Refresh your styling with the seasons. In spring, add a vase of fresh tulips. Come autumn, swap in a tiny pumpkin or an amber glass candle. These subtle nods keep the space dynamic and fresh.
Functional Styling Checklist
| Functional Need | Stylish Solution | Benefit |
|---|---|---|
| Cooking Essentials | Coordinated spice jars, oil decanter | Keeps items handy, adds visual appeal |
| Sink Storage | Ceramic soap dish, scrub brush bowl | Practical with charm |
| Morning Routine | Coffee station on tray, sugar jar | Efficient and elegant |
| Seasonal Refresh | Rotating small décor pieces | Keeps design current and engaging |
By marrying function with style, you create a kitchen that works hard and looks great doing it.
Natural Elements Bring Warmth and Texture
Professional stylists almost always incorporate organic textures to soften the sleek surfaces found in kitchens. Stone countertops, stainless steel appliances, and tile backsplashes can feel cold without the right balance.
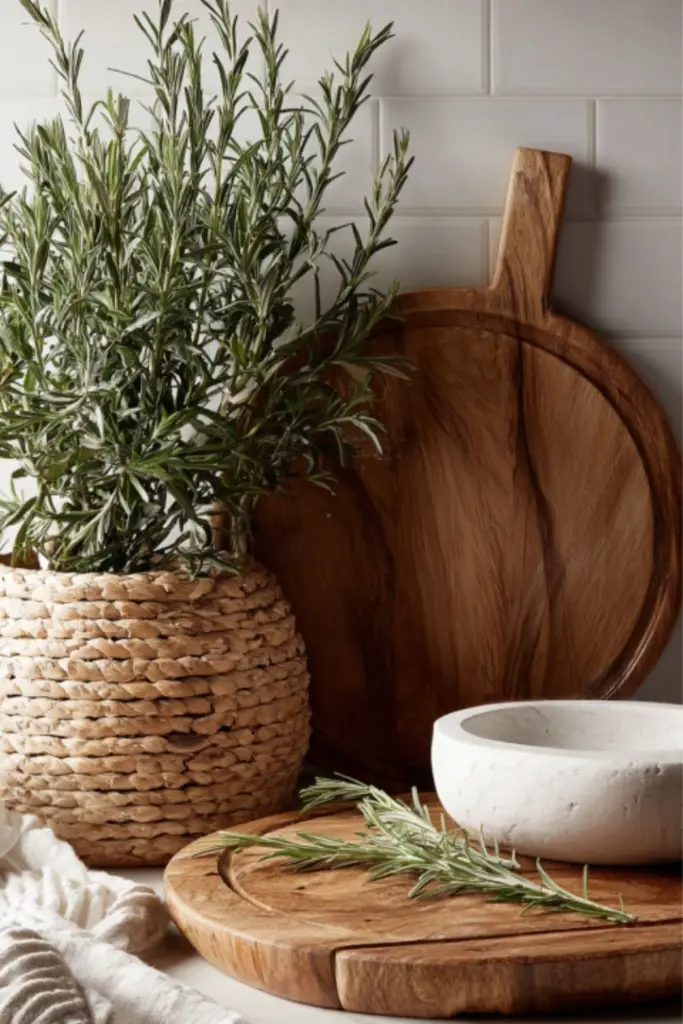
Wood is a go-to. Cutting boards, wooden bowls, and utensils introduce warmth and rustic texture. Plants—especially herbs like basil or rosemary—add freshness and life. Even a single potted plant in a textured pot can completely shift the mood of a space.
Natural stone objects like marble mortar and pestles or soapstone bowls add tactile contrast, while woven items (rattan trays, seagrass baskets) bring in an earthy, casual elegance.
Nature-Inspired Elements Guide
| Material | Best Used As | Styling Effect |
|---|---|---|
| Wood | Cutting boards, trays, risers | Warmth, grounding |
| Greenery | Herbs, succulents, small potted trees | Freshness, liveliness |
| Woven Fibers | Trays, baskets, utensil holders | Casual texture, movement |
| Stone | Mortar and pestle, coasters | Heft, organic luxury |
Styling Small Kitchens Without Clutter
Small kitchens offer unique challenges—and opportunities. Limited counter space means every item must pull double duty: it should be functional and beautiful. In tight quarters, minimalism reigns, but that doesn’t mean the space has to feel bare.
Scale Down
Use smaller versions of your favorite décor. A petite plant, a narrow tray, or a stack of espresso cups can still have a big impact without overwhelming the space.
Use the Walls and Windowsills
Free up counter space by mounting magnetic knife strips or wall shelves for spices. If you have a window ledge, use it for a small herb garden or decorative jars.
Keep It Vertical
Instead of spreading items across the counter, go vertical. Layer two cutting boards against the wall and place a utensil jar in front. You gain depth without eating up surface area.
Incorporate Hidden Storage
Opt for décor that doubles as storage—like lidded canisters, tiered trays, or drawer organizers that hide below countertop level. The fewer visible items, the more spacious your kitchen feels.
Small Kitchen Styling Tips
| Challenge | Solution | Result |
|---|---|---|
| Limited space | Small-scale décor | Prevents visual clutter |
| No display surface | Wall shelves, windowsill styling | Adds character without using counters |
| Visual tightness | Use mirrors or reflective trays | Expands space through light and reflection |
| Utility vs. style | Double-duty items | Keeps look cohesive and practical |
Even the smallest countertop can be a canvas for creativity when approached with intention and smart design choices.
Conclusion
Kitchen countertop styling is more than decoration—it’s a reflection of how we live. When thoughtfully styled, countertops bring ease to our routines and warmth to our homes. Whether you’re working with a sprawling chef’s kitchen or a tiny galley, applying professional tricks like layering, color cohesion, and functional styling can make a world of difference.
Remember, great style isn’t about having more—it’s about choosing with care. Every jar, board, and vase can tell a story. And in the heart of your home, those stories matter.

