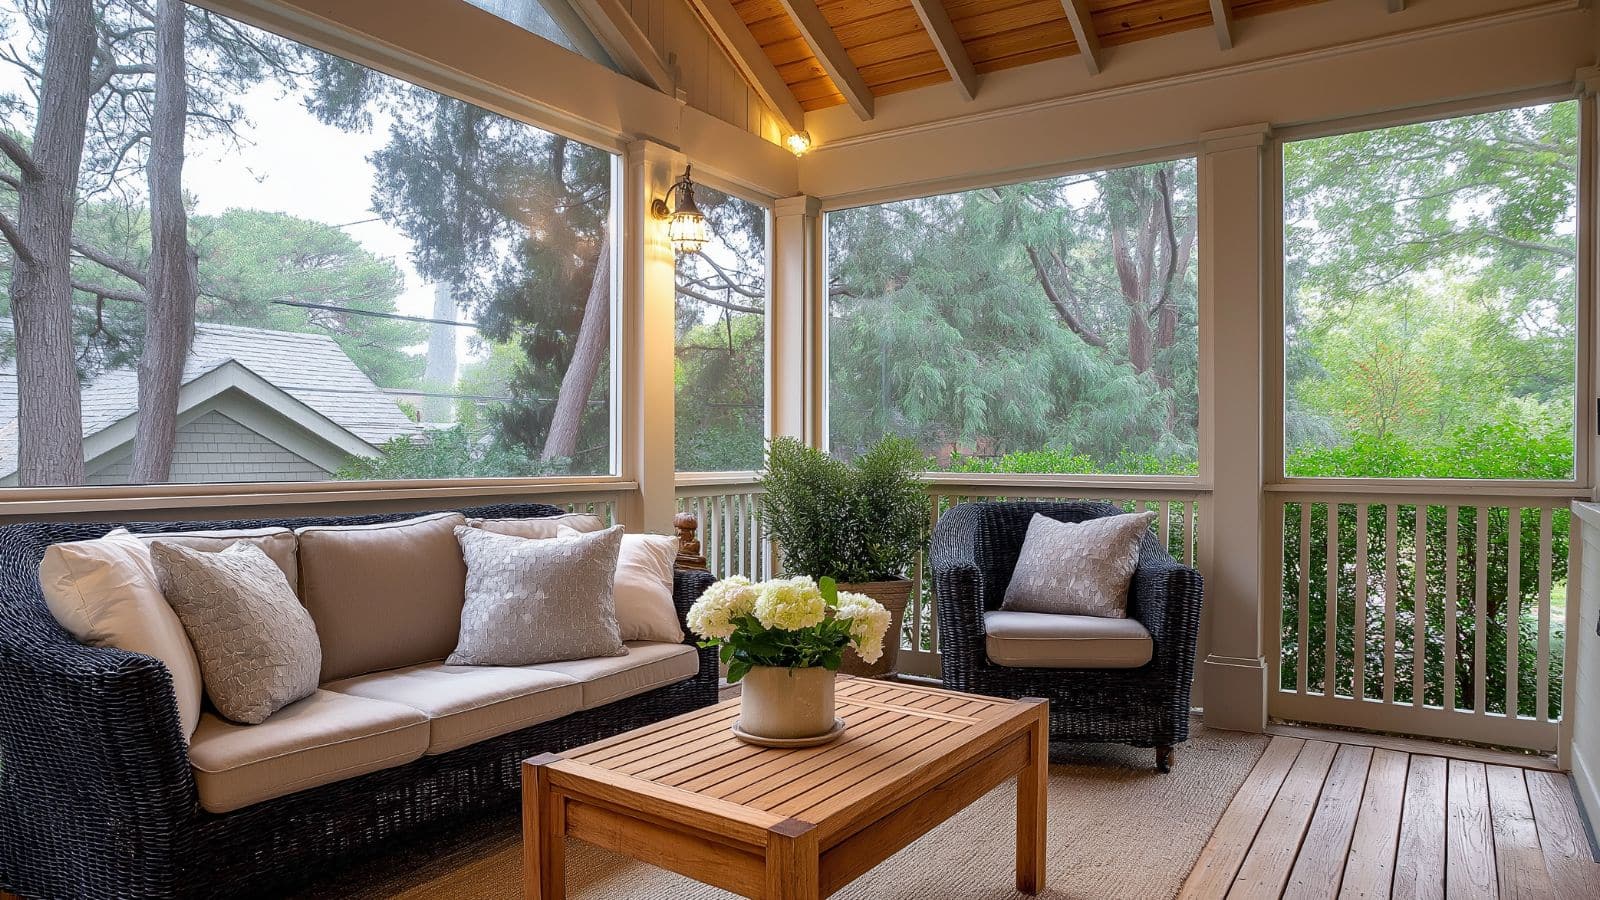
Simple DIY Porch Enclosure Ideas to Instantly Boost Curb Appeal and Add Functionality
Table of Contents
First impressions matter—especially when it comes to your home. According to a recent real estate study, a well-maintained front porch can increase your home’s perceived value by as much as 10%. But what if your porch is just an open, underused space? That’s where a DIY porch enclosure can make a world of difference.
Porch enclosures are a game-changer for both style and function. Whether you want to screen in your space for bug-free lounging, add privacy with decorative panels, or enhance architectural character, enclosing your porch is a smart and affordable home improvement project. Best of all, many enclosure ideas are entirely DIY-friendly, making them perfect weekend upgrades.
In this guide, we’ll explore a variety of simple DIY porch enclosure ideas that can instantly elevate your curb appeal. From budget-friendly screening options to stylish wood slat walls, each concept is designed with both beauty and practicality in mind. You’ll get design tips, project breakdowns, and visual inspiration to help you decide what works best for your home’s style and layout.
Let’s dive into the best ways to turn your ordinary porch into a standout space that boosts curb appeal and invites relaxation year-round.
Add a Screened-In Wall for Comfort and Clean Lines
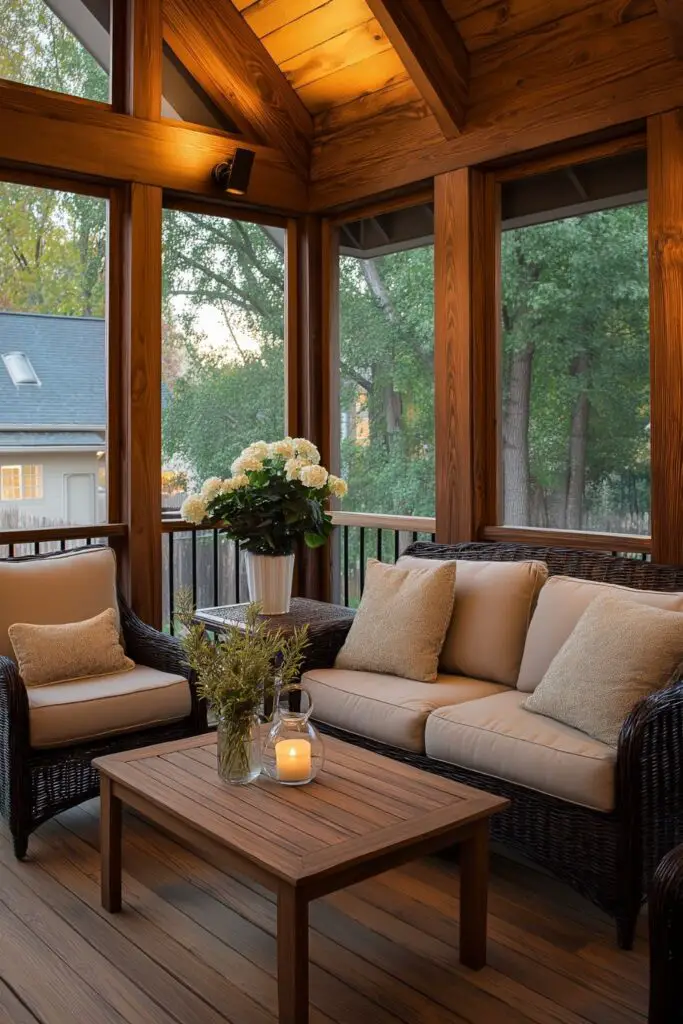
A screened-in porch is a timeless enclosure option that combines comfort, airflow, and visual clarity. It allows you to enjoy fresh air without being exposed to bugs, wind-blown debris, or nosy neighbors. And unlike glass, screens are easy to install, budget-friendly, and practically invisible from a distance—making them perfect for homes that value subtlety.
You can enclose your entire porch or just one or two sides, depending on your layout. Use screen panels with wood or aluminum frames for a cleaner look, or build your own frames using 2×4 lumber and screen rolls from your local hardware store.
Screening in a porch is also a flexible option. You can add curtains for privacy, paint the frames to match your home, or even integrate a door for easy access to the yard.
Step-by-Step: Installing a Screened-In Wall
| Step | Description |
|---|---|
| 1 | Measure the porch openings and cut your frame materials accordingly. |
| 2 | Build rectangular frames and attach screen mesh using a spline tool. |
| 3 | Secure frames into place using screws or brackets. |
| 4 | Add trim around the edges for a finished look. |
| 5 | Paint or stain to match your porch color palette. |
Use Decorative Privacy Lattice Panels for a Stylish Touch
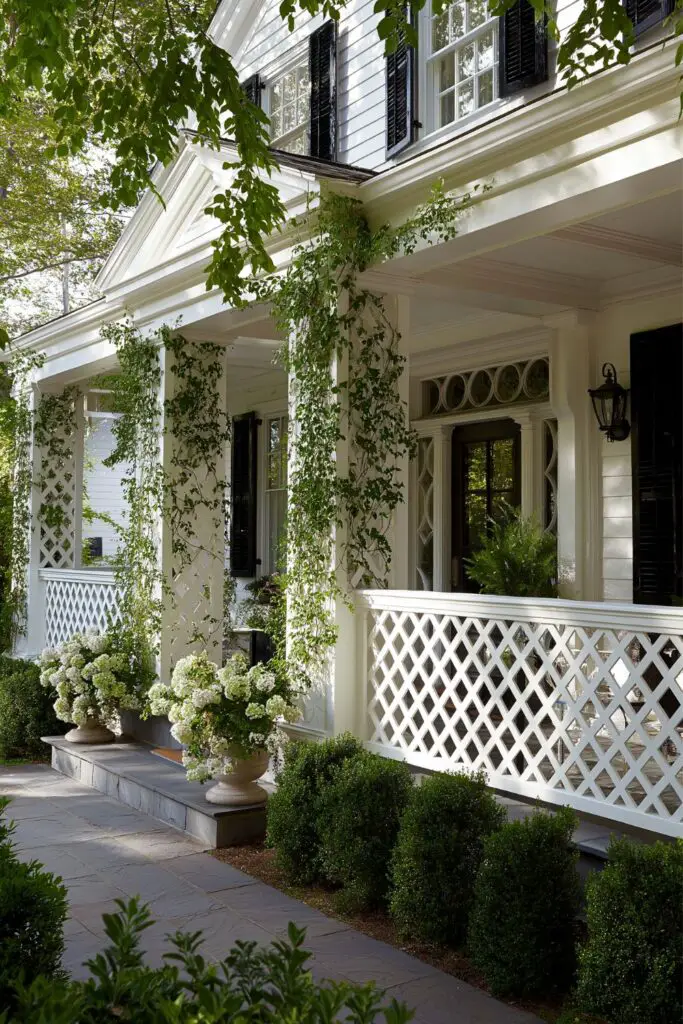
Decorative lattice panels offer an elegant way to enclose your porch while adding texture and architectural interest. These panels are typically made of wood or vinyl and feature cutout designs—from classic diamond grids to intricate floral or geometric patterns.
They’re ideal for side enclosures or partial walls where full visibility isn’t needed. Lattice can serve both aesthetic and functional purposes: blocking wind, hiding cluttered areas, or creating a sense of privacy without fully closing off the space.
Installation is simple, and panels can be trimmed to size with a jigsaw. Attach them to existing porch posts or build a freestanding frame for flexibility.
Lattice Panel Benefits Overview
| Feature | Benefit |
|---|---|
| Lightweight Material | Easy to install and modify |
| Decorative Patterns | Enhances curb appeal and style |
| Vinyl Options | Maintenance-free and weather-resistant |
| Paintable Surfaces | Can be color-matched to your exterior |
| Dual Use | Adds privacy and visual charm |
This project pairs well with climbing plants, like ivy or jasmine, to create a natural, living screen.
Build a Rustic Wood Slat Wall for Modern Warmth
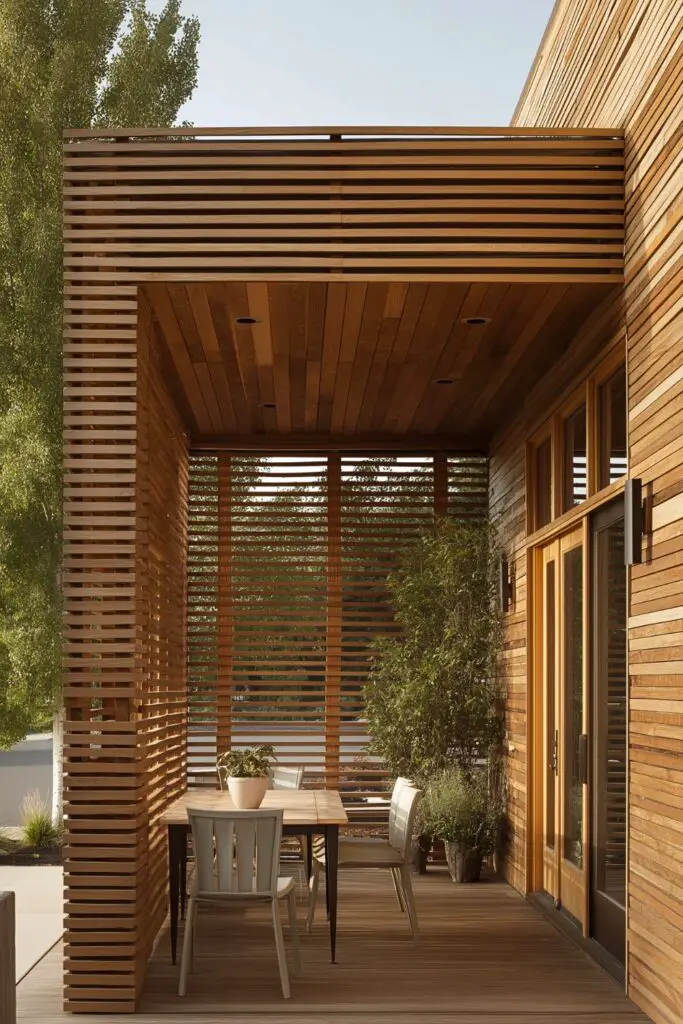
A horizontal wood slat wall is one of the most on-trend porch enclosure options—and it’s surprisingly DIY-friendly. It adds warmth, privacy, and modern architectural flair to your outdoor space, especially when paired with neutral tones and minimalist furniture.
Use cedar or pressure-treated pine for durability and a rustic look. Space the slats evenly for airflow and light, and stain or seal the wood for longevity. You can build a partial enclosure with one or two sections or go full wraparound depending on your porch’s size.
Slat walls also allow for creativity—you can add hooks for hanging lanterns, mount shelves for plants, or even integrate lighting strips for evening ambiance.
Slat Wall Project Breakdown
| Element | Details |
|---|---|
| Wood Choice | Cedar, pine, or reclaimed wood |
| Slat Spacing | 0.5 to 1.5 inches apart |
| Finish Options | Clear sealant, gray wash, or dark stain |
| Tools Needed | Saw, drill, level, and measuring tape |
| Add-ons | Planters, hooks, lighting strips |
This project offers a perfect balance between open-air flow and structured visual appeal.
Install Roll-Up Outdoor Shades for Flexible Privacy
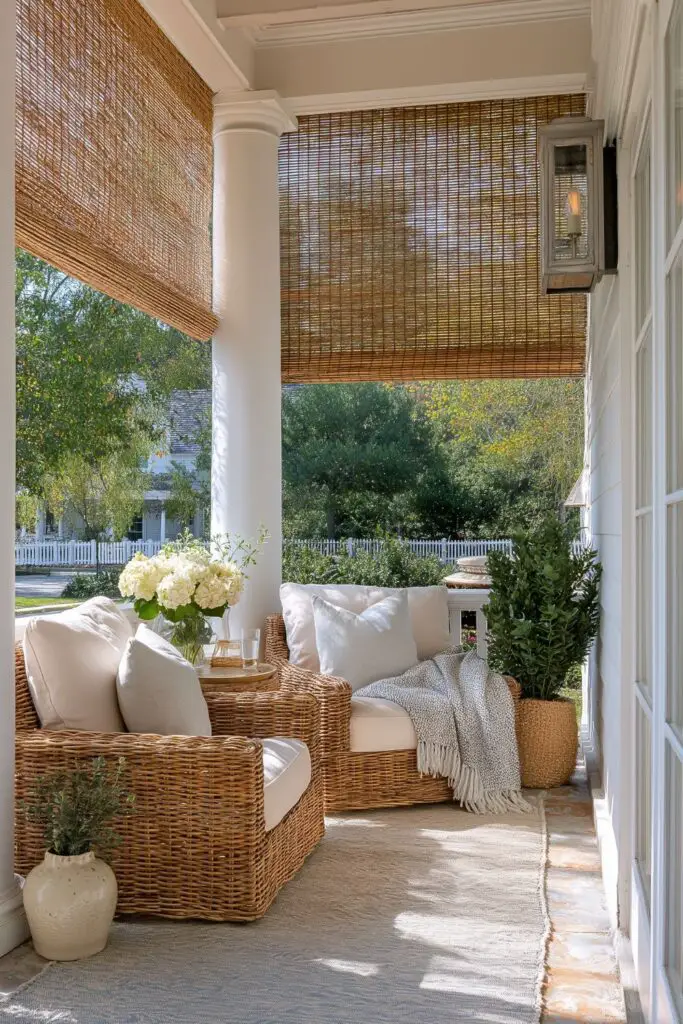
Roll-up outdoor shades are one of the simplest and most versatile DIY porch enclosure options. They provide instant privacy and sun protection, and they’re especially useful for porches that get strong afternoon sun or lack shade.
These shades come in bamboo, vinyl, or canvas and can be mounted directly to the porch beam or ceiling. You can raise or lower them as needed, making them perfect for changing weather conditions or seasonal use.
Shades are available in various colors and patterns, so you can coordinate them with your existing decor or use them to introduce a fresh, natural aesthetic.
Roll-Up Shade Comparison Table
| Material | Best Use | Style |
|---|---|---|
| Bamboo | Natural homes, soft lighting | Boho, rustic |
| Vinyl | Water-resistant, durable | Traditional, clean |
| Canvas | Great for UV protection | Modern, coastal |
Beyond aesthetics, roll-up shades are practical—they block UV rays, reduce heat, and offer some wind resistance without fully enclosing the porch.
Create a Glass Storm Panel Enclosure for All-Season Use
If you want your porch to function as a year-round extension of your living space, installing glass storm panels is a fantastic option. While more involved than other ideas, it’s still possible as a high-level DIY project or with minimal contractor help.
Storm panels keep out cold, wind, and rain, effectively turning your porch into a sunroom. Use clear tempered glass for full views, or frosted panels for privacy. Panels can be custom-cut or purchased in modular kits and framed in aluminum or wood.
This enclosure method adds instant value to your home and allows for heating, decorating, and extended use during colder months.
Glass Enclosure Setup Plan
| Component | Function |
|---|---|
| Tempered Glass Panels | Safe, weather-resistant visibility |
| Framing System | Wood for warmth, aluminum for strength |
| Sealing Materials | Prevents air leaks and water intrusion |
| Optional Doors | Swing or sliding for access |
| Heating (optional) | Electric baseboards or portable heaters |
This project pairs beautifully with indoor-outdoor furniture, layered rugs, and cozy seasonal decor.
Add Fabric Curtains for Softness and Seasonal Style
One of the easiest ways to create a semi-enclosed porch is by adding outdoor fabric curtains. They bring softness and charm to any space while allowing you to control sunlight, airflow, and privacy with a simple pull.
Outdoor curtains are made from fade-resistant, mildew-resistant materials like Sunbrella or polyester blends. Choose sheer panels for a breezy vibe or heavier fabrics for full coverage. Hang them from tension rods or ceiling-mounted rods for a seamless look.
Curtains can be changed with the seasons—light and airy for summer, darker tones for fall—giving you styling flexibility year-round.
Curtain Enclosure Planning Guide
| Feature | Option |
|---|---|
| Fabric Type | Sheer, canvas, weatherproof polyester |
| Rod Mounting | Ceiling hooks, tension rods, brackets |
| Colors & Patterns | Neutrals, stripes, bold solids |
| Tiebacks | Rope, metal hooks, magnetic closures |
| Seasonal Use | Swap fabrics for spring/summer/fall themes |
Curtains add softness and visual rhythm, especially when paired with pendant lighting and woven textures.
Build a Rustic Wood Slat Wall for Modern Warmth
The modern rustic look has found its way to porches, and for good reason. A wood slat enclosure checks off all the boxes—it’s stylish, affordable, and relatively easy to build. Whether you want partial privacy or a full wall design, slats can be customized to fit your space perfectly.
Design Considerations
Slats can be vertical or horizontal, but horizontal lines offer a more modern and elongating effect. Space them closely for more privacy or widely for better airflow and visibility. Use cedar for a polished look, or reclaimed wood for a distressed, farmhouse-style finish.
Step-by-Step Construction
- Frame Your Wall – Use pressure-treated 4×4 posts to create your structure. Anchor them securely into the ground or to the porch floor.
- Measure and Cut Slats – Consistent spacing is key. Use spacers to ensure uniform gaps.
- Attach and Seal – Screw slats into the frame, starting from the bottom. Once complete, stain or seal the wood to protect it from weather.
Design Customizations
Add hooks for hanging string lights or lanterns, shelves for potted plants, or even a vertical herb garden. The slat wall becomes a functional design element beyond just an enclosure.
Wood Slat Enclosure Comparison Table
| Finish | Style | Best For |
|---|---|---|
| Natural Stain | Modern-rustic | Year-round use |
| Gray Wash | Coastal or farmhouse | Breezy aesthetic |
| Painted White | Traditional charm | Small porches |
This project is both a conversation piece and a practical improvement that enhances curb appeal from every angle.
Create a Glass Storm Panel Enclosure for All-Season Use
Glass enclosures offer a refined solution for homeowners looking to use their porch year-round. While they’re more labor-intensive, they deliver unmatched elegance and practicality.
Why Choose Glass Panels?
They allow in natural light, block harsh weather, and create a controlled environment for plants, furniture, or even a home office setup. If privacy is a concern, use frosted or tinted panels strategically. Storm-rated glass also boosts energy efficiency and security.
DIY or Contractor?
Modular glass panel kits make DIY installation more accessible than ever. However, larger or custom designs may require professional assistance—especially for sealing and fitting.
Customization Options
- Framing Material: Aluminum for durability, wood for charm
- Glass Type: Single-pane for mild climates, double-pane for insulation
- Access: Sliding doors offer convenience and save space
- Heating Options: Portable heaters or radiant flooring extensions
Glass Porch Enclosure Setup Table
| Element | Benefit |
|---|---|
| Clear Panels | Maximize views and daylight |
| Frosted Panels | Add privacy without sacrificing light |
| Modular Kits | Easy DIY installation |
| Fixed vs. Sliding | Match door type to porch usage |
| Thermal Curtains | Insulate during winter months |
This type of enclosure transforms your porch into a four-season room—functional, elegant, and always ready for guests.
Conclusion
Your front porch is more than just an entryway—it’s a canvas for creativity and a major player in your home’s curb appeal. With a few simple DIY enclosure projects, you can transform that space into a private retreat, a seasonal lounge, or an architectural statement.
Whether you go for a rustic wood slat wall, a breezy screen, or an elegant glass panel enclosure, each idea adds beauty and value. The key is choosing a design that reflects your home’s character and meets your lifestyle needs. With thoughtful materials and smart design, even the simplest upgrades can make a lasting impression.
