Transform Your Space with a Microcement Bathroom Makeover: The Ultimate Guide for a Stylish and Durable Upgrade
Table of Contents
Introduction
In the world of home renovations, microcement is quickly becoming a popular choice for transforming spaces with a sleek, modern, and durable finish. Whether you’re updating your kitchen, living room, or bathroom, microcement offers a sophisticated aesthetic that is both timeless and contemporary. Specifically, when applied in the bathroom, microcement not only enhances the overall design but also provides a practical, long-lasting solution for surfaces that are often exposed to moisture.
Bathrooms, with their high humidity and constant wear, require materials that can withstand the test of time while still looking beautiful. Microcement is an ideal material for this purpose. It can be applied seamlessly to walls, floors, and even countertops, offering a smooth, polished look with no grout lines, making cleaning a breeze.
In this post, we’ll explore how you can achieve a stunning bathroom transformation with microcement, from understanding its benefits to the step-by-step application process. Whether you’re tackling a complete bathroom overhaul or simply updating certain elements, this guide will help you navigate the world of microcement and make informed decisions for your next bathroom makeover.
What is Microcement and Why Choose It for Your Bathroom?
Microcement is a thin, cement-based coating that can be applied to almost any surface, creating a sleek, seamless finish that is both durable and aesthetically pleasing. Unlike traditional tile or stone, microcement offers a smooth, continuous surface with no joints or seams, making it a popular choice for modern, minimalist designs.
Benefits of Microcement in a Bathroom:
- Durability: Microcement is highly resistant to water, making it ideal for bathroom applications. It won’t crack or chip easily, even with constant exposure to moisture.
- Seamless Surface: One of the standout features of microcement is its ability to create a seamless surface. This is especially useful in bathrooms where tiles or grout lines can accumulate dirt and grime.
- Customizable Aesthetic: Microcement can be applied in a variety of finishes and colors, allowing you to achieve your desired look, from smooth, matte finishes to polished, glossy surfaces.
- Low Maintenance: Microcement is easy to clean and maintain. Its non-porous surface prevents mold and mildew growth, which are common issues in high-moisture environments like bathrooms.
- Eco-friendly: Microcement is a sustainable material, often made from natural elements like lime and cement. It’s a great option for those looking to create an environmentally friendly bathroom space.
Whether you’re aiming for a luxurious spa-like bathroom or a contemporary minimalist retreat, microcement offers endless design possibilities and is an ideal choice for updating your bathroom.
How Microcement Transforms Your Bathroom Design
Microcement isn’t just a functional material; it’s also a design statement. Its versatility allows it to complement a wide range of interior design styles, from rustic to ultra-modern. Here are some ways microcement can transform the design of your bathroom:
1. Modern Minimalist Aesthetic:
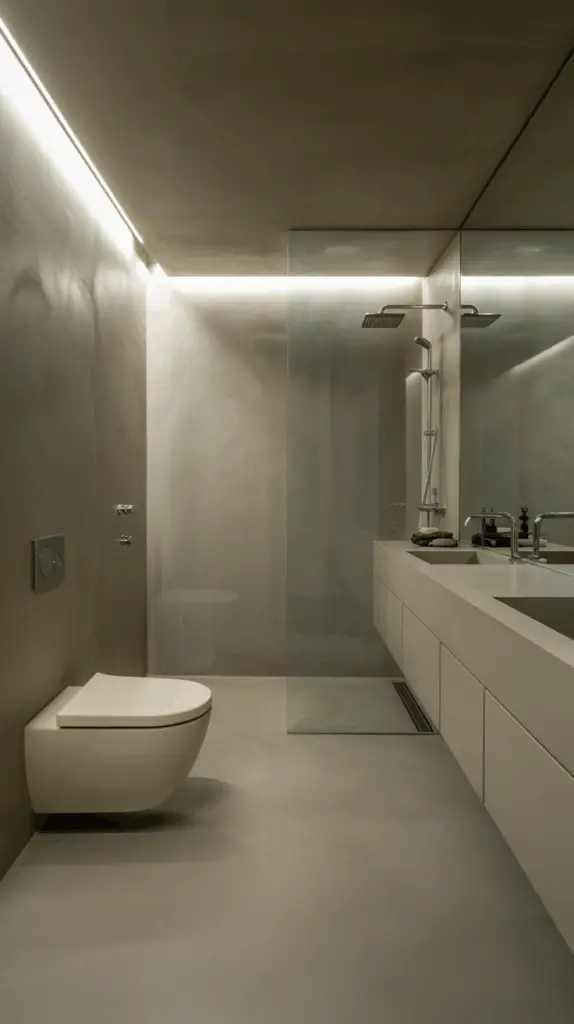
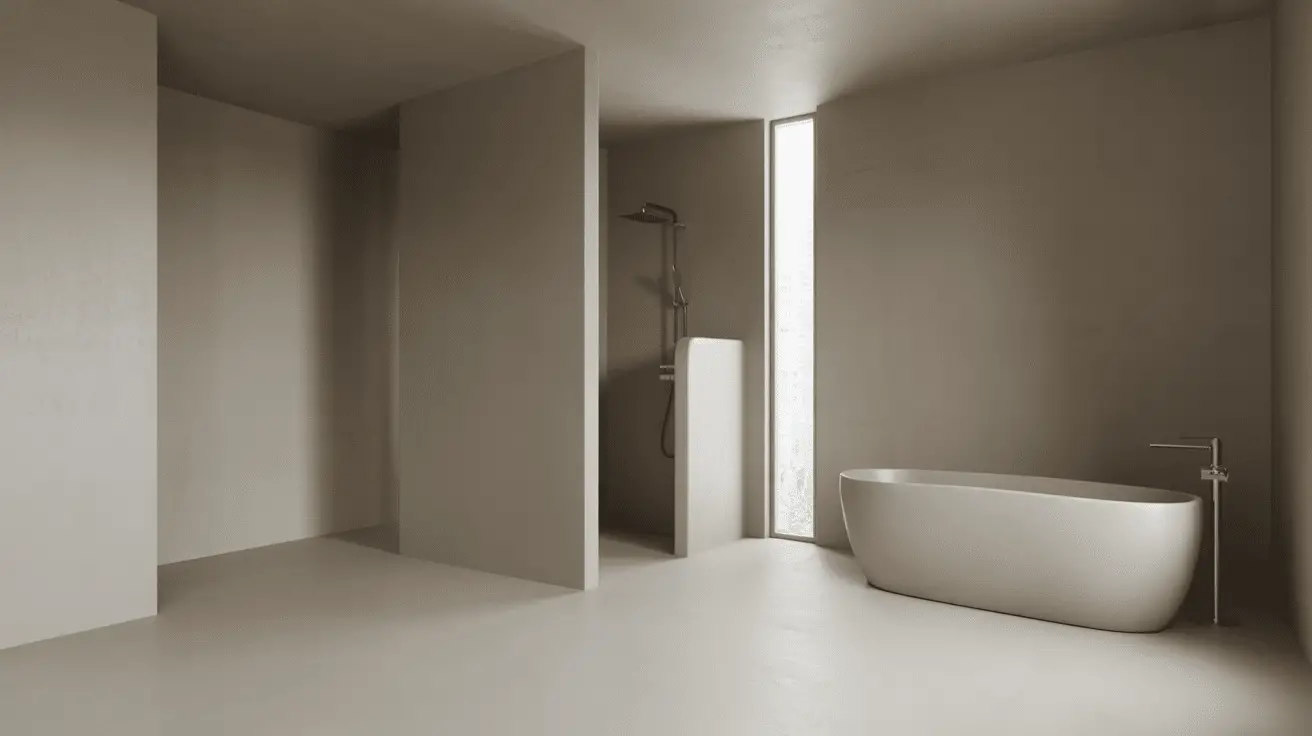
Microcement is synonymous with minimalist design. Its smooth, uniform surface creates an uncluttered, sophisticated look that can be easily incorporated into modern or industrial-style bathrooms. You can use microcement on floors, walls, shower areas, and even countertops for a sleek, continuous flow throughout the space.
2. Timeless, Neutral Tones:
Microcement is available in a range of neutral colors, such as grays, beiges, and whites, making it perfect for creating a timeless bathroom design. These subtle shades serve as a versatile base for any color scheme or accent pieces, allowing you to update your accessories, towels, and artwork without worrying about clashing finishes.
3. Textural Contrast:
While the surface of microcement is smooth, it can be textured to create visual interest. You can opt for a more matte finish for a natural, rustic look, or choose a polished, glossy finish for a sleek, high-end feel. Mixing different textures, such as adding wood or metal elements alongside the microcement surfaces, can create an elegant contrast.
4. Open, Airy Feel:
The seamless finish of microcement contributes to an open, spacious feel in the bathroom. By eliminating grout lines and visible seams, it enhances the sense of continuity and flow, making smaller bathrooms appear larger and more open.

The Step-by-Step Process of Applying Microcement
Transforming your bathroom with microcement is a manageable DIY project for those with basic home improvement skills, though professional installation is recommended for the best results. Here’s an overview of the process:
Step 1: Prepare the Surface
The first step is to properly prepare the surfaces you plan to apply the microcement to. This involves cleaning and smoothing out any imperfections. For new surfaces, ensure they are free from dust and debris. For existing tiles or walls, you may need to apply a primer to ensure proper adhesion.
Step 2: Apply the Primer
A bonding primer is applied to the surface, allowing the microcement to adhere properly. This primer is typically allowed to dry for several hours before the next step.
Step 3: Apply the Base Coat
The base coat of microcement is mixed and applied in thin layers. This is where the smooth, seamless surface begins to take shape. After each layer is applied, it must be smoothed and left to cure.
Step 4: Apply the Finish Coat
Once the base coat is fully dry, a finish coat is applied. This layer will be responsible for the final appearance of the microcement, whether matte, glossy, or textured. The finish coat is carefully troweled onto the surface, then smoothed to perfection.
Step 5: Sealing
To ensure the microcement is water-resistant and durable, a sealant is applied over the finish coat. This will protect the surface from moisture, stains, and wear and tear.
Step 6: Curing Time
After the microcement is applied, it’s essential to let it cure for a minimum of 24 hours before using the bathroom. This allows the surface to fully harden and ensure longevity.
Microcement Colors and Finishes: Choosing the Right Look for Your Bathroom
One of the most attractive features of microcement is the variety of colors and finishes available. Whether you want a soft matte finish or a high-gloss shine, microcement can be customized to fit your personal style and bathroom design. Here are some options to consider:
1. Matte Finish:
A matte finish gives a soft, natural look that complements rustic and earthy bathroom designs. It’s perfect for creating a relaxed, spa-like atmosphere, and it works well in bathrooms that incorporate wooden elements, natural stones, or plants.
2. Glossy Finish:
For a more modern, polished look, a glossy finish creates a sleek, high-end feel. It’s ideal for contemporary bathrooms that prioritize clean lines and minimalist décor. The reflective quality of the gloss can help brighten up small spaces by bouncing light around the room.
3. Soft, Neutral Tones:
Neutral colors like soft grays, beiges, and whites are classic choices that allow you to personalize the space with colorful towels, artwork, or other accents. These colors can also make the space feel larger and more open, which is especially helpful in smaller bathrooms.
4. Dark, Dramatic Tones:
If you prefer a bolder look, dark microcement tones like charcoal, slate, or deep brown can create a striking contrast with white fixtures, making your bathroom feel more dramatic and luxurious. These tones work especially well in large bathrooms or when paired with rich materials like gold, brass, or black fixtures.
Maintenance and Care for Microcement Bathrooms
Microcement is durable and low-maintenance, but it still requires regular care to keep it looking its best. Fortunately, maintaining a microcement bathroom is easy and straightforward. Here’s how you can keep your bathroom surfaces in top condition:
1. Regular Cleaning:
To clean microcement surfaces, use a soft cloth or sponge with a mild, non-abrasive cleaner. Avoid using harsh chemicals, as they can damage the surface over time. Regularly wipe down surfaces to prevent soap scum or watermarks from building up.
2. Resealing:
Microcement may need to be resealed every 1-2 years, depending on usage and exposure to moisture. Resealing helps maintain the surface’s water resistance and prevents stains.
3. Avoid Abrasive Tools:
Avoid using abrasive cleaning tools, such as scrubbing pads or wire brushes, as they can scratch the surface and affect the appearance of the microcement.
Conclusion
A microcement bathroom makeover is an excellent way to update your space with a modern, sleek, and durable finish. Whether you’re looking to create a minimalist retreat, a spa-inspired sanctuary, or a dramatic and bold bathroom, microcement provides the perfect solution. With its seamless surface, easy maintenance, and customizable design options, it’s no wonder that more homeowners are choosing this versatile material for their bathroom renovations.
By understanding the benefits, application process, and design possibilities, you can confidently move forward with your own microcement bathroom transformation. With the right preparation and care, your newly renovated bathroom will be a stylish, functional, and lasting addition to your home.

