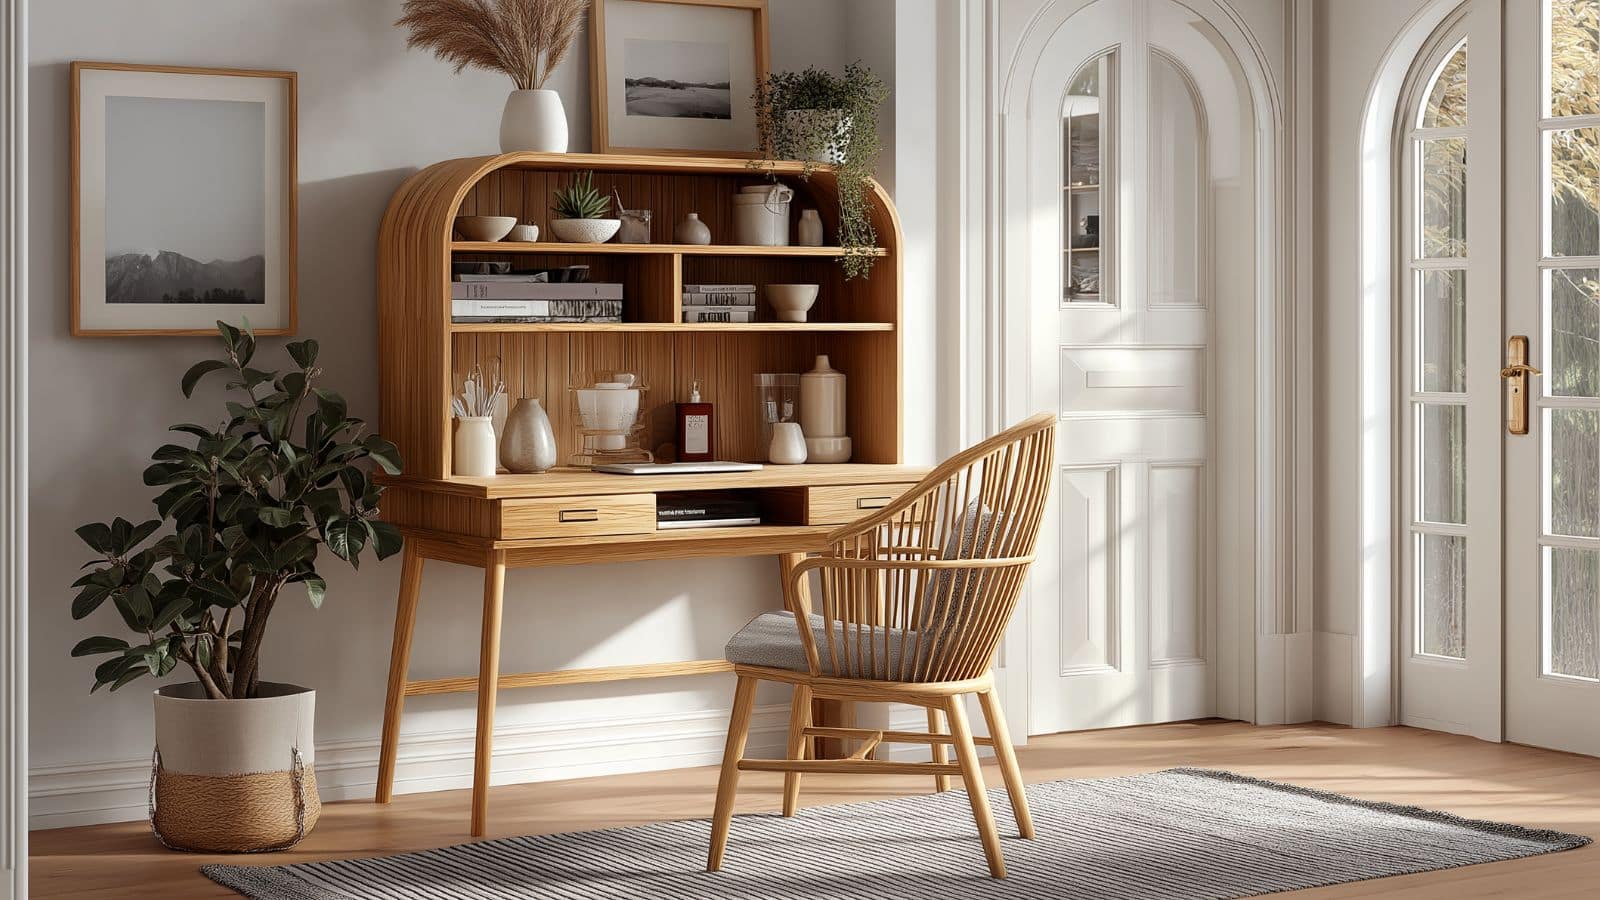
Transform Your Workspace: DIY Desk Hutch Makeover Inspiration for a Stylish Home Office
Table of Contents
In the age of remote work and multipurpose rooms, your home office setup matters more than ever. According to a recent survey by Owl Labs, 74% of professionals now work from home at least once a week—and that number is growing. With so much time spent at our desks, why settle for a cluttered, uninspiring space?
If your current desk hutch feels outdated, dull, or simply doesn’t spark joy, this article is your creative catalyst. A desk hutch makeover isn’t just a cosmetic upgrade—it can also dramatically improve functionality, organization, and your overall productivity.
In this post, we’ll walk through inspiring DIY ideas to revamp your desk hutch from drab to dynamic. Whether you’re working with vintage wood furniture, a mass-produced hutch, or a thrifted find, you’ll discover ideas for every budget and style. From paint choices to storage hacks, hardware swaps to styling tips, these makeover ideas are tailored to elevate your workspace into a beautiful, personalized haven.
Ready to breathe new life into your desk hutch? Let’s dive into practical and inspiring DIY transformations that will redefine the way you work and live.
Choosing the Right Style for Your Hutch Makeover
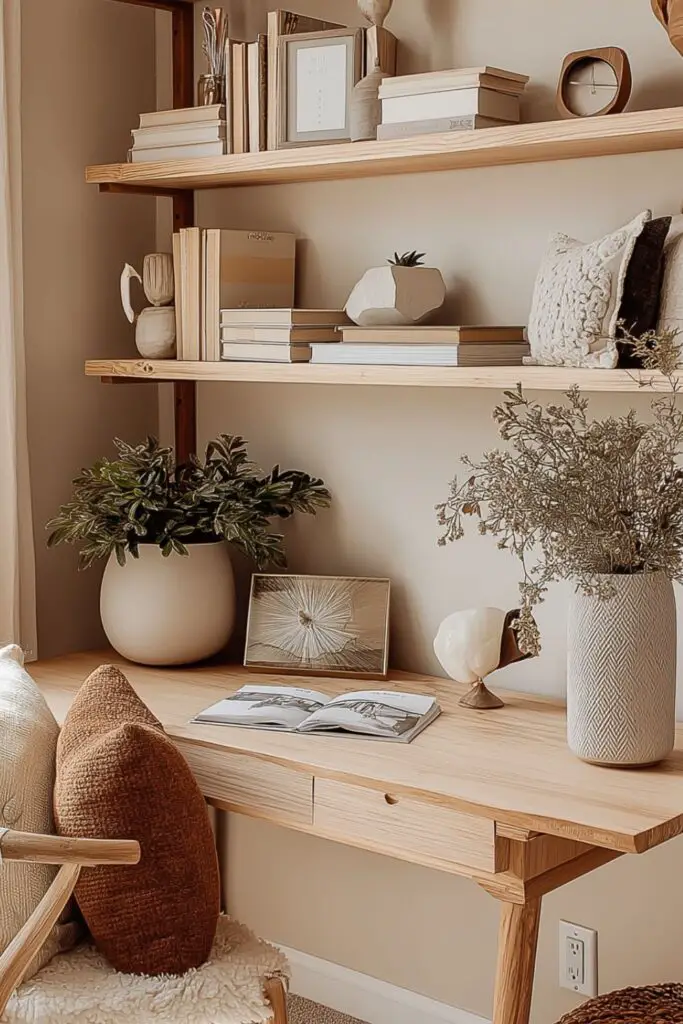
Before picking up a paintbrush, the first step in your makeover journey is deciding the style you want your hutch to embody. From modern farmhouse to Scandinavian minimalism, the design you choose will influence every decision that follows.
If you’re drawn to clean lines and airy palettes, a minimalist or Nordic aesthetic might suit you. Prefer warmth and texture? A rustic or boho approach could be perfect. For those who love drama and elegance, dark hues and metallic accents lend a touch of glam.
Your home’s existing decor should guide your decision. Consider the colors in nearby rooms, the amount of natural light your office receives, and whether your hutch will serve purely decorative or practical purposes.
Style Consideration Table
| Style Type | Color Palette | Materials | Accents & Features |
|---|---|---|---|
| Modern Farmhouse | Whites, beiges, soft gray | Distressed wood | Black hardware, open shelves |
| Scandinavian | White, muted pastels | Birch, pine | Clean lines, minimal hardware |
| Boho Chic | Earth tones, golds | Rattan, reclaimed | Patterned wallpaper, plants |
| Industrial | Dark wood, black | Metal, rustic wood | Pipe shelving, matte finishes |
Prepping Your Desk Hutch for a Makeover
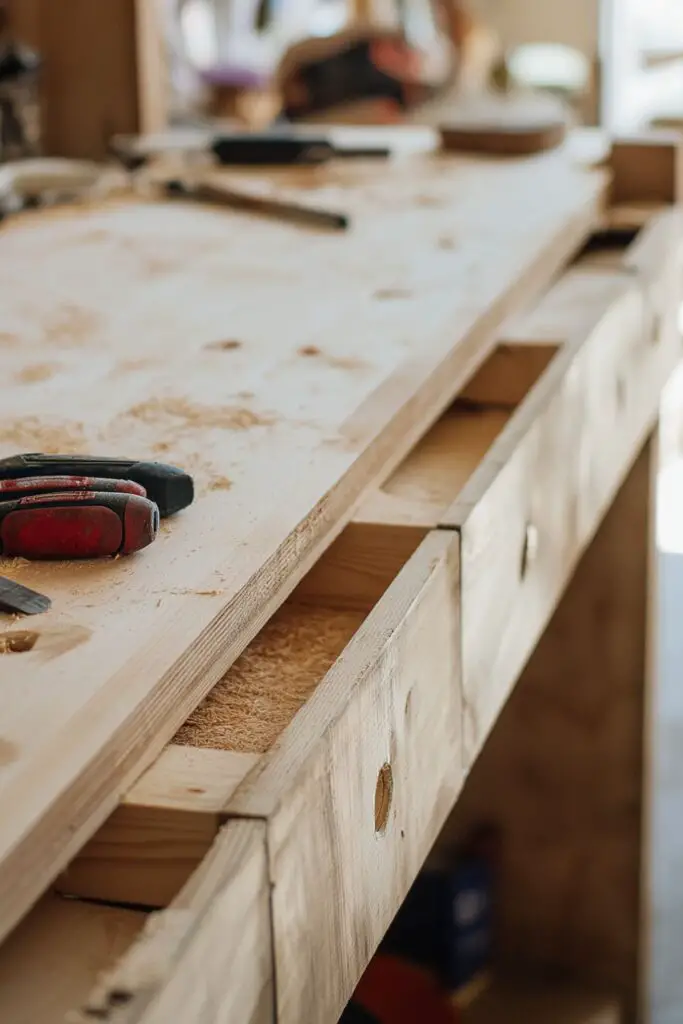
The best makeovers begin with proper prep work. A well-prepped surface ensures your paint adheres well and your finish lasts for years.
Start by removing all hardware, drawers, and shelving. Label them for easy reassembly. Clean every inch of the hutch with a degreasing cleaner—years of dust and grime can sabotage your new paint job.
Next comes sanding. Even laminate pieces benefit from a light scuff to help primer stick. Use a medium-grit sandpaper (120–150) and wipe everything clean afterward. If your hutch has dents or holes, use wood filler to patch them before sanding again.
Once cleaned and sanded, apply a quality primer suited for your material. Primer creates a smooth surface and prevents stains from bleeding through. Allow adequate drying time before painting.
Prepping Checklist Table
| Step | Why It Matters | Tools/Supplies Needed |
|---|---|---|
| Remove hardware | Allows full surface access | Screwdriver, storage bag |
| Clean thoroughly | Ensures paint adhesion | Degreaser, microfiber cloth |
| Sand surfaces | Prepares surface for primer/paint | Sandpaper, sanding block |
| Fill holes/dents | Creates a smooth, even finish | Wood filler, putty knife |
| Apply primer | Prevents stains, improves bonding | Primer, paintbrush/roller |
Painting Techniques That Make a Big Difference
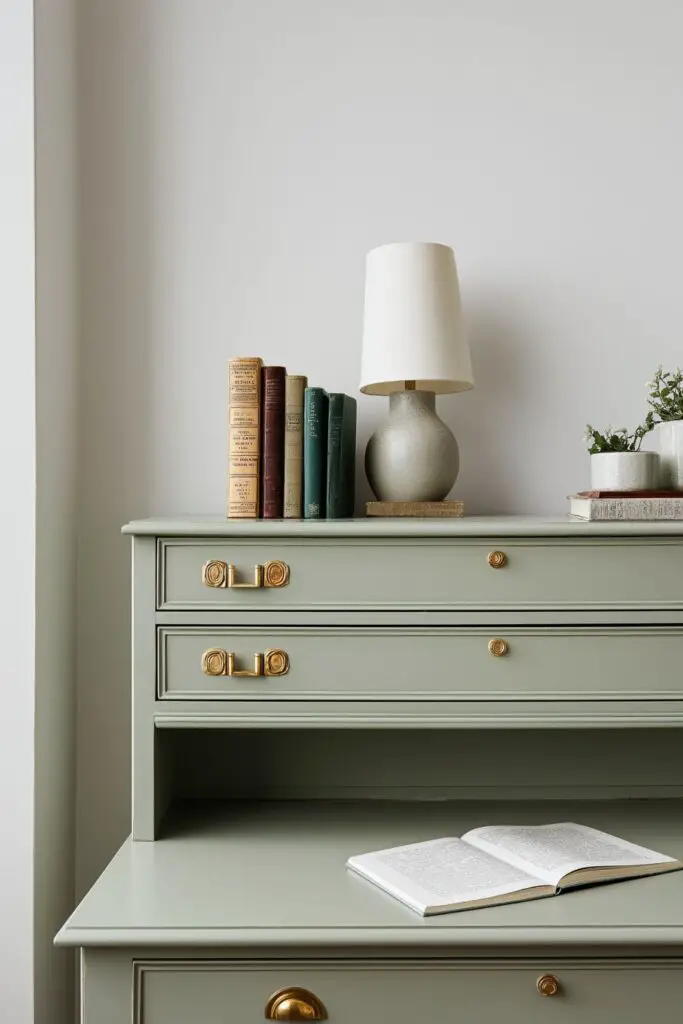
The paint color you choose will set the tone of your entire workspace. But technique matters just as much as color. With the right method, even an inexpensive hutch can look high-end.
For a sleek, factory-style finish, opt for a sprayer or foam roller to avoid brush marks. Chalk paint offers a matte, vintage look and doesn’t require priming—ideal for quick projects. Milk paint adds texture and charm, especially for rustic or cottagecore styles.
Don’t forget to seal your painted hutch. Polycrylic is great for durability and a subtle sheen, while wax gives chalk-painted surfaces a soft, buttery feel.
Paint Technique Comparison Table
| Paint Type | Finish | Best For | Pros | Cons |
|---|---|---|---|---|
| Chalk Paint | Matte | Vintage, farmhouse looks | No primer needed, easy to use | May require sealing |
| Latex Paint | Satin/Gloss | Modern, durable looks | Washable, many colors | May show brush strokes |
| Milk Paint | Textured/Soft | Rustic, antique styles | Organic, unique finish | Requires bonding agent |
| Spray Paint | Smooth/Satin | Small accessories, hardware | Fast application | Less control, overspray risk |
Smart Storage Ideas for Desk Hutch Organization
A hutch makeover isn’t complete without optimizing how you use the space. Clever organization can eliminate clutter and boost productivity.
Start by assessing your daily needs: do you require space for tech gadgets, paperwork, or craft supplies? Then categorize items into zones. Use vertical space for storage bins, hanging folders, or small cubbies. A set of matching baskets or labeled boxes creates a clean look while hiding everyday messes.
Consider adhesive hooks inside doors for cords or headphones. Magnetic strips can hold small tools. Drawer organizers help keep tiny office supplies sorted and accessible.
Storage Solutions Table
| Problem Area | Smart Solution | Why It Works |
|---|---|---|
| Tangled Cords | Mounted cord clips or hooks | Keeps cables off the desk |
| Paper Piles | Vertical file sorter or tray stack | Maximizes vertical space |
| Office Clutter | Drawer inserts and small bins | Keeps items organized by type |
| Limited Storage | Add shelves or pegboards | Increases functionality upward |
Creative Styling Tips to Elevate Your Hutch Look
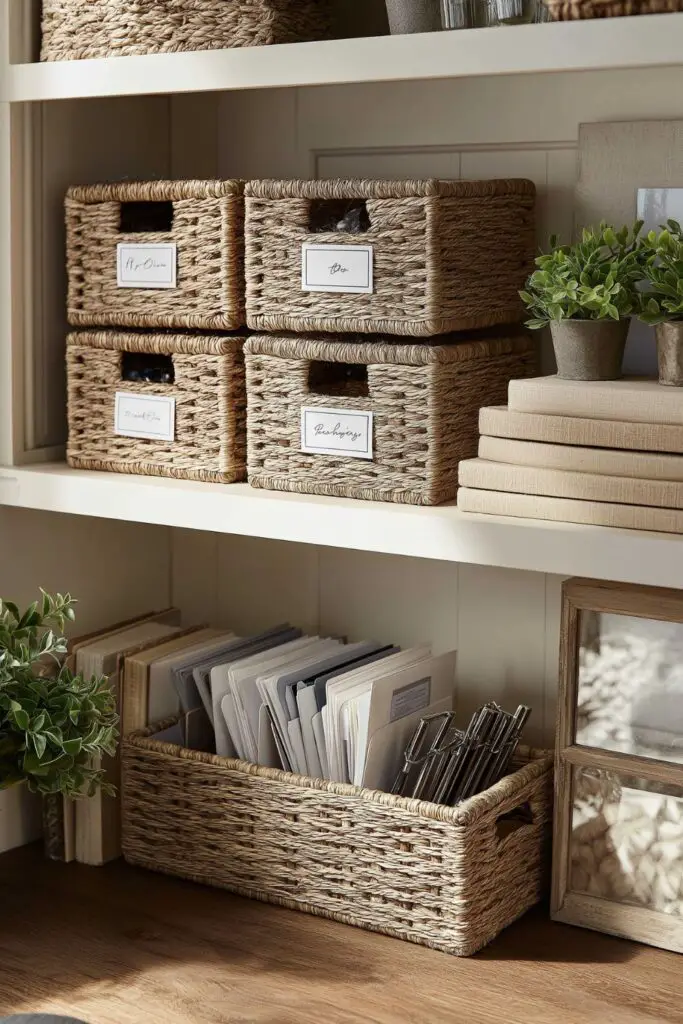
Once your hutch is painted and organized, it’s time for the fun part—styling. Thoughtful decor can transform a functional piece into a stunning focal point of your home office.
Start by layering textures and materials. Combine ceramic, wood, glass, and fabric elements to create visual interest. Books add height and structure—stack them horizontally or vertically and mix in decorative objects like a small sculpture or framed print.
Lighting is key. If your hutch lacks built-in lighting, consider adding LED strip lights or a small table lamp nearby. This not only enhances the ambiance but also improves visibility during work hours.
Personal touches make the space uniquely yours. A small potted plant adds life and freshness. A favorite quote in a frame, a vintage clock, or travel mementos can all serve as meaningful focal points.
Stick to a cohesive color scheme that complements your newly painted hutch. Neutrals with pops of green, blush, or navy can feel both calm and stylish. Be selective—too many decor items can quickly look cluttered.
Hutch Styling Guide Table
| Styling Element | Example Use | Tip |
|---|---|---|
| Books | Group in odd numbers, vary heights | Use as risers for small objects |
| Greenery | Potted plant, succulent | Adds natural texture |
| Art & Prints | Small frames, leaning canvases | Layer behind objects |
| Accent Pieces | Candle, tray, figurine | Vary shape and finish |
| Lighting | Battery LED lights or mini lamp | Place under shelves for glow |
Repurposing Vintage or Thrifted Hutches
Thrifted or vintage desk hutches often carry unique charm—and with the right makeover, they can become one-of-a-kind statement pieces. If you’re lucky enough to find a solid wood hutch at a flea market or secondhand shop, don’t be discouraged by scratches or outdated details. These are often the easiest pieces to upgrade.
Start by inspecting structural integrity. Tighten loose joints and replace any warped shelves. Look past the current finish and focus on the bones—solid wood is ideal for sanding and repainting, while laminate may require different prep and paint.
One creative way to modernize an old hutch is by removing upper cabinet doors and replacing them with glass panels or leaving them open for an airy look. Another trick is to wallpaper the back panel. A subtle pattern or peel-and-stick mural can bring unexpected charm.
You can also modernize vintage hutches by mixing old and new. Swap out hardware for sleek brass or matte black knobs. Paint the base one color and leave the top stained wood for a two-tone look.
Vintage Makeover Tips Table
| Vintage Issue | Solution | Added Benefit |
|---|---|---|
| Dark, dated finish | Sand + paint in soft modern tone | Brightens and updates instantly |
| Bulky upper cabinets | Remove doors or replace with glass | Opens up space visually |
| Ornate hardware | Swap for minimal knobs | Creates a contemporary balance |
| Worn backing panel | Add peel-and-stick wallpaper | Adds visual depth and texture |
Budget-Friendly Accessories to Finish the Look
You don’t need a large budget to style your desk hutch like a pro. Affordable accessories can elevate your space without draining your wallet.
Shop your home first. You may already own beautiful mugs, trays, or small baskets that can be repurposed. Check out dollar stores or discount home decor retailers for small planters, cork boards, or desk organizers.
Thrift stores are treasure troves for one-of-a-kind accents—think vintage books, brass animals, or quirky paperweights. Even a small mirror can reflect light and make your workspace feel larger.
If you’re crafty, consider a DIY accessory. Paint old jars for pen holders, wrap books in neutral paper for a cohesive look, or create your own printable labels.
Budget Decor Ideas Table
| Accessory Type | DIY Option or Find | Approximate Cost |
|---|---|---|
| Pen Holders | Painted jars or cups | Under $5 |
| Drawer Liners | Wrapping paper or contact paper | $2–$10 |
| Wall Art | Printable quotes, thrifted frames | Free–$10 |
| Storage Boxes | Covered cardboard boxes | $0–$8 |
| Accent Decor | Small vase, candle, faux plant | $3–$12 |
Conclusion
A DIY desk hutch makeover is more than a weekend project—it’s a chance to create a space that truly reflects your personality and enhances your day-to-day life. With the right prep, a clear design vision, and a few creative touches, even the most outdated hutch can become the centerpiece of your home office.
Whether you’re going for a bold color statement, maximizing your storage potential, or styling a vintage treasure with modern flair, each step brings you closer to a workspace that inspires. So go ahead—open that paint can, clear the clutter, and reimagine your desk hutch with confidence and creativity.
