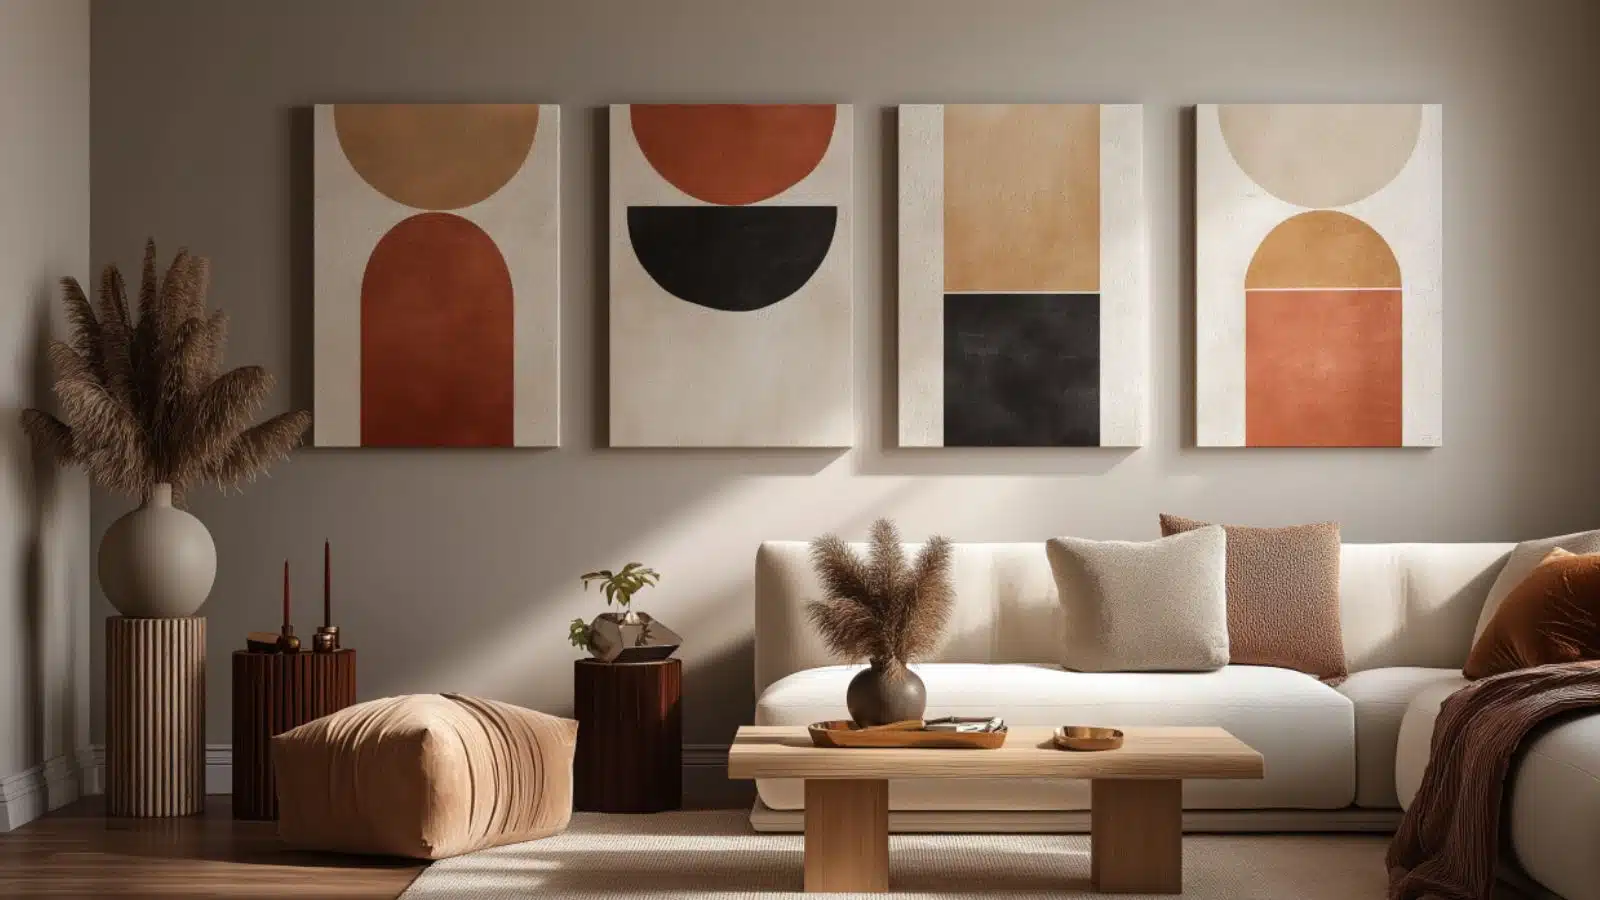
5 Easy DIY Wall Art Projects You Can Make Today
Table of Contents
Creating a stylish home doesn’t always require big investments or professional design help. Sometimes, the most charming pieces are the ones you craft yourself. DIY wall art is one of the simplest, most affordable ways to personalize your space—and it’s easier than you might think.
Whether you’re decorating a blank wall in your living room, bedroom, or entryway, homemade artwork adds warmth, creativity, and a sense of ownership to your home. According to design experts, personal touches like handcrafted art are what make a house truly feel like home. And the best part? You don’t need to be an artist or have a studio full of tools to get started.
In this post, we’ll explore five easy DIY wall art projects you can make today. Each project is beginner-friendly, budget-conscious, and stylish enough to elevate any room. You’ll find step-by-step breakdowns, material lists, and practical tips to help bring each idea to life. Whether your aesthetic is modern, boho, minimalist, or rustic, these DIY wall decor ideas will inspire your next weekend project—and maybe even spark a new creative hobby.
Painted Canvas Color Block Art
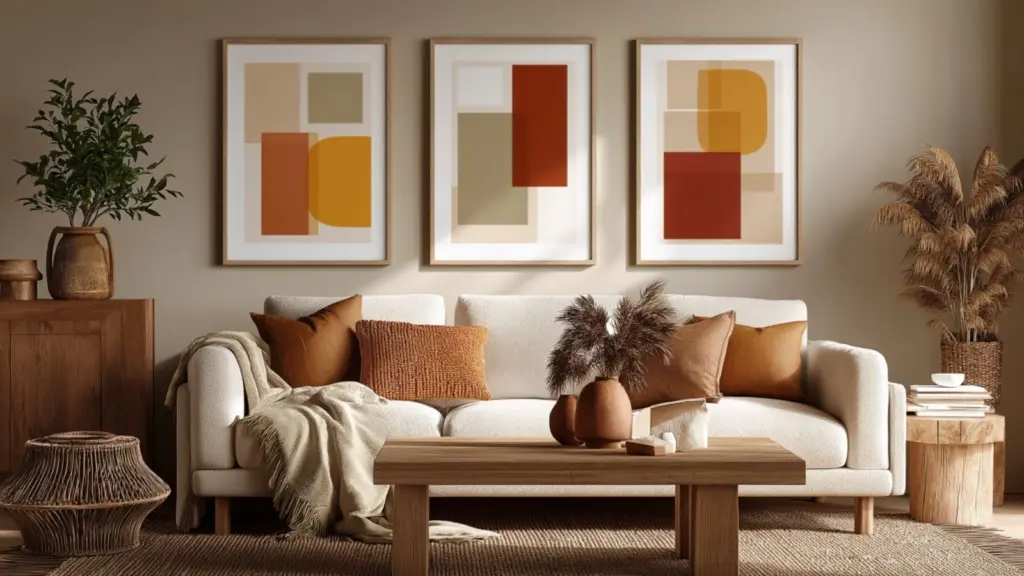
Color blocking is a simple yet bold design technique that brings a pop of color and modern flair to any room. All you need is a blank canvas, painter’s tape, and a few shades of paint that match your room’s palette.
The beauty of this DIY wall art project lies in its flexibility. You can go for soft neutrals for a Scandinavian vibe, pastels for a whimsical space, or jewel tones to create contrast in a minimalist room. The geometric shapes formed by the taped sections give a clean, sophisticated finish—even if you’re not an experienced painter.
Once dry, display your piece as a solo statement or group it with complementary canvases for a striking gallery wall.
Step-by-Step: Color Block Canvas Art
| Step | Instructions |
|---|---|
| 1. Prep Canvas | Choose a canvas size and apply a white base coat |
| 2. Tape Shapes | Use painter’s tape to section off geometric designs |
| 3. Apply Paint | Paint each section with desired colors |
| 4. Remove Tape | Peel off carefully before paint is fully dry |
| 5. Let Dry & Hang | Mount using wall hooks or command strips |
Pressed Botanical Frames for Natural Elegance
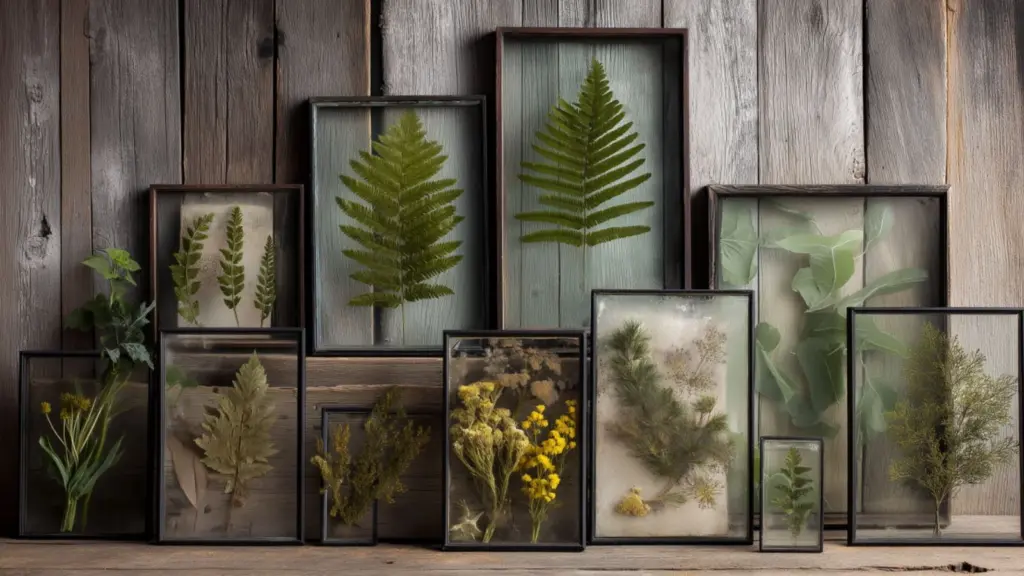
If you love a cottagecore or nature-inspired aesthetic, pressed botanical wall art is an elegant, earthy DIY that adds organic charm to your space. Using dried leaves, flowers, and floating glass frames, this project brings the outdoors in—perfect for a bedroom, hallway, or gallery wall.
Start by gathering fresh greenery or florals. Press them between book pages for 1–2 weeks until fully dry. Then carefully arrange your pieces between two glass panes and secure in a floating frame. The result is delicate, timeless, and surprisingly professional-looking.
These frames pair beautifully in groups of three or more and look stunning when hung vertically near a window or entryway.
Visual Breakdown: Creating Pressed Botanical Art
| Materials Needed | Notes |
|---|---|
| Pressed flowers/leaves | Choose flat specimens with good structure |
| Floating glass frames | Allows both sides of the plant to show through |
| Tweezers (optional) | Helps with delicate arrangement |
| Acid-free adhesive | Optional, if you want to fix plants in place |
Textured Wall Hangings with Yarn and Rope
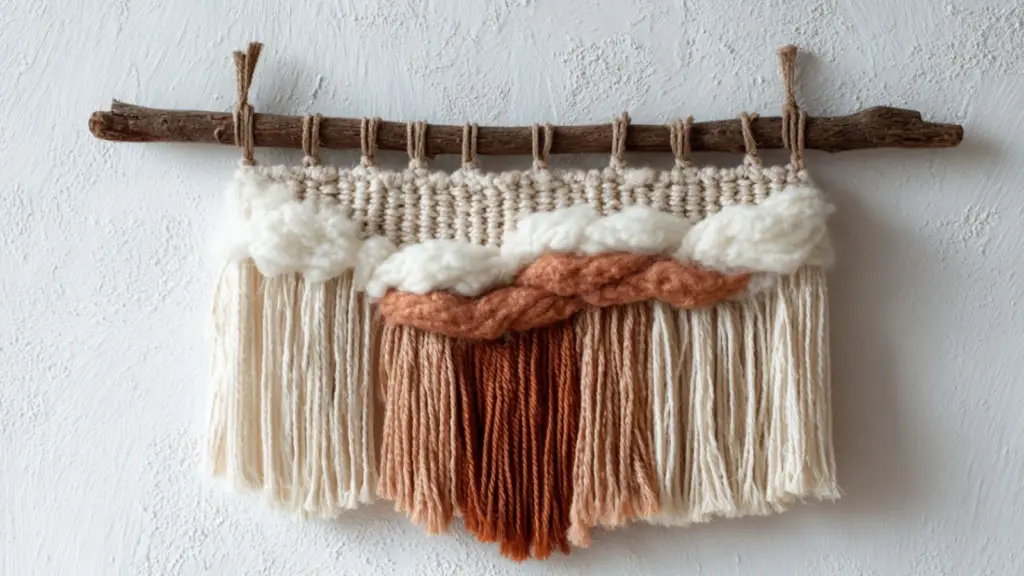
Looking to add some cozy, tactile charm to your wall? DIY wall hangings made from yarn, rope, and driftwood are a perfect project for modern boho or rustic interiors. These handmade decor pieces double as both art and texture, adding depth to minimalist walls.
You can start with a wooden dowel, metal hoop, or natural branch as the base. Cut lengths of yarn in your preferred colors—creams, terracottas, or grays work well—and tie them using lark’s head or macramé knots. Layer different textures such as wool, jute, or ribbon to add visual interest.
For added flair, try dip-dyeing the ends of your yarn in natural dyes (like avocado skins for blush tones or turmeric for golden hues). Trim the bottom into a clean triangle or leave it natural for an organic look.
Wall Hanging Techniques Table
| Material Type | Suggested Knot or Method | Style Created |
|---|---|---|
| Cotton yarn | Lark’s head knot | Soft, minimal look |
| Jute rope | Macramé square knots | Earthy, rustic texture |
| Dip-dyed fringe | Fade from dark to light | Gradient or ombré effect |
| Ribbon or lace | Tied and layered loosely | Feminine and romantic |
Framed Fabric Panels for Patterned Impact
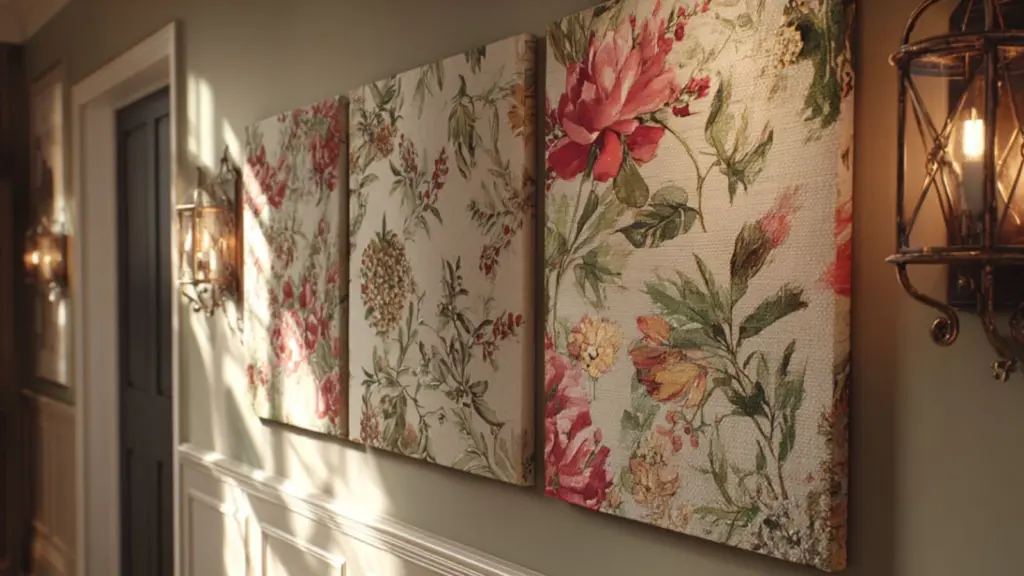
Do you have leftover fabric from other projects or vintage textiles you love? Turn them into framed fabric wall panels for a simple and high-impact DIY art project. This is one of the easiest ways to incorporate color, pattern, and softness into your decor—especially if you’re working with neutral walls.
Start by choosing coordinating fabrics: think florals, ikats, toile, or geometric patterns. Stretch each fabric over a canvas frame or staple it to a wooden panel. Alternatively, place fabric inside a deep photo frame and secure it with backing board.
This project is perfect for renters or commitment-shy decorators, since you can easily swap fabrics to suit the seasons or changing tastes.
Design Tips: Coordinating Fabric Wall Art
| Fabric Type | Best Frame Option | Works Well In |
|---|---|---|
| Vintage floral cotton | Wooden embroidery hoop | Cottage or farmhouse styles |
| Linen or canvas | Wrapped around wood frame | Scandinavian or rustic |
| Bold geometric print | Deep shadow box frame | Mid-century modern rooms |
| Patchwork or quilted | Large square canvas | Eclectic or cozy decor |
Stencil Art on Wooden Panels
For a farmhouse or traditional look, stencil art on wooden panels is a charming, rustic way to bring personality to your walls. Choose a base like reclaimed wood, plywood, or craft-store wood panels and apply your chosen stencil using acrylic paint or chalk paint.
Designs can range from botanical motifs and damask patterns to inspirational quotes or monograms. The wood texture adds character, while the stenciling offers precision and charm—making it look more curated than freehand painting.
You can create a set of three panels with related designs or make a bold statement with one oversized panel hung above a bed or console table.
Stencil Project Checklist
| Tools & Materials | Purpose |
|---|---|
| Wood panel (sealed) | Acts as your sturdy base |
| Stencil template | Reusable and available in various styles |
| Acrylic or chalk paint | Best for precision and texture |
| Foam brush or roller | For even paint application |
| Painter’s tape | Keeps stencil securely in place |
Conclusion
DIY wall art allows you to turn everyday materials into statement pieces that reflect your personal style. From textured hangings and botanical frames to bold canvas blocks and rustic stencils, these projects are proof that great design doesn’t need to cost a fortune—or require professional skills.
Each idea shared in this post can be started and finished within a day, making them perfect for weekend creatives or those seeking an immediate home refresh. The real magic lies in the personalization: every piece becomes a part of your story, your space, and your style.
Whether you try one or all five, these easy DIY wall art projects will help transform your home into a more vibrant, thoughtful, and inspiring place to live.
