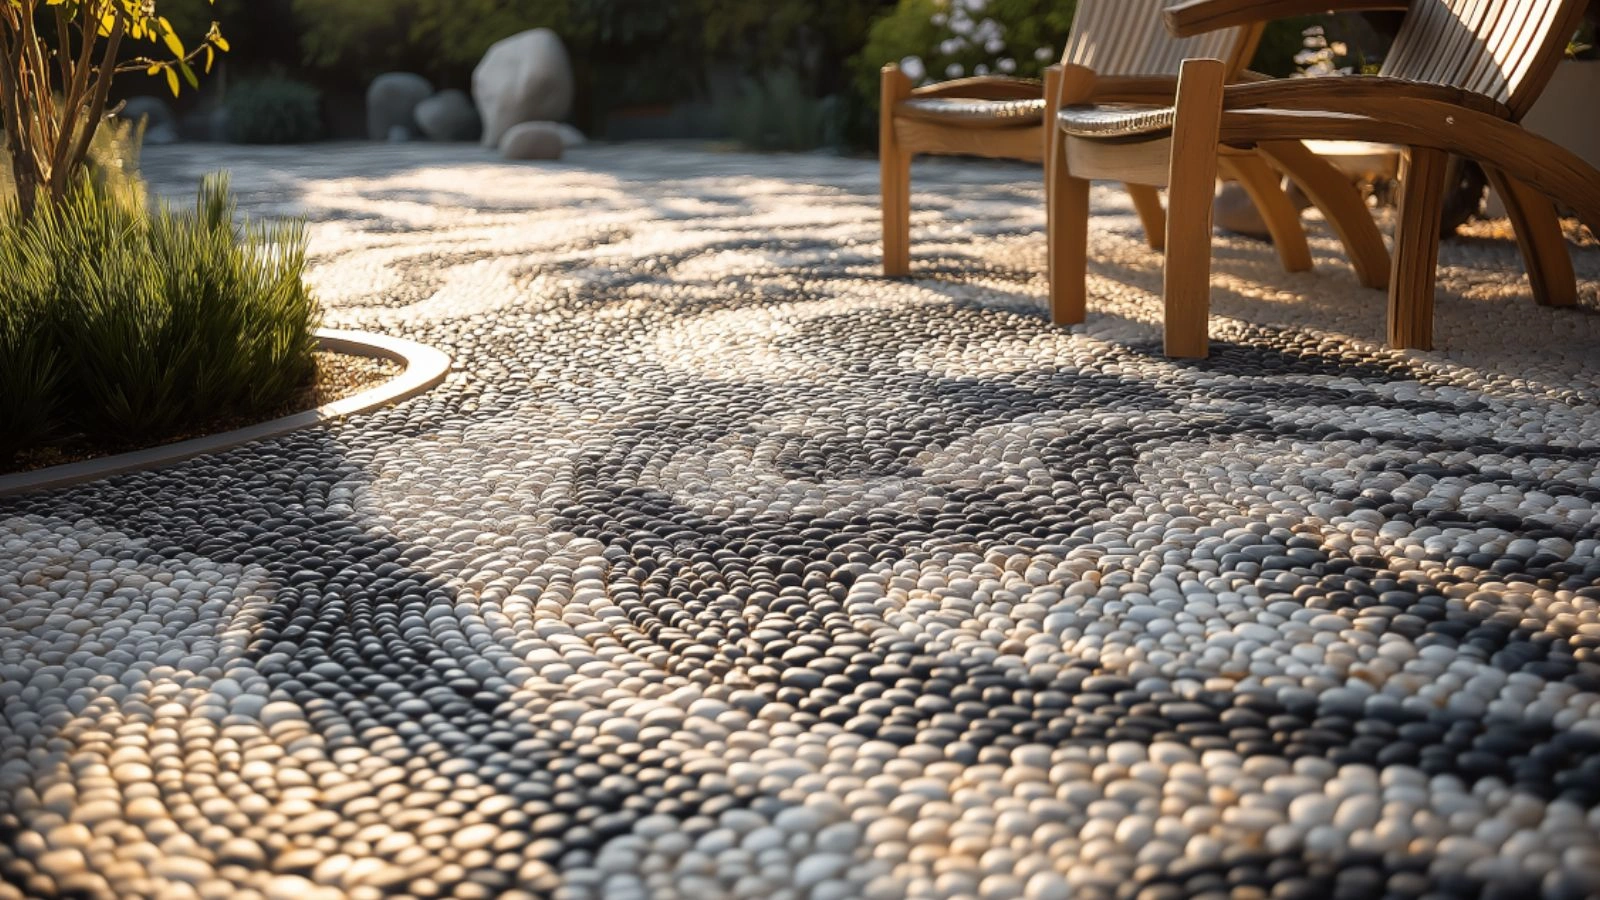
DIY Pebble Mosaic: From Patio to Indoor Accent Walls
Table of Contents
There’s something inherently timeless about stone. From ancient garden paths to modern spa-inspired bathrooms, natural pebbles have been used for centuries to bring grounding texture and beauty to our living spaces. Today, DIY pebble mosaic projects are more popular than ever, offering a creative and calming way to transform both outdoor and indoor areas into artistic, tactile environments.
Whether you’re renovating a patio or dreaming of a bathroom feature wall, pebble mosaics are a standout choice. They’re affordable, durable, and endlessly customizable—no two pebble mosaics are ever the same. With the rise in nature-inspired interiors and organic design trends, these textured surfaces fit seamlessly into both rustic and modern aesthetics.
In this guide, we’ll explore how to craft your own pebble mosaic, from selecting the right materials to designing patterns that flow beautifully with your space. You’ll learn how to use pebble mosaics on patios, walkways, shower walls, fireplace surrounds, and more—all with step-by-step insights and practical tips. Whether you’re a first-time DIYer or a seasoned weekend warrior, this project invites creativity and a connection to nature that feels refreshingly personal.
Choosing the Right Pebbles and Materials for Your Mosaic
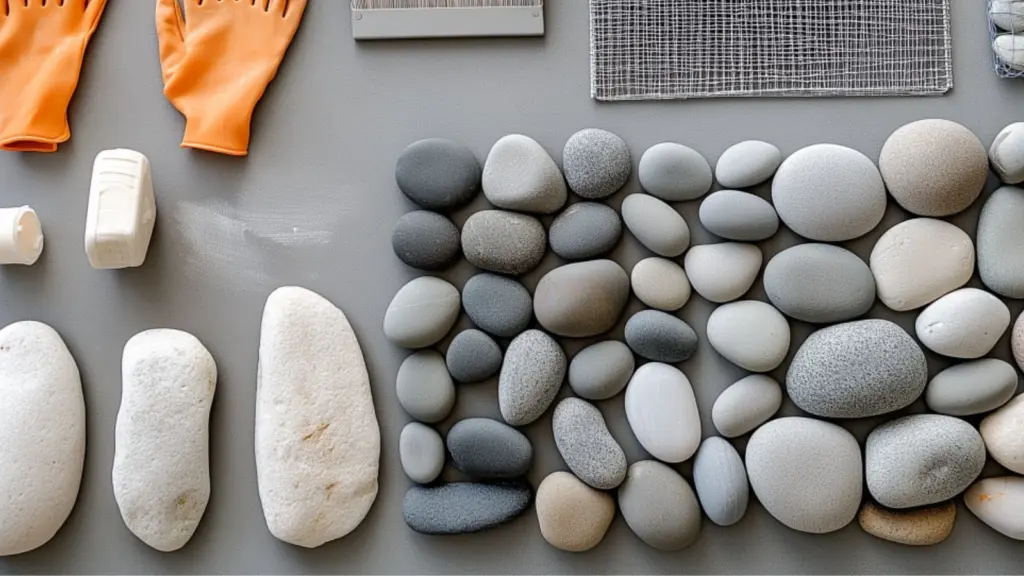
Before you begin your project, selecting the right materials is crucial for a successful and long-lasting pebble mosaic. Pebbles vary in size, color, texture, and composition—and each element plays a role in both aesthetics and function.
River pebbles, for example, are smooth and rounded from water erosion, making them ideal for barefoot areas like bathrooms or garden paths. Beach pebbles often have subtle color variations, from soft greys and whites to rich earth tones. For indoor walls, flat stones (called sliced pebbles) are easier to grout and better for vertical adhesion.
Make sure to purchase more pebbles than you think you’ll need. You’ll want extras for sorting by color, shape, and size to achieve a consistent flow in your design. Choose a high-quality tile adhesive and grout that’s suitable for either indoor or outdoor use depending on your application.
Pebble Mosaic Materials Table:
| Material Type | Best Use Area | Notes on Aesthetic and Function |
|---|---|---|
| River Pebbles | Outdoor patios, walkways | Smooth underfoot, great for flooring |
| Sliced Pebbles | Accent walls, backsplashes | Flat surface for vertical applications |
| Beach Pebbles | Indoor spas, décor zones | Natural color blends and textures |
| Epoxy Grout | Bathrooms, wet zones | Mold-resistant, long-lasting |
| Cement-Based Grout | Patios, pathways | Durable but needs sealing |
Designing Patterns That Flow Naturally
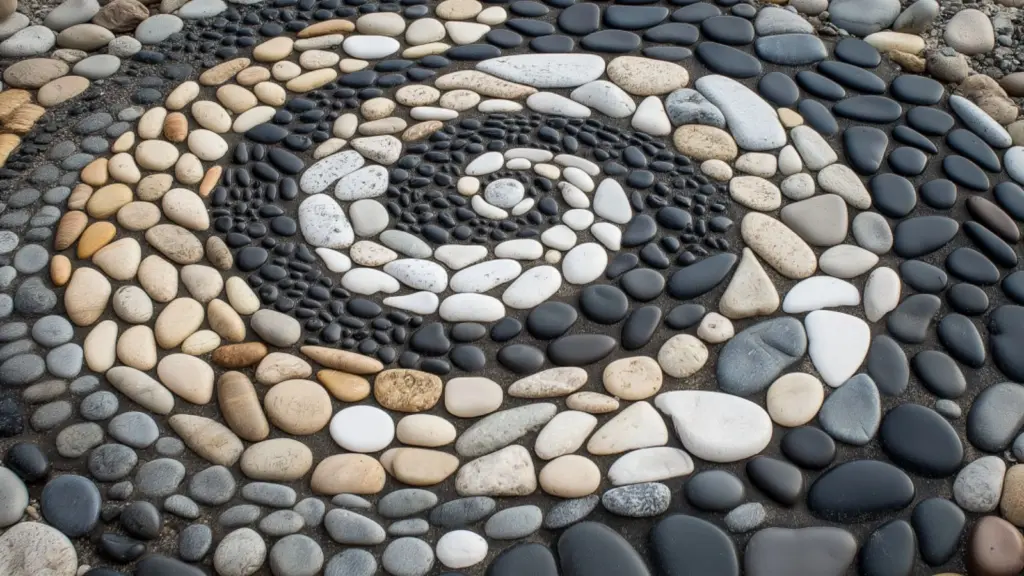
The art of pebble mosaic lies in how the stones are placed. Unlike square tile, pebbles introduce an organic, free-flowing feel. You can mimic natural elements—like waves, spirals, or vines—or opt for structured borders and repeating motifs for a more graphic effect.
Start with a sketch of your layout. If you’re creating a border around a patio, map out the flow of your design using chalk or string guides. For indoor walls or feature strips, painter’s tape helps visualize the dimensions. Lay your pebbles dry on the floor or a flat surface first, experimenting with arrangements before fixing them permanently.
To create a more cohesive look, group pebbles by size and color. Place smaller stones between larger ones to fill gaps, and alternate tones for contrast. Curved designs—like spirals or rivers—require special attention to alignment, with pebbles set edge-to-edge in a directional pattern.
Pebble Pattern Planning Table:
| Design Style | Ideal Application | Pattern Tip |
|---|---|---|
| Flowing River Motif | Shower floor, walkway border | Arrange stones in gradual curves |
| Geometric Frame | Fireplace surround, wall edge | Use square or triangle shapes as guides |
| Spiral or Vortex | Garden feature, entryway circle | Center the design and spiral outward |
| Random Organic Blend | Accent wall, patio flooring | Vary color and size for natural look |
Creating a Pebble Mosaic Patio That Stands Out
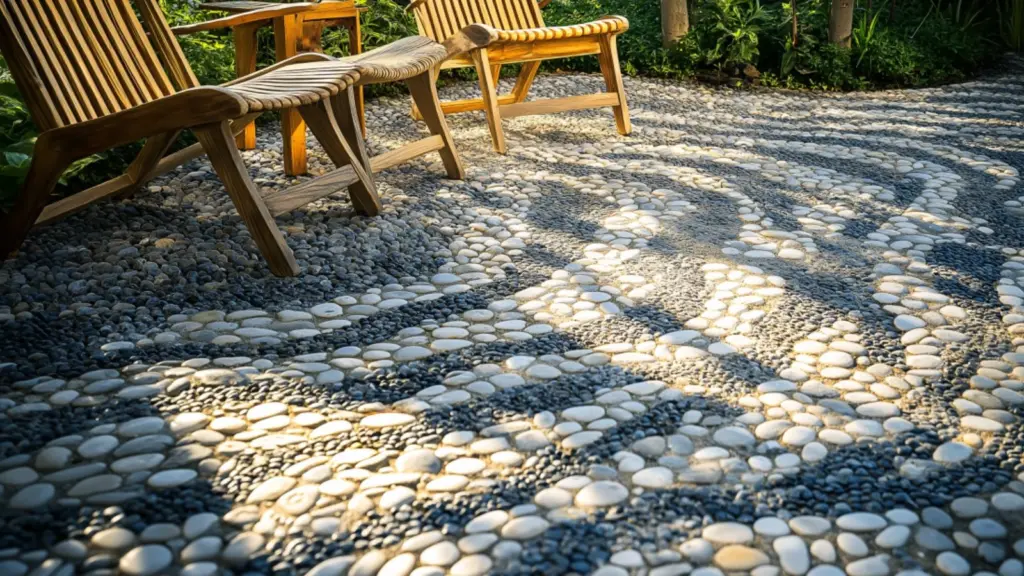
One of the most popular outdoor applications for pebble mosaics is the patio. Whether you’re framing a larger tile surface or designing a standalone mosaic pad for seating or a fire pit, pebble patterns elevate even the most basic outdoor spaces.
Begin by preparing the surface. Remove existing materials and lay down a compacted gravel and sand base. Use landscape fabric beneath to prevent weed growth. Once leveled, apply mortar in small sections and press pebbles into the surface. Work in manageable areas to ensure pebbles stay securely set.
Finish the project by grouting with outdoor-safe cement or epoxy grout. Once dried, seal the entire surface with a waterproof sealer to enhance color and durability.
Pebble Patio Checklist:
| Step | Description | Tools Needed |
|---|---|---|
| Surface Prep | Level and compact gravel base | Tamper, shovel, landscape fabric |
| Dry Layout | Test pattern before adhesion | Chalk, painter’s tape, or rope guide |
| Adhesive Application | Apply mortar in small sections | Trowel, gloves |
| Setting Pebbles | Place by hand in arranged pattern | Rubber mallet (optional) |
| Grouting and Sealing | Fill gaps and protect surface | Grout float, sponge, sealer |
Transforming Indoor Spaces with Pebble Accent Walls
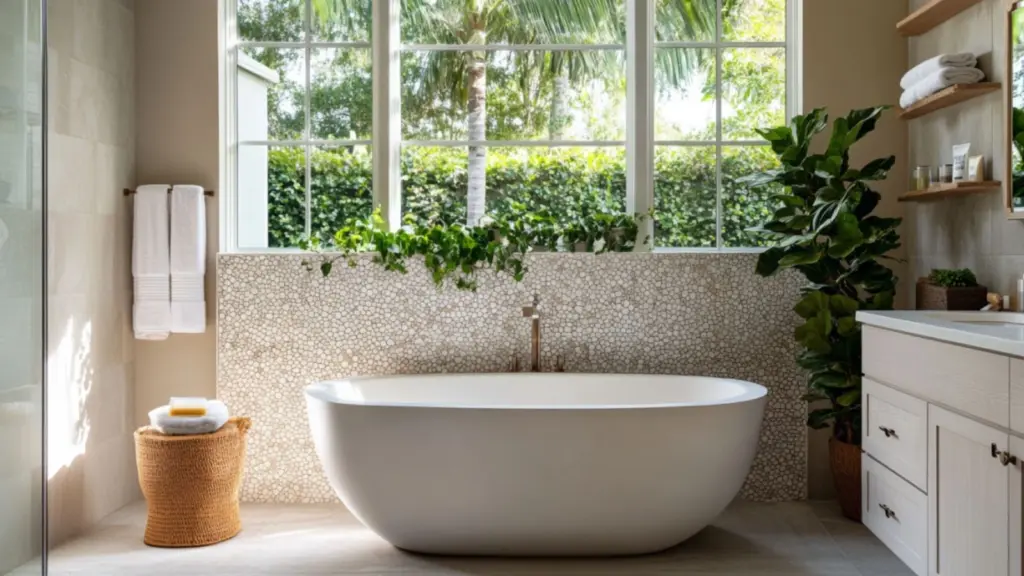
Pebble mosaics aren’t just for outdoor use. Indoors, they make striking accent walls that add both texture and a sense of calm. Whether behind a freestanding tub, framing a fireplace, or adding a spa-like touch to a shower, these stone surfaces are visually grounding and tactilely inviting.
Start by choosing sliced pebbles or flat-faced stones for ease of installation. Mesh-mounted pebble tiles are a great time-saver, especially for vertical surfaces. Use high-quality tile adhesive suited for vertical bonding, and begin at the base of the wall, working upward in rows.
Since lighting dramatically affects how texture appears, plan your lighting carefully. Wall sconces or soft overhead fixtures can highlight the natural variation in stone tones. For color palettes, stay in the neutral or earthy spectrum to maintain a calming, timeless look.
Seal your finished wall with a penetrating sealer to prevent water stains or soap buildup, especially in bathrooms. Clean with a gentle, non-acidic stone cleaner to preserve the finish.
Accent Wall Inspiration Table:
| Room Type | Ideal Placement | Visual Tip |
|---|---|---|
| Bathroom | Behind tub, in shower niche | Use pale stones for a serene spa feel |
| Living Room | Fireplace surround or entry wall | Contrast with smooth painted drywall |
| Bedroom | Behind headboard or as trim | Keep the palette soft and monochrome |
| Kitchen | Backsplash or vertical column | Choose polished stones for easy wipe-down |
Grouting and Finishing Tips for a Professional Look
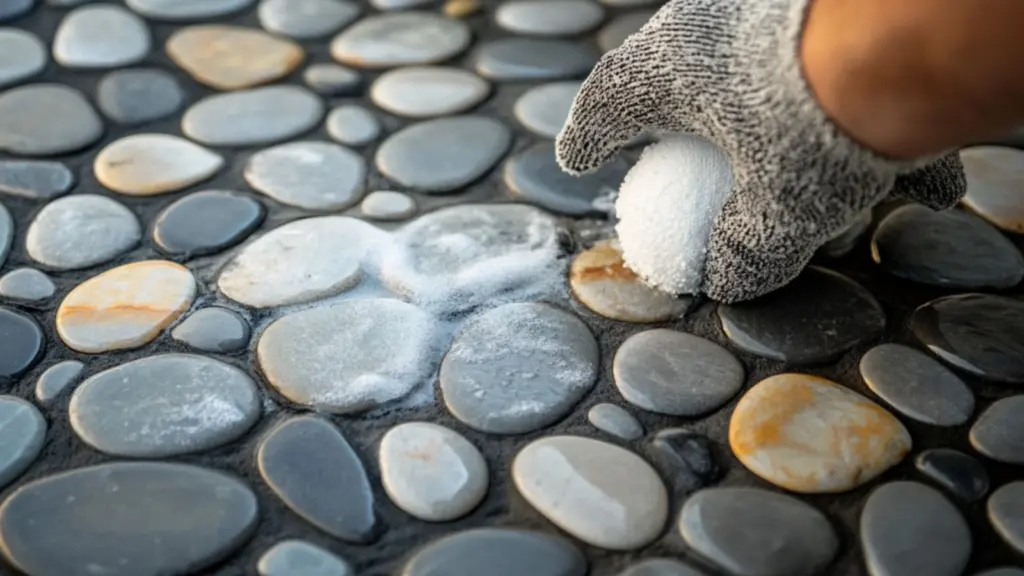
No matter how artistic your design, a pebble mosaic isn’t complete without careful grouting and sealing. These finishing steps not only bind your design but also enhance its appearance and longevity.
Choose grout color carefully—neutral gray blends seamlessly, while black adds drama and contrast. Apply grout generously using a float, pressing it between every stone. Use a damp sponge to wipe excess, being careful not to pull grout from gaps. Change rinse water frequently for a clean finish.
Once dry, inspect for any low spots and touch up as needed. Allow the grout to cure fully before sealing. For outdoor applications, choose a weatherproof sealant; for indoor spaces, a penetrating stone sealer maintains the natural finish while protecting from stains.
Grouting Do’s and Don’ts Table:
| Do | Don’t |
|---|---|
| Use gloves and work in sections | Rush the grout curing time |
| Match grout to your aesthetic | Let grout dry on the surface too long |
| Use a sealer after drying | Use acidic cleaners on unsealed stone |
| Check for level after drying | Forget to clean tools immediately |
Conclusion
A DIY pebble mosaic is more than just a project—it’s a hands-on expression of natural beauty, thoughtful design, and tactile artistry. Whether you’re crafting a serene patio, refreshing an indoor space, or simply experimenting with natural textures, pebble mosaics offer a unique blend of structure and organic flow.
With the right materials, a bit of planning, and a creative touch, your pebble mosaic will become a lasting feature that feels both personal and timeless. From underfoot to overhead, these small stones carry big impact—and they remind us that sometimes, the most powerful designs come from nature itself.
