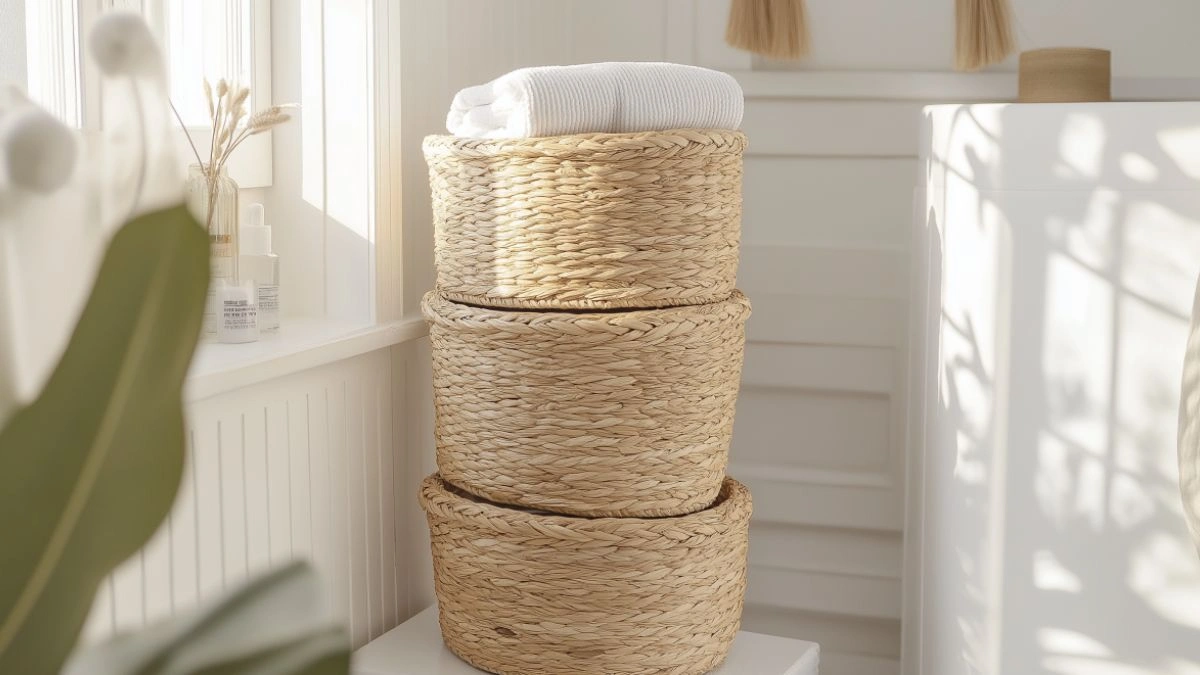
How to Build an Easy Vertical DIY Laundry Basket Storage Tower for Small Spaces
Table of Contents
Laundry rooms are often one of the smallest—and most chaotic—spaces in the home. Piles of clothes, misplaced detergent bottles, and a general lack of organization can quickly make this area overwhelming. According to a 2023 survey by Houzz, 60% of homeowners rank laundry room organization as a top priority in home improvements. If you’re dealing with limited space, a vertical DIY laundry basket storage tower could be your game-changing solution.
This blog post will guide you through designing and building a custom vertical tower that fits standard laundry baskets, keeps your loads sorted, and brings a sleek, functional vibe to your laundry zone. Whether your room is tucked into a hallway closet or hidden behind a door, this project is budget-friendly, beginner-appropriate, and totally customizable.
We’ll explore essential planning tips, space-saving layouts, material options, styling ideas, and even expanded storage hacks. Plus, you’ll find MidJourney image prompts to inspire your Pinterest-ready visuals. Let’s turn laundry chaos into calming order—one vertical tower at a time.
Why Go Vertical? The Benefits of Upright Storage
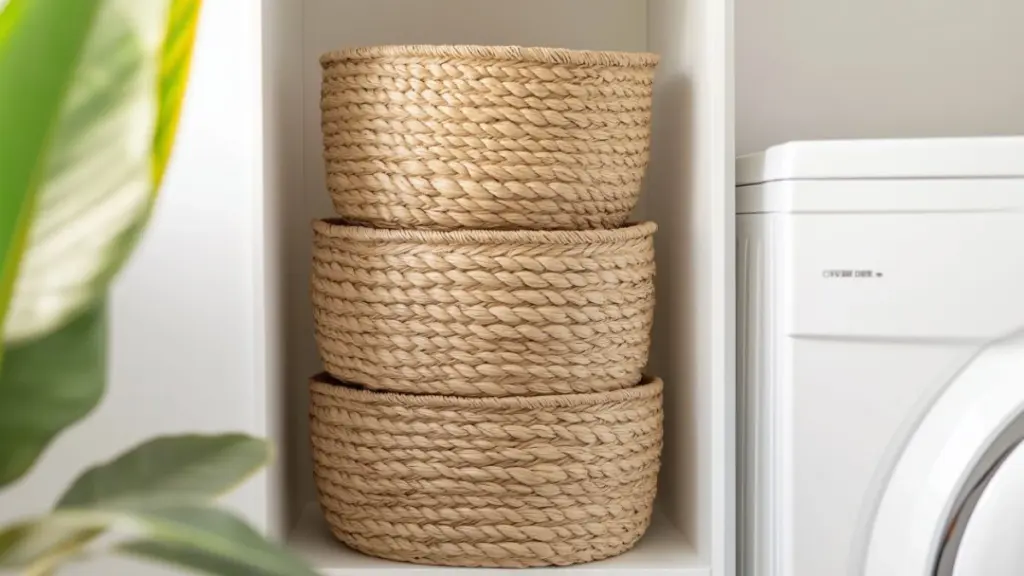
When square footage is limited, thinking vertically opens up a world of possibilities. Vertical storage uses wall height instead of floor space, making it ideal for compact laundry rooms, utility closets, or hallway nooks.
A vertical DIY laundry basket tower typically holds three to four baskets—each on its own shelf or track. This allows you to sort whites, darks, towels, and delicates without piling everything on the floor.
It’s not just practical; it’s visually satisfying. The streamlined look makes your laundry space feel more put-together, and because baskets are easy to pull out and reinsert, the entire system is family-friendly.
Pros and Cons Table: Vertical Basket Tower Storage
| Feature | Pros | Cons |
|---|---|---|
| Space-saving design | Frees up floor space in small laundry rooms | Requires vertical wall clearance |
| Easy load organization | Sorts laundry by type or family member | May not fit oversized laundry baskets |
| Budget-friendly DIY | Uses basic tools and materials | Takes time and effort to build |
| Aesthetic appeal | Clean, organized, modern look | Needs baskets of uniform size |
Choose the Right Space and Measure Precisely
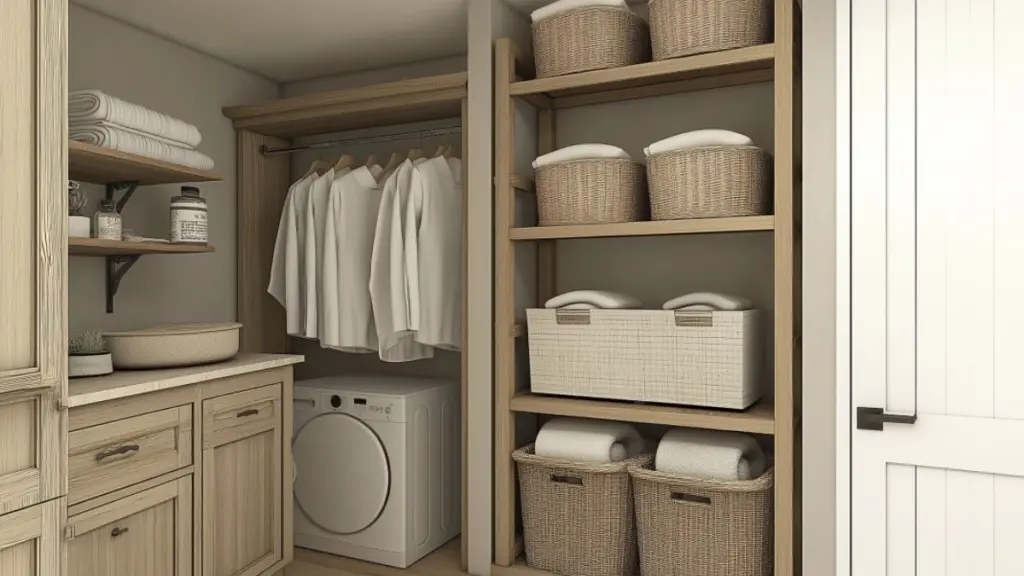
Before building your vertical laundry tower, assess your available space. Is it a corner of a laundry room? A hallway closet? Or next to a stacked washer-dryer unit? You’ll want to leave enough clearance above and around the unit to pull baskets in and out easily.
Standard laundry baskets are around 22″ wide, 12″ tall, and 16″ deep—but measure yours to be sure. Once you know how many baskets you want to stack (typically three or four), you can calculate your tower height.
Remember to factor in materials like the wood frame thickness and any clearance needed above each basket for easy lifting. Sketch your design and confirm your wall can support the structure if it needs to be anchored.
Measuring Checklist Table
| Measurement Needed | Ideal Range | Notes |
|---|---|---|
| Basket Width | 20–22 inches | Include 0.5″ side clearance on each side |
| Basket Height | 10–12 inches | Leave 2–3″ clearance above each basket |
| Total Tower Height | 45–60 inches | Varies by number of baskets |
| Tower Depth | 16–18 inches | Avoid protruding into walking space |
| Wall Clearance (if built-in) | 1–2 inches | For ventilation and shifting during use |
Step-by-Step Guide to Building Your DIY Tower
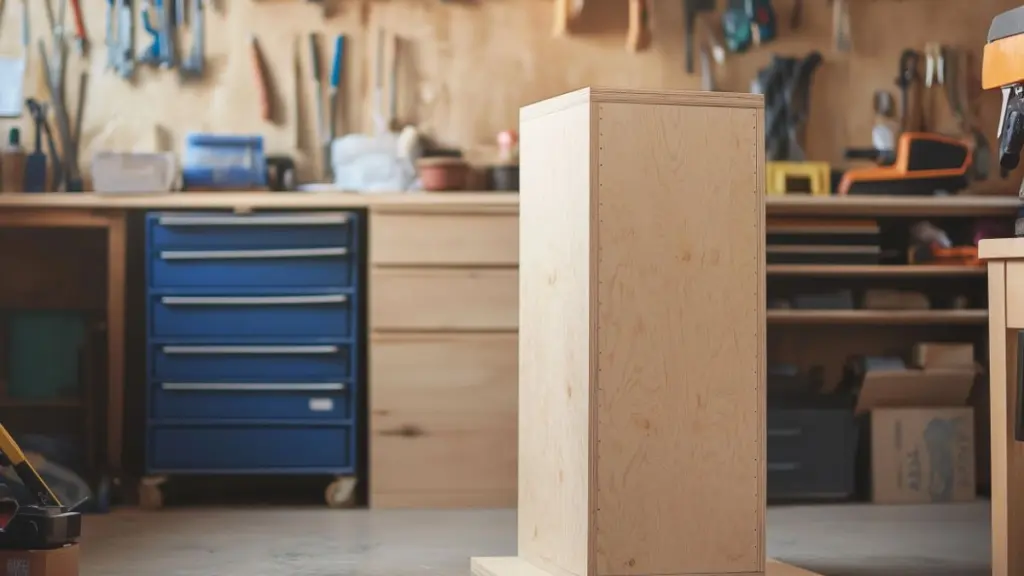
Building a vertical laundry basket storage tower is a weekend project that doesn’t require advanced carpentry skills. Below is a step-by-step overview to help you construct a sturdy, attractive tower.
Materials Needed:
- 3–4 matching laundry baskets
- 2 sheets of ¾” plywood or MDF
- Wood screws
- Wood glue
- Measuring tape, level, drill, circular saw
- Sandpaper and paint/stain (optional)
Instructions:
- Cut Your Panels
Cut two side panels to the full height of your tower. Then cut horizontal supports for each basket. Add a top and bottom base for structural integrity. - Pre-Drill and Assemble
Use wood glue and screws to secure the horizontal supports to the inside of the side panels. Make sure they’re level and evenly spaced according to your basket height. - Sand and Finish
Sand all surfaces for a smooth finish. Paint or stain the wood to match your decor. - Secure or Freestand
If desired, secure the tower to the wall with L-brackets for safety, especially in homes with kids.
Build Steps Table
| Step | Action | Tip |
|---|---|---|
| 1. Prep & Plan | Sketch, measure, gather materials | Double-check basket sizes before cutting |
| 2. Cut Panels | Use circular saw for straight lines | Use clamps for added accuracy |
| 3. Assemble Tower | Attach shelves between side panels | Level each shelf before screwing in place |
| 4. Finishing Touches | Sand, paint, or stain the frame | Let dry completely before use |
| 5. Install or Anchor | Position tower and secure if needed | Use wall anchors if drilling into drywall |
Customize With Baskets, Labels, and Paint
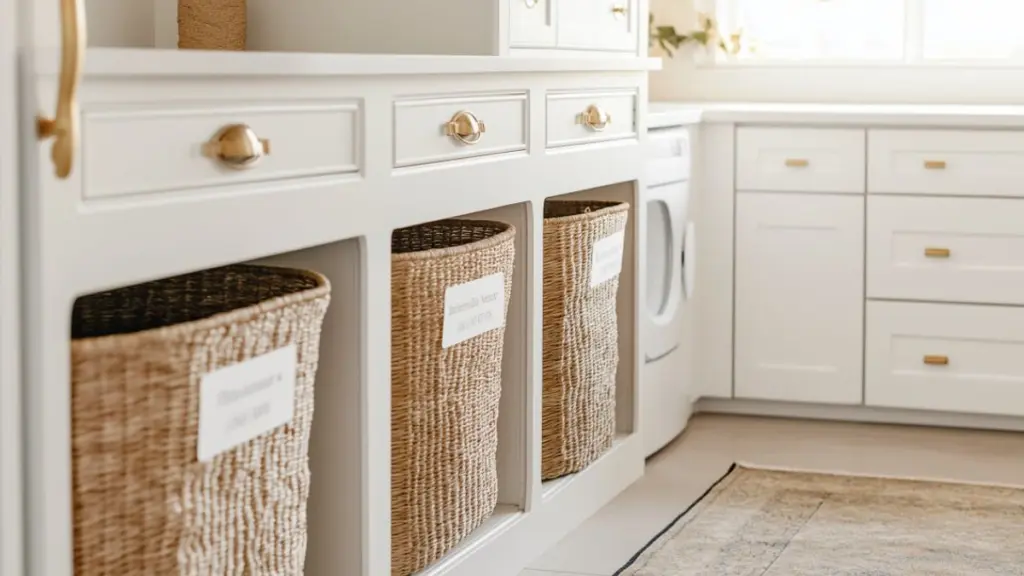
One of the best parts of building your own laundry tower is customizing it to suit your home’s decor. You can paint the structure white for a fresh look or stain it in a rich walnut tone for warmth.
Basket options range from plastic and fabric to seagrass or rattan—just ensure they’re the same size for a snug fit. Add labels to each shelf or basket: “Whites”, “Colors”, “Towels”, or use family member names.
Want to go a step further? Add small hooks on the side for hanging clothespins, mesh laundry bags, or lint rollers. You could even install small wheels on the bottom to make the unit mobile.
Customization Ideas Table
| Customization | Description | Best For |
|---|---|---|
| Paint or Stain | Match tower to room decor | White for modern, dark for cozy |
| Labels or Tags | Chalkboard clips, engraved signs | Sorting laundry or by family |
| Decorative Baskets | Woven, canvas, or plastic styles | Varies by look and ease of cleaning |
| Hooks or Side Storage | For small tools or accessories | Maximizing every inch |
| Wheels or Casters | Add mobility | Tight or multipurpose areas |
Style Your Laundry Area to Match
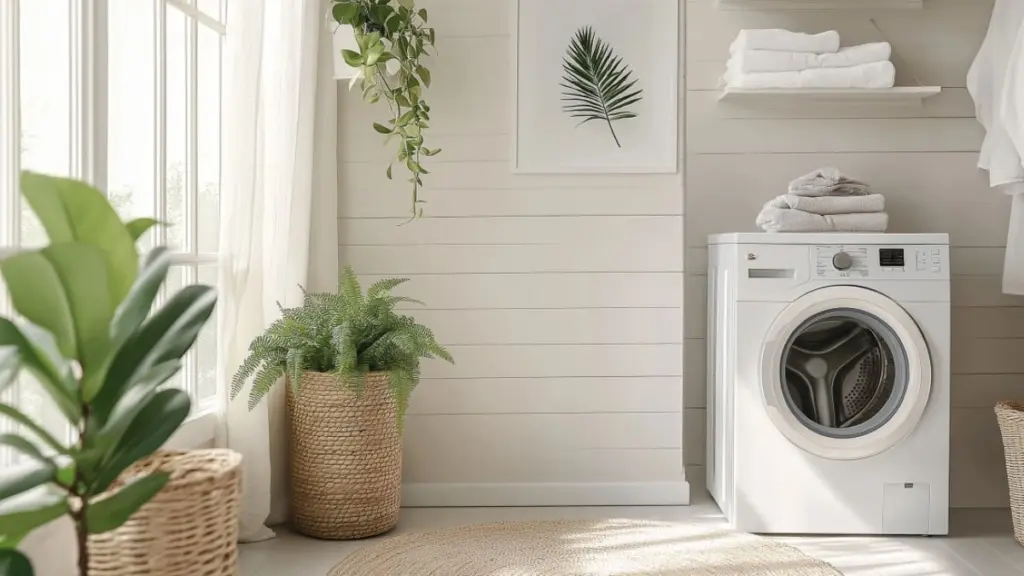
Once your vertical tower is in place, take a moment to elevate the full laundry space. Even the most utilitarian corners of the home can feel inspiring with a little design effort.
Add a simple shelf above the washer/dryer for detergent jars and a small framed print. Hang a pegboard for tools or foldable drying racks. Bring in a small plant (real or faux) for a touch of greenery.
A neutral or patterned runner rug can warm up a tiled laundry floor. If your tower sits near a window, let in natural light—light and function go hand-in-hand.
Laundry Styling Breakdown
| Element | Purpose | Ideas |
|---|---|---|
| Overhead Shelf | Extra storage | Glass jars, woven baskets |
| Wall Decor | Personality | Framed quotes, minimalist art |
| Rug or Mat | Comfort & style | Indoor/outdoor runner or plush mat |
| Greenery | Fresh, natural feel | Snake plant, pothos, or eucalyptus |
| Pegboard or Rack | Functional & decorative | Hang tools, brushes, or bags |
Conclusion
Creating your own vertical DIY laundry basket storage tower is a smart, stylish way to bring order to your laundry space—especially in homes where every inch counts. It’s an affordable project that delivers both beauty and practicality, helping you streamline sorting and stay on top of loads throughout the week.
From careful measuring to final styling, this project is all about making the most of what you have and turning a routine task into something that feels calm, purposeful, and even a little joyful. Whether you’re in a compact apartment or a spacious home, this tower can be tailored to fit your lifestyle and aesthetic beautifully.

