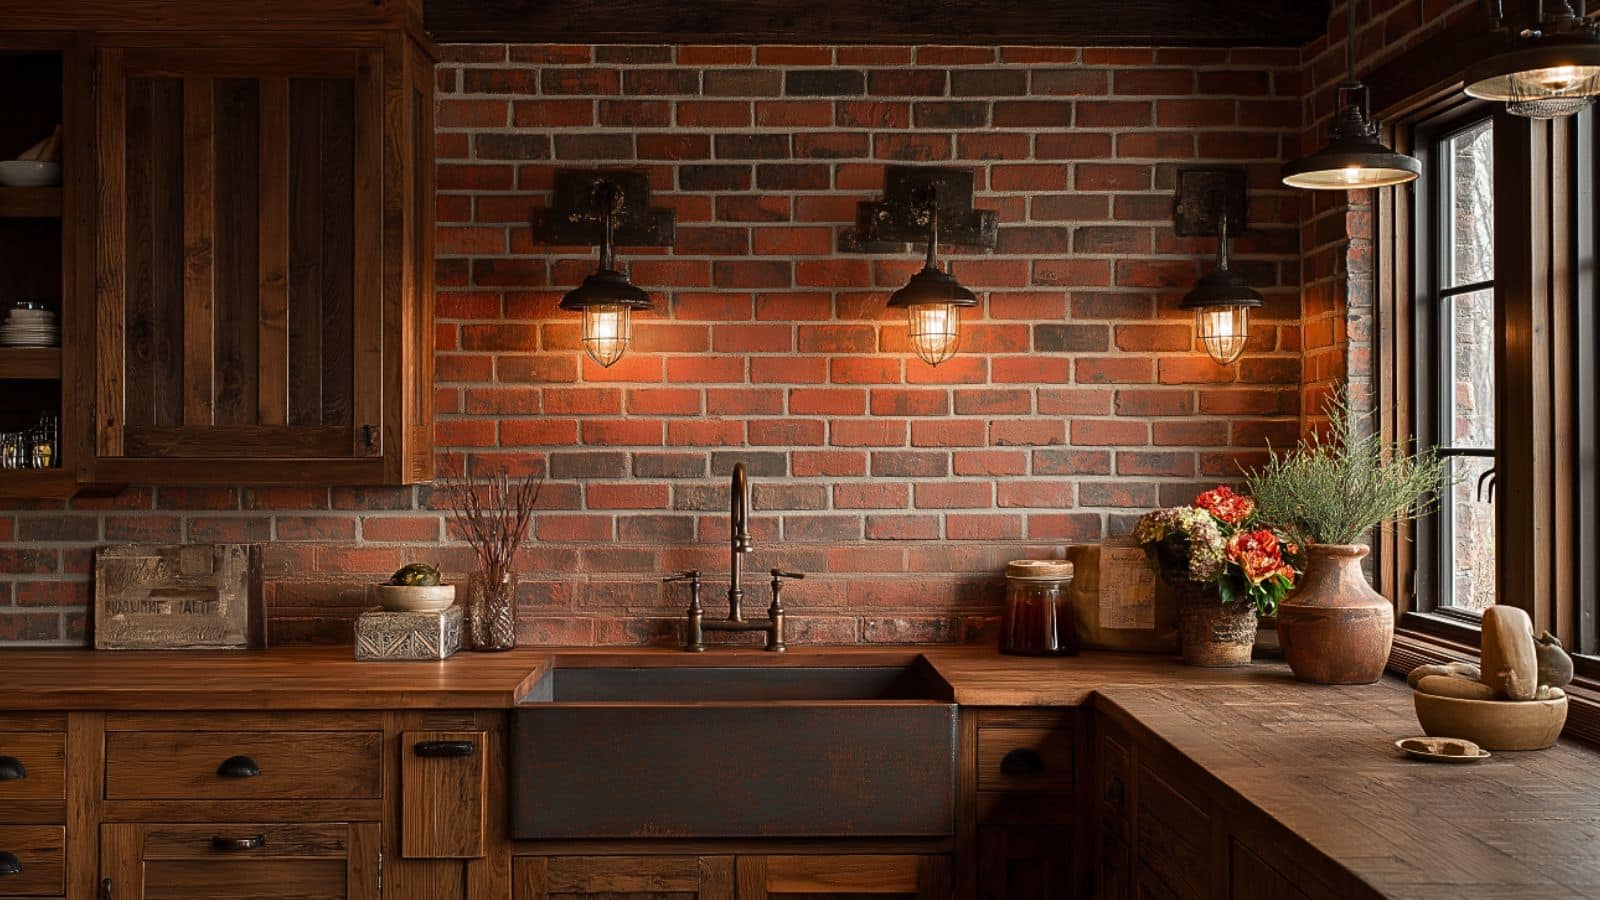
Transform Your Space with a Farmhouse Kitchen Brick Backsplash for Rustic Charm
Table of Contents
There’s something undeniably cozy and inviting about a farmhouse kitchen. It’s a style that evokes comfort, simplicity, and the nostalgic charm of home-cooked meals and Sunday mornings. While farmhouse design embraces many elements—shiplap, wood beams, and vintage accents—one feature consistently stands out for its visual impact and authenticity: the brick backsplash.
A farmhouse kitchen brick backsplash instantly adds warmth, texture, and rustic elegance to your space. Whether you’re updating an older kitchen or designing from scratch, this design element blends beautifully with both traditional and modern farmhouse aesthetics. And you don’t need a sprawling countryside cottage to pull it off—brick works just as well in small urban apartments or suburban homes.
In this post, we’ll explore how to transform your space with a farmhouse kitchen brick backsplash. You’ll learn about the different types of brick, installation methods, color options, maintenance tips, and style pairings that maximize impact without breaking the bank. Whether you prefer exposed red brick, painted white, or a more industrial vibe, there’s a brick backsplash look to suit every taste.
Let’s dive into how this timeless feature can become the focal point of your kitchen and elevate your home’s entire atmosphere.
Choose the Right Type of Brick for Your Farmhouse Kitchen
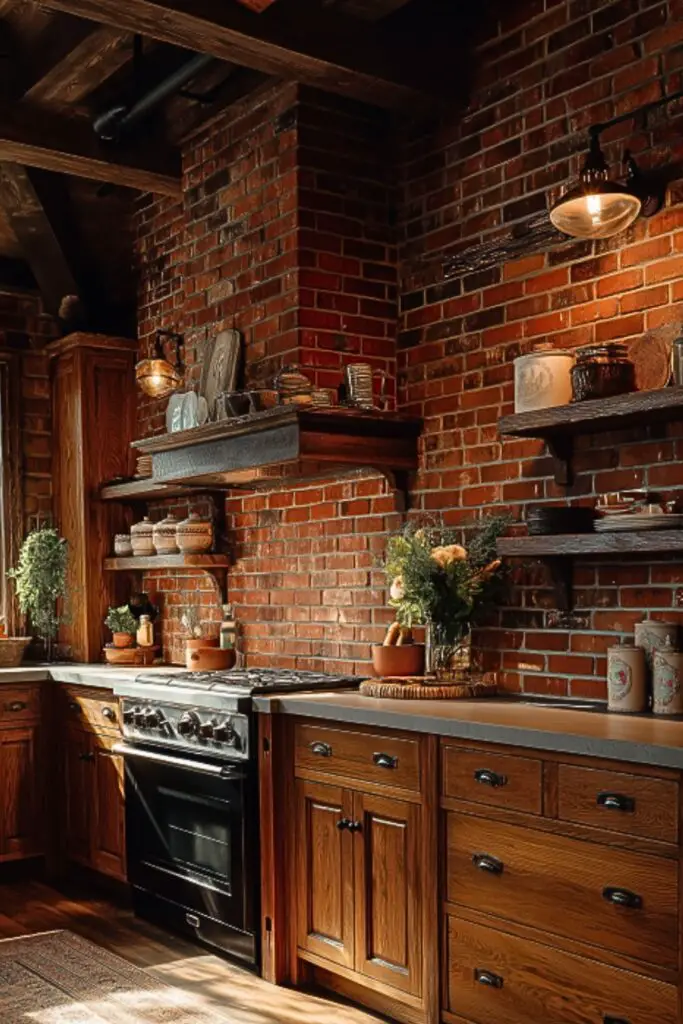
When it comes to choosing the right brick for your kitchen backsplash, there’s no one-size-fits-all approach. Brick adds texture and character, but it’s available in several variations—each with its own charm and practicality.
The two most common options are full brick and thin brick veneer. Full brick provides a classic, robust look but requires more space and structural support. Thin brick veneer, on the other hand, delivers the same visual appeal with less bulk, making it ideal for kitchens where wall space and depth are limited.
If you want to avoid masonry altogether, brick-look tiles are an excellent alternative. These porcelain or ceramic tiles mimic the appearance of real brick but are lighter, easier to install, and often more budget-friendly.
You’ll also want to consider the surface texture. Tumbled brick has a worn, rustic finish perfect for traditional farmhouse kitchens, while a smoother surface suits more modern farmhouse designs.
Table: Comparing Brick Backsplash Options
| Type | Description | Best For |
|---|---|---|
| Full Brick | Actual bricks cut and laid in mortar | New builds or major renovations |
| Thin Brick Veneer | Slim bricks applied like tile | Easy updates with real brick texture |
| Brick-Look Tile | Porcelain/ceramic mimicking brick | Budget-friendly, easy maintenance |
| Tumbled Brick | Worn, uneven edges, rustic look | Authentic vintage or farmhouse style |
Select the Perfect Brick Color and Finish to Match Your Style
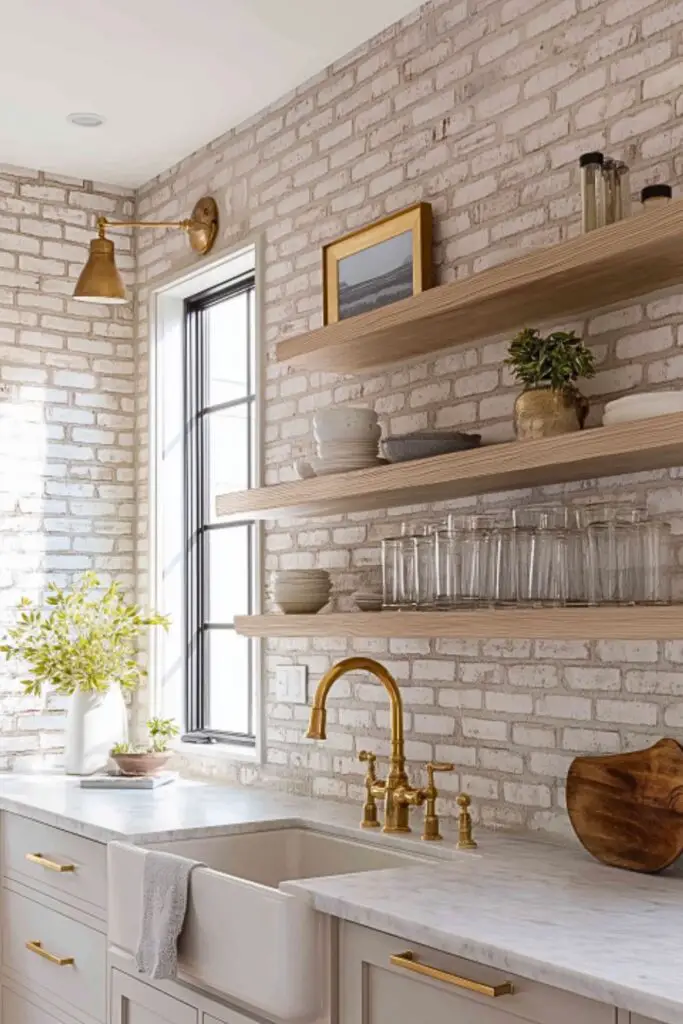
The beauty of a farmhouse kitchen brick backsplash lies in its versatility. Color plays a huge role in setting the mood, and different finishes offer different aesthetics. Whether you’re going for cozy and traditional or sleek and modern farmhouse, your brick choice sets the tone.
Red brick is the most classic and timeless, evoking a rustic, homey charm. It pairs beautifully with reclaimed wood, matte black fixtures, and open shelving. For a more modern farmhouse feel, consider whitewashed brick—which maintains texture while brightening the space. You can even paint your brick completely white or a soft gray for a crisp, minimalist look.
Antique or reclaimed bricks often feature unique color variations like ochre, ash, and rust, creating visual interest and depth. These are great if you’re looking for something truly one-of-a-kind.
For a bold, urban farmhouse twist, try charcoal or black brick. These create dramatic contrast when paired with lighter cabinets or industrial-style metals like brushed nickel or iron.
Table: Brick Color Options and Their Style Match
| Brick Color/Finish | Visual Effect | Best Pairings |
|---|---|---|
| Classic Red | Warm, rustic, vintage | Butcher block, cream cabinets |
| Whitewashed | Light, airy, soft texture | Shiplap, open wood shelves |
| Painted White | Clean, fresh, farmhouse-modern | Gold accents, black fixtures |
| Reclaimed Multi-Tone | Weathered, historic, earthy | Iron lanterns, terracotta pots |
| Charcoal/Black | Edgy, modern, bold | White cabinets, metal or glass décor |
Plan Your Layout: Patterns and Placement Tips
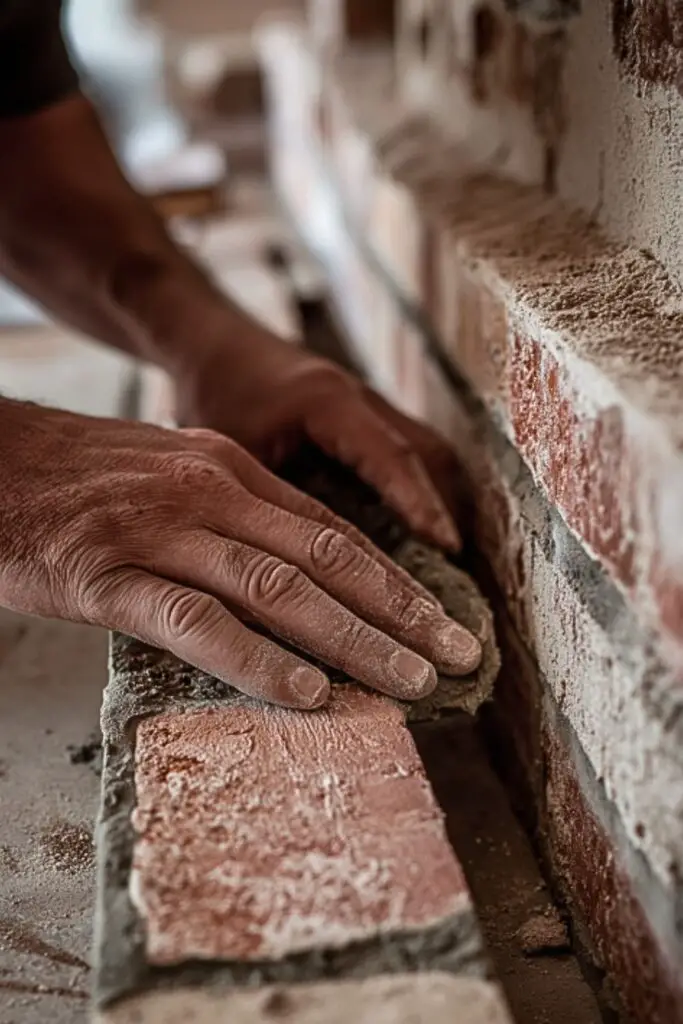
Once you’ve chosen your brick type and color, it’s time to think about layout and design. While brick is often associated with rustic charm, how you arrange it can lean traditional or modern depending on the pattern.
The most common choice is the running bond pattern—where each brick is offset by half a brick from the row above. It’s timeless and works well in virtually any kitchen. For a touch of visual intrigue, consider a herringbone pattern, which adds movement and elegance. A stacked pattern, where bricks are laid in a grid-like alignment, offers a more contemporary twist.
Brick can cover just the backsplash area between your countertops and upper cabinets, or it can extend up to the ceiling for dramatic effect. Some homeowners even use it as an accent wall behind open shelving or the stove hood to create a central focal point.
Table: Brick Backsplash Layout Patterns
| Layout Pattern | Description | Best Application |
|---|---|---|
| Running Bond | Offset rows, classic brick look | Traditional or farmhouse kitchens |
| Herringbone | V-shaped weave, dynamic movement | Feature walls or above stove |
| Stacked Bond | Straight, aligned rows | Clean, modern farmhouse design |
| Floor-to-Ceiling | Full-height brick wall | Open shelving areas or stove surrounds |
Understand the Installation Process and What to Expect
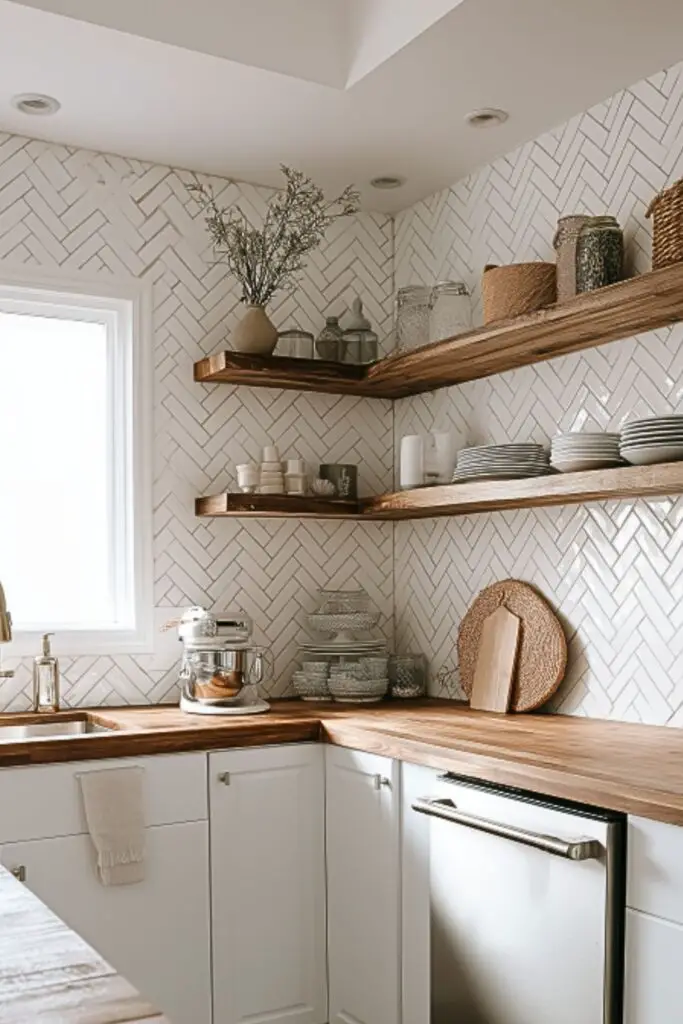
Installing a brick backsplash isn’t just about choosing pretty materials—it’s a home improvement project that requires careful planning and execution. Whether you’re hiring a professional or taking the DIY route, knowing what to expect can help you prepare for a smoother experience.
Step 1: Surface Preparation
The wall must be clean, dry, and structurally sound. If you’re using full brick or thin brick veneer, the installer may use a cement backer board for support. Brick-look tile usually adheres well to drywall.
Step 2: Layout Planning
This is where pattern comes in. Mapping out the layout beforehand helps ensure visual balance and symmetry—especially around outlets, corners, or cabinets.
Step 3: Mortar Application
For authentic brick or veneer, mortar is spread onto the wall with a trowel, and bricks are pressed into place. Spacers can be used for consistent joints. Tile adhesive is used for ceramic options.
Step 4: Grouting or Mortar Joints
Once the bricks or tiles are set and cured, grout or mortar is applied between the joints. A “German smear” or white mortar wash can be added to create a distressed or whitewashed look.
Step 5: Sealing and Finishing
Sealing is especially important for real brick to prevent moisture and staining, especially behind stoves or sinks. Choose a matte or satin sealant for best results.
Table: Brick Backsplash Installation Overview
| Step | Description | Pro Tip |
|---|---|---|
| Wall Prep | Clean, smooth surface for bonding | Use primer if needed for adhesion |
| Layout Marking | Plan out brick placement | Start at center and work outward |
| Brick or Tile Setting | Apply mortar or adhesive | Check level frequently |
| Joint Filling | Add grout or mortar for finished look | Use tuck pointer for neat lines |
| Sealing | Protects brick from grease and moisture | Reapply every few years |
Style Your Farmhouse Kitchen Around the Brick Backsplash
A brick backsplash is a statement piece—so it deserves to be styled with intention. The elements you pair with it will determine whether the room leans traditional, industrial, modern, or vintage farmhouse.
Pair red brick with open reclaimed wood shelving, vintage accessories, and warm brass or black hardware. Add antique glass jars, cutting boards, or rustic lighting for a lived-in feel.
If you’ve chosen a whitewashed or painted brick, enhance the softness with woven textures, fresh greenery, and light woods like oak or ash. Shiplap walls, soft textiles, and ceramic details will reinforce the farmhouse vibe without feeling heavy.
To avoid a cluttered look, strike a balance between texture and simplicity. Choose a few well-placed decor items rather than overloading the space. Functionality should always come first, especially in a busy kitchen.
Table: Style Pairings for Different Brick Looks
| Brick Style | Complementary Materials | Suggested Accessories |
|---|---|---|
| Red Brick | Dark wood, matte black metal | Iron sconces, hanging copper pots |
| Whitewashed Brick | Light wood, cotton or linen | Herb planters, white ceramics |
| Charcoal Brick | Steel, concrete, glass | Industrial stools, Edison bulb pendants |
| Multi-Tone Reclaimed | Earthy tones, distressed finishes | Vintage signs, enamel pitchers |
Maintain and Care for Your Brick Backsplash Over Time
Brick is durable, but like any kitchen surface, it requires care to keep it looking its best. Especially if your backsplash is made from real or porous brick, routine maintenance will protect it from grease, water, and everyday wear.
For everyday cleaning, use a soft sponge with warm water and a mild dish soap. Avoid harsh abrasives or acidic cleaners, which can erode mortar and brick surfaces over time.
Sealing your brick is key—especially in areas near the stove or sink. A breathable, penetrating sealant will prevent grease and moisture from absorbing into the material while allowing the wall to “breathe.” Reapply sealant every few years, depending on kitchen usage.
If staining occurs, baking soda paste or gentle scrubbing with a vinegar-water mix (for sealed surfaces) can help lift marks without damaging the surface. Painted brick may require touch-ups if chipped, so keep extra paint on hand for easy fixes.
Table: Brick Backsplash Maintenance Guide
| Task | Frequency | Notes |
|---|---|---|
| Wipe Down Surface | Weekly or as needed | Use non-abrasive sponge |
| Re-seal Brick | Every 2–3 years | Choose a matte sealer for natural look |
| Spot Clean Stains | As needed | Baking soda or gentle soap works best |
| Paint Touch-Ups | Occasionally (for painted brick) | Keep extra paint from original project |
Conclusion
A farmhouse kitchen brick backsplash is more than a design choice—it’s a statement of warmth, texture, and timeless charm. Whether you opt for classic red brick, whitewashed elegance, or modern gray tones, this feature can instantly elevate the character of your space. It complements a wide range of styles, offers functional durability, and provides a visual focal point that draws people in.
With the right materials, layout, and styling, a brick backsplash can transform even the most basic kitchen into a cozy and personalized retreat. And with thoughtful maintenance, it will continue to charm for years to come.
Designing your dream kitchen doesn’t require a complete overhaul—sometimes, it just starts with the perfect brick wall.

