Effortless DIY Stairs Makeover That Looks Like a Pro Did It
Table of Contents
Introduction
A staircase is more than just a functional structure—it’s a design centerpiece that can either elevate or dull the charm of your home. And yet, staircases are often overlooked in home decor makeovers. If your stairs are worn, outdated, or just plain boring, you’re not alone. According to a 2024 survey by Houzz, 61% of homeowners plan to renovate visible high-traffic areas like staircases but hesitate due to cost or complexity.
Here’s the good news: a professional-looking staircase makeover doesn’t require a contractor, a huge budget, or advanced carpentry skills. With the right guidance, a few supplies, and a creative approach, you can completely transform your stairs over a single weekend. This blog post walks you through the easiest DIY stairs makeover that delivers polished, high-impact results without the stress.
We’ll cover everything from preparation and materials to painting, riser upgrades, lighting enhancements, and finishing details. You’ll also get visual breakdowns, style inspiration, and pro tips to help avoid common mistakes. By the end, you’ll be equipped to give your staircase a stunning, upscale look—no renovation team required.
Start With a Clear Vision: Planning Your Staircase Makeover
Every successful DIY project begins with a plan. Before you touch a paintbrush or peel off old carpet, spend time defining your vision and understanding your staircase’s potential.
First, assess the condition of your current stairs. Are they wood or carpeted? Do you have visible wear, damage, or structural issues? Decide whether your focus is cosmetic or if you’ll need minor repairs. Then, consider your home’s overall aesthetic. Do you prefer modern minimalism, rustic charm, or traditional elegance? The goal is to ensure your stairs feel cohesive with the rest of your decor.
A mood board can be a useful tool here. Use Pinterest or print clippings from magazines to gather colors, materials, and textures you love. Choose a primary color palette, whether that’s crisp black-and-white contrast or warm, natural tones.
Quick Planning Checklist:
| Step | Description |
| Inspect | Check for squeaks, loose treads, or chipped paint |
| Style Match | Choose a decor theme to match your home |
| Budget | Determine your budget and scope |
| Mood Board | Collect inspiration for colors and finishes |
| Materials List | Plan what supplies you’ll need |
Remove the Old: Prepping Your Stairs for a Fresh Start
Preparation is the least glamorous part of a makeover—but it’s absolutely crucial. Removing old materials like carpet, outdated vinyl, or thick layers of paint will ensure your new design adheres cleanly and lasts longer.
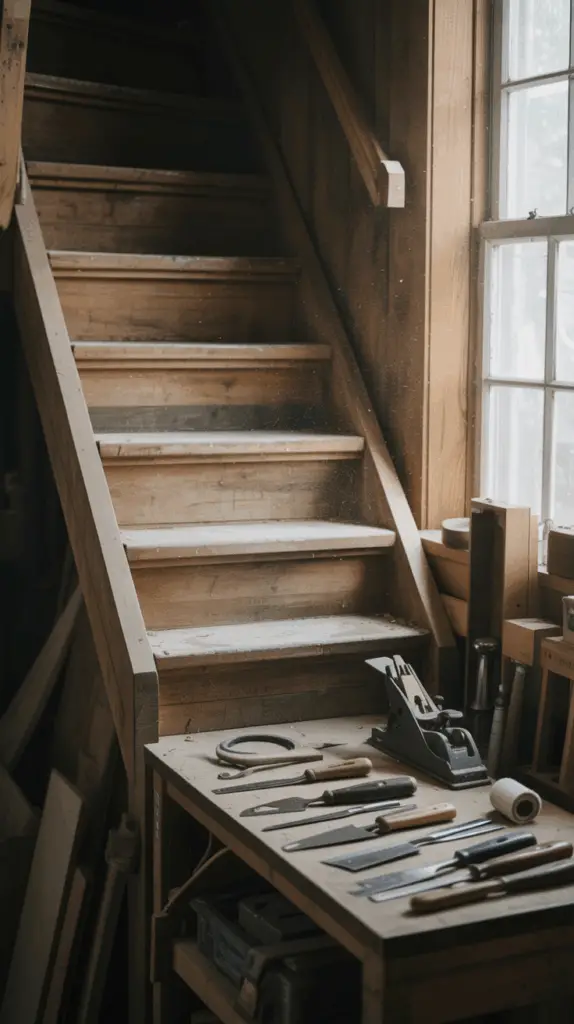
Start by removing carpet with pliers or a carpet puller, prying up tack strips and staples with a flathead screwdriver and pliers. If your stairs are painted, consider a light sanding or using a paint stripper to create a smooth surface for your new paint or stain. For wood stairs, fill in dents or gouges with wood filler and sand everything down until smooth.
Vacuum thoroughly, then wipe down each step with a damp microfiber cloth to remove dust and debris. Let everything dry fully before you move to the next step.
Prep Like a Pro:
| Task | Tools Needed | Time Estimate |
| Remove Carpet | Pliers, scraper, gloves | 2–3 hours |
| Fill Imperfections | Wood filler, putty knife | 1 hour + dry time |
| Sanding | Orbital sander or sanding blocks | 2 hours |
| Clean Up | Vacuum, microfiber cloth | 30 minutes |

Paint or Stain for a Dramatic Visual Upgrade
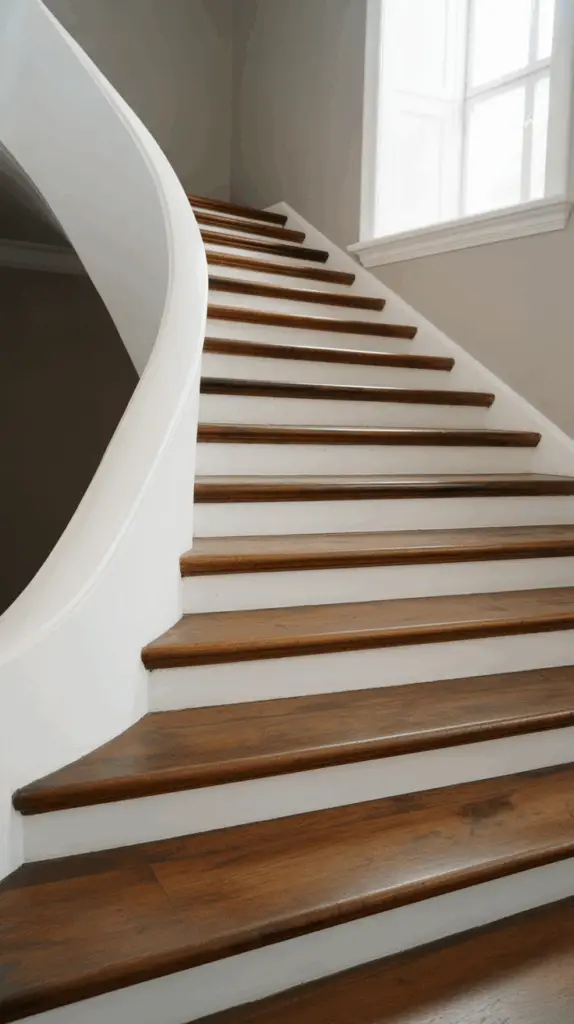
One of the easiest and most transformative changes you can make is to paint or stain your stairs. Whether you prefer bold contrast (like white risers and black treads) or a soft, natural wood finish, this step instantly updates your space.
If your stairs are already wooden, staining allows the natural grain to shine while offering durability. For a more dramatic look, painting can make a statement and even cover imperfections. Choose a high-traffic floor paint or durable wood stain, and apply with care. Use painter’s tape to get clean lines, and don’t forget a non-slip topcoat for safety.
For added personality, consider a painted runner—a faux rug look using two-tone paint. It adds charm without the upkeep of actual carpeting.
Paint or Stain Tips Table:
| Option | Best For | Pros | Cons |
| Stain | Wood stairs | Enhances grain, classic look | Requires even sanding |
| Paint | Older or damaged stairs | Covers flaws, endless color choices | May chip over time |
| Faux Runner | Style upgrade | Customizable, easy to refresh | Needs precision |

Upgrade the Risers: Wallpaper, Stencils, or Wood Accents
Risers are often overlooked, but they’re a hidden design opportunity. Adding texture or pattern here creates visual interest without overwhelming the space.
Wallpaper is a trendy yet timeless choice. Peel-and-stick options are easy to apply and remove, making this an ideal renter-friendly DIY. Choose patterns that align with your style—floral, geometric, or even vintage tile looks.
Another option is to paint a stencil design onto the risers. This adds a handcrafted feel with a high-end appearance. Or go even more luxe with wooden riser panels like beadboard or shiplap.
Riser Upgrade Ideas Comparison:
| Material | Look & Feel | Difficulty | Durability |
| Wallpaper | Trendy, colorful | Easy | Moderate |
| Stencils | Artistic, personalized | Moderate | High |
| Wood Panels | Rustic or refined | Moderate to hard | Very high |
Take time to measure and align your materials precisely. Misaligned wallpaper or stencil patterns can undermine the pro-quality look.
Install Stylish Stair Runners for Texture and Warmth
A stair runner not only adds warmth and comfort but also introduces color and texture. It’s especially useful if your stairs are noisy or slightly uneven.
Choose a low-pile, tightly woven rug for durability. Natural fibers like sisal or jute give a cozy, earthy feel, while synthetic materials offer better stain resistance—ideal for homes with pets or kids.
Installation is straightforward: measure and mark the centerline of each step, secure rug pads, and then attach the runner with a staple gun and stair rods if desired. A patterned runner can hide dirt and wear better than solid colors.
Runner Installation Breakdown:
| Step | Tools Needed | Pro Tip |
| Measure & Mark | Tape measure, chalk | Keep runner centered down the staircase |
| Add Padding | Carpet padding, scissors | Use double-sided tape to secure it |
| Attach Runner | Staple gun, knee kicker | Start from the top and work downward |
Runners are a perfect marriage of form and function—comfort underfoot with a designer finish.
Brighten Up with Staircase Lighting Enhancements
Lighting can make or break the ambiance of your staircase. Poor lighting makes stairs feel gloomy, while good lighting adds elegance and safety.
There are several options here. LED strip lights can be installed under the lip of each tread for a soft, modern glow. Wall sconces along the staircase wall create a classic, timeless ambiance. If you have a landing, a statement pendant light can serve as a stylish focal point.
For homes with natural light, consider installing reflective surfaces like mirrors or glossy paint to amplify brightness.
Lighting Options Table:
| Type | Effect | Ideal For |
| LED Strips | Modern, ambient glow | Contemporary spaces |
| Wall Sconces | Warm, directional light | Traditional or farmhouse style |
| Pendant Lights | Statement and function | Stair landings or open foyers |
Smart lighting with motion sensors can also be a game-changer for energy efficiency and safety.
Add Decorative Details for a Polished Finish
The final step in your DIY stairs makeover is to add those polished touches that bring the look together. Think of this as the jewelry of your staircase—subtle but powerful.
Replace old balusters or spindles with wrought iron or modern metal for a sleek update. Refresh handrails with new paint or wood stain to match your treads. You can even add decorative stair brackets along the side walls for a vintage feel.
Wall decor also plays a part. A gallery wall of framed art, vintage mirrors, or floating shelves with plants can elevate your staircase from functional to fabulous.
Finish Details Table:
| Element | Upgrade Idea | Style Impact |
| Railings | Repaint, stain, or replace | Major visual upgrade |
| Spindles | Swap for metal or square wood | Modernizes instantly |
| Wall Decor | Mirrors, photos, greenery | Adds personality |
These details may be small individually, but together, they give your staircase a complete, intentional look.
Conclusion
Transforming your staircase doesn’t have to be expensive, complicated, or time-consuming. With thoughtful planning and a few weekend hours, you can take an ordinary set of stairs and give it a high-end designer look. From sleek paint jobs and creative riser designs to smart lighting and curated decor, each detail builds toward a cohesive, polished aesthetic.
A staircase is one of the most trafficked and visible parts of your home. Investing in its makeover—even with simple DIY methods—adds not just style, but value and warmth. It’s a reminder that sometimes, the biggest transformations come from the smallest changes made with intention and care.

