Easy DIY Bathroom Renovations for Home Decor Enthusiasts: Stylish, Affordable Ideas to Refresh Your Space
Table of Contents
Introduction
Ever feel like your bathroom could use a facelift—but the thought of a full renovation sends you into sticker shock? You’re not alone. According to the National Kitchen & Bath Association, bathroom remodels are among the most expensive home projects, often exceeding $10,000. But here’s the good news: you don’t need a demolition crew or deep pockets to breathe new life into your bathroom.
DIY bathroom renovations offer an achievable, budget-friendly way to upgrade your space with real impact. Whether you’re craving a spa-like atmosphere or simply want to add a touch of style, small changes can go a long way in transforming functionality and mood.
In this guide, we’ll explore easy and stylish DIY bathroom updates that any home decor enthusiast can take on—no major plumbing or tiling required. From repainting vanities to installing open shelving and updating light fixtures, these projects are designed to be approachable yet polished. You’ll also find helpful visuals, detailed breakdowns, and insider tips to avoid common pitfalls and get the most out of your efforts.
So grab your paintbrush and measuring tape—because your dream bathroom is just a few smart DIYs away.
Painting Your Vanity for an Instant Upgrade
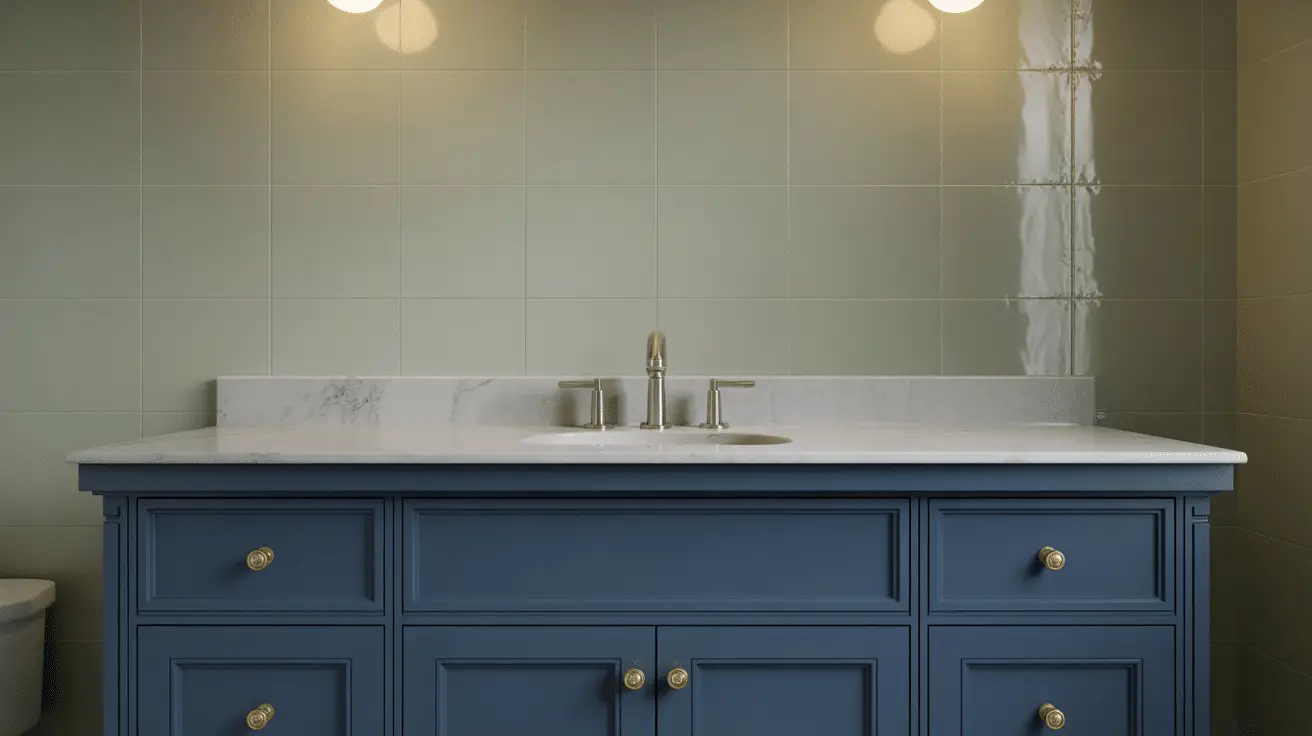
One of the most effective and affordable ways to update your bathroom is to paint the vanity. A tired or outdated cabinet can drag down the entire look of the room, but with a few coats of high-quality paint, it can become a bold or soothing centerpiece.
Start by choosing a color that fits the mood you want. Navy, charcoal, and forest green are dramatic and modern, while whites, pale blues, and greiges create a fresh, serene vibe. Always use a semi-gloss or satin finish paint for durability in a humid environment.
Prepping the vanity is key: remove all hardware and doors, sand surfaces thoroughly, and clean off any dust or residue. Apply a primer for maximum adhesion, followed by two coats of your chosen color. Allow ample drying time between each coat to avoid streaks or bubbles.
To elevate the final look, replace the old hardware with modern knobs or pulls in finishes like matte black, brass, or brushed nickel. This small investment can make your vanity feel brand new.
Vanity Painting Step-by-Step Guide
| Step | Task | Tools Needed |
| 1. Remove hardware | Take off knobs/handles/doors | Screwdriver |
| 2. Sand surfaces | Smooth and scuff surfaces | Sandpaper or sanding sponge |
| 3. Clean thoroughly | Remove dust and grime | Degreaser or TSP cleaner |
| 4. Prime | Apply bonding primer | Paintbrush/roller |
| 5. Paint | Apply 2 coats of paint | High-quality paint, brush |
| 6. Reattach hardware | Install updated handles | Screwdriver, new hardware |
Replacing Your Bathroom Mirror with a Statement Piece
A bathroom mirror is more than functional—it can define the style of your space. Swapping out a basic builder-grade mirror for a statement mirror instantly adds personality and polish.
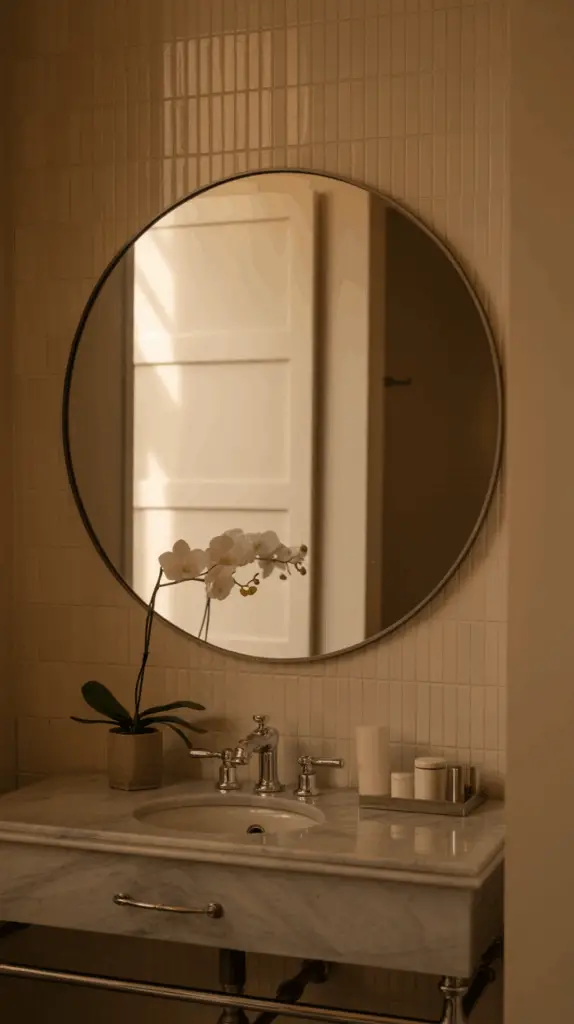
Framed mirrors in wood, metal, or even rattan are trending for their ability to blend style with structure. If your aesthetic leans minimalist, consider an arched or round mirror with a thin metal frame. For a rustic or boho look, a thick wooden frame adds warmth and texture.
Installation is usually simple: most decorative mirrors come with mounting hardware or a D-ring setup. Use a level to ensure even hanging, and anchors for drywall if studs aren’t available. Pro tip: Choose a mirror slightly narrower than your vanity for a balanced look.
Mirrors also offer an opportunity to play with scale. A larger mirror can reflect more light and make a small bathroom feel bigger, while a unique shape—like oval or irregular—can act as functional art.
Mirror Selection Breakdown
| Mirror Style | Best For Bathroom Type | Mounting Tips |
| Round/Arched | Modern or Scandinavian | Centered, use wall anchors |
| Rectangular Framed | Traditional or Classic | Align with vanity width |
| Rattan/Wood | Boho or Rustic | Contrast with tile/fixtures |
| Metal Frame (Black) | Industrial or Minimalist | Coordinate with hardware |

Adding Peel-and-Stick Backsplash for Visual Impact
Peel-and-stick backsplashes are one of the easiest DIY upgrades with maximum return. They mimic real tile without the mess or permanence, making them perfect for renters or budget decorators.
Available in a wide range of materials—subway tile, marble, mosaic, and even faux stone—these adhesive tiles are water-resistant and easy to apply. Just clean the wall surface, measure and cut your pieces, peel off the backing, and press firmly. A smoothing tool helps eliminate bubbles and ensure strong adhesion.
Use peel-and-stick backsplash behind the vanity, around the sink, or on an accent wall. It’s a great way to add texture, color, or pattern without overwhelming the room. Most options are removable, so you can refresh again later without damaging your walls.
Keep in mind that humidity can affect adhesion, so avoid placing it inside the shower stall. Use a caulk line along the edge to seal moisture out and give it a more finished appearance.
Backsplash Application Checklist
| Task | Tip | Tools Needed |
| Surface Cleaning | Use degreaser, let dry | Cloth, degreaser |
| Measuring & Cutting | Dry fit before sticking | Ruler, utility knife |
| Application | Peel backing slowly | Smoothing tool or roller |
| Finishing Touches | Caulk edges, wipe clean | Silicone caulk, damp cloth |
Installing Open Shelving for Function and Style
Open shelving in the bathroom isn’t just stylish—it’s functional. When designed thoughtfully, it adds vertical storage, keeps essentials accessible, and gives you space to show off your favorite décor elements.
Floating shelves made of wood, glass, or metal work well in almost any bathroom. Consider installing two to three shelves above the toilet, next to the vanity, or on a blank wall. For a modern aesthetic, choose thin wooden planks in walnut or oak. For a spa-like look, opt for white lacquer or glass.
When styling your shelves, mix form and function. Stack hand towels, display rolled washcloths in a basket, or store skincare items in labeled jars. Balance these with plants, candles, or framed prints for visual interest. The trick is to avoid clutter—group items in threes, vary heights, and keep the color palette cohesive.
Installation requires a level, drill, and wall anchors if you’re not hitting studs. Make sure shelves are securely mounted and evenly spaced.
Shelf Styling Ideas
| Item Type | Placement Suggestion | Design Tip |
| Towels | Folded or rolled in baskets | Neutral colors look cohesive |
| Candles or Diffusers | Near eye level | Layer with trays or coasters |
| Small Plants | Top shelf for greenery | Use low-light varieties |
| Skincare Containers | Lower shelf for access | Choose glass or labeled bottles |
Refreshing Fixtures and Faucets for a Polished Look
Swapping out outdated fixtures like faucets, towel bars, and showerheads is a quick and impactful DIY task that instantly elevates the space. These are the finishing touches that often go unnoticed—until they don’t match your modern updates.
Begin with the faucet. Matte black, brushed gold, and polished nickel are popular finishes that suit a variety of bathroom styles. Make sure the replacement faucet matches your sink’s existing hole configuration—widespread, center-set, or single-hole.
Next, update matching hardware: towel bars, toilet paper holders, robe hooks, and even the drain stopper. Cohesive finishes make your space feel intentional and complete.
Replacing a showerhead is often as easy as twisting off the old one and installing the new with plumber’s tape. Consider a rainfall or handheld design for added luxury. If your lighting feels dated, install a new vanity fixture or sconces—just make sure to turn off the circuit breaker before doing electrical work.
Fixture Finish Compatibility Guide
| Finish Type | Works Well With… | Style Mood |
| Matte Black | White tile, wood accents | Modern, Bold |
| Brushed Brass | Cream tones, soft lighting | Warm, Elegant |
| Polished Nickel | Marble, glass, silver tones | Classic, Timeless |
| Oil-Rubbed Bronze | Earthy colors, rustic vibe | Traditional, Cozy |
Upgrading Bathroom Lighting for Ambiance and Function
Lighting is often overlooked in bathroom design, but it significantly affects the room’s style and usability. If your bathroom feels dull or harsh, a lighting upgrade can make all the difference.
Start with your vanity light fixture. Replace standard builder-grade bars with modern sconces or globe lights for a boutique feel. Choose bulbs with a color temperature around 2700K–3000K to maintain a warm, flattering tone. If you can, install dimmers for adjustable mood lighting.
Consider adding secondary light sources. LED strips under cabinets or behind mirrors provide soft accent lighting. For overhead fixtures, swap in a flush-mount with a design-forward shape—think opal glass, minimal metal frames, or even wood detailing for warmth.
Safety first: always ensure fixtures are rated for bathroom humidity and follow basic electrical precautions. If wiring is complex, consult an electrician. But for most fixture swaps, it’s a beginner-friendly DIY that offers maximum style payoff.
Lighting Upgrade Breakdown
| Fixture Location | Upgrade Ideas | Ideal Temperature |
| Vanity Area | Globe lights or sconces | 2700K–3000K (Warm White) |
| Ceiling Fixture | Flush-mount or semi-flush | Diffused, Stylish Design |
| Accent Lighting | LED strips, backlit mirrors | Dimmable if possible |
| Night Lighting | Motion-sensor plug-ins | Low-light amber options |
Conclusion
Easy DIY bathroom renovations are proof that you don’t need a contractor—or a hefty budget—to refresh and personalize your space. From painting your vanity to updating lighting and accessories, each change offers a layer of style and function that adds up to a dramatically improved bathroom. Whether you’re making a few updates or combining multiple projects, the key is intention: select colors, materials, and layouts that reflect your aesthetic while enhancing usability. The result? A bathroom that feels like your own mini retreat—styled by you, for you.

