How to Create a DIY Fireplace with Reclaimed Wood for a Rustic Home Upgrade
Table of Contents
How to Create a DIY Fireplace with Reclaimed Wood
Fireplaces have long been the heart of the home—a space to gather, unwind, and add a touch of cozy character. But if your home doesn’t have one, or if you want to enhance your living space without the expense of a full renovation, a DIY fireplace may be the perfect solution. Even better? Build it with reclaimed wood to create a warm, rustic centerpiece with history and charm.
Reclaimed wood adds a timeless, weathered look that’s hard to replicate. Whether salvaged from an old barn, found at a local salvage yard, or repurposed from unused furniture, this material gives your fireplace a unique story to tell. And the best part? You don’t need to be a seasoned carpenter to pull it off.
In this guide, you’ll learn step-by-step how to create a DIY fireplace with reclaimed wood—designed to be both beautiful and budget-friendly. From choosing the right wood and planning the layout, to assembling the structure and styling it with decor, each section will help you confidently build a fireplace surround that feels like it’s always been part of your home. Rustic charm, reclaimed beauty, and a hands-on weekend project—all in one.
Find and Prepare the Right Reclaimed Wood
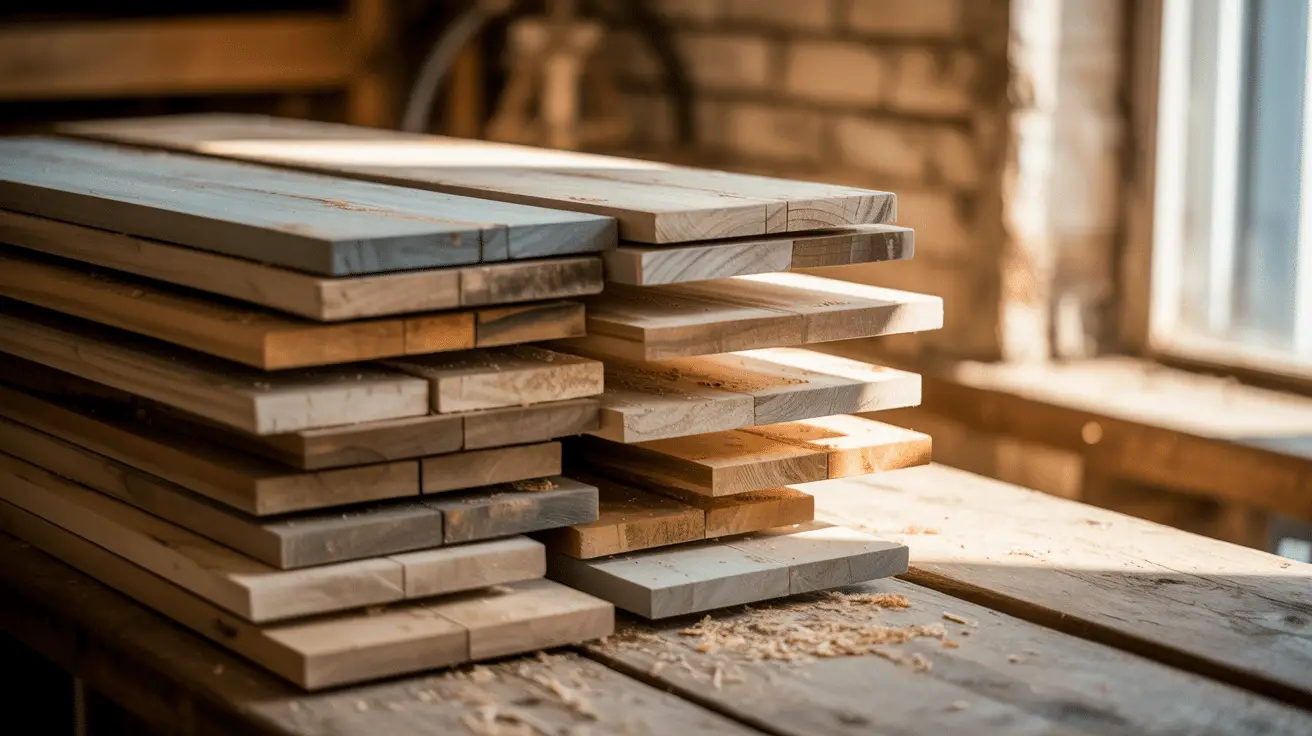
The first step in your DIY fireplace journey is sourcing the wood that will define its look and feel. Reclaimed wood comes in many forms—barn beams, pallet boards, old flooring, or dismantled furniture—and each type offers different textures, tones, and aging characteristics.
Start by identifying a local salvage yard, architectural reuse store, or even online marketplaces where people sell reclaimed lumber. Look for wood that is dry, straight, and structurally sound. Imperfections like nail holes, knots, and color variation add to the charm, but avoid rotting or warped pieces.
Once sourced, proper preparation is essential. Sand the surface to remove dirt or debris, but don’t overdo it—you want to preserve that aged character. If the wood has been painted, check for lead paint and remove it safely. A thorough clean with a vinegar solution and a final light sanding should make the wood fireplace-ready.
Wood Selection & Prep Checklist:
| Step | Details & Tips |
| Choose Reclaimed Source | Barn wood, pallets, old beams, salvage yards |
| Inspect for Damage | Avoid rot, mold, heavy warping |
| Clean the Wood | Use vinegar and water, let fully dry |
| Sanding | Light sanding to remove grime, retain texture |
| Optional Sealing | Apply matte polyurethane if desired |
Design the Fireplace Frame and Layout
Once you’ve gathered your materials, the next step is designing the fireplace frame. Your faux fireplace can be as simple or elaborate as you like, but a clear layout plan is essential for clean execution. The most common approach is a rectangular surround that frames an electric insert, open niche, or decorative interior.
Measure the space where your fireplace will go. Consider ceiling height, wall width, and surrounding furniture to ensure balance. Most DIY surrounds include a base plinth, two side columns (legs), and a top mantel shelf. Add a backing board behind the fireplace insert if you plan to mount decorative tile or paneling.
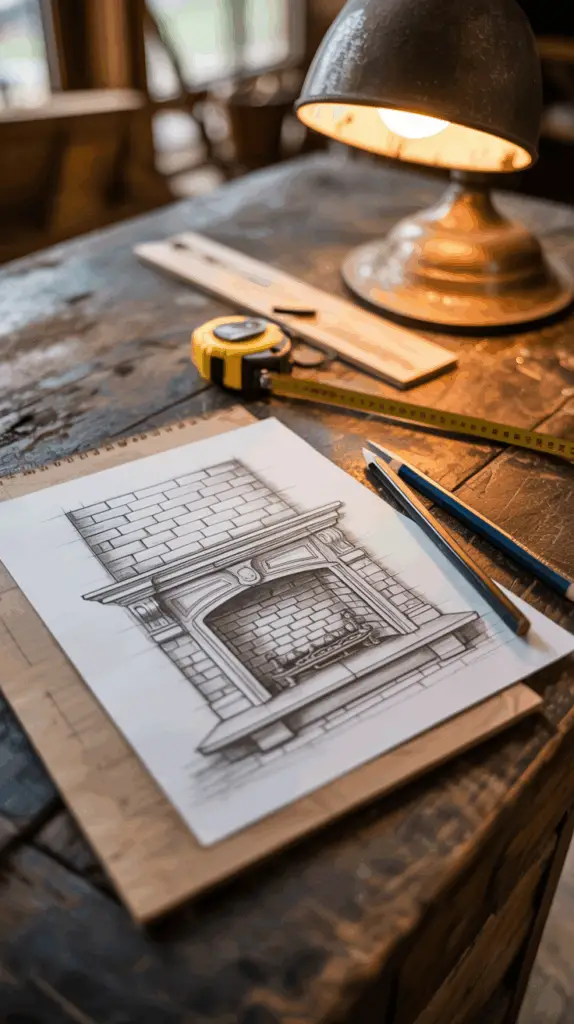
Sketch the design on paper or use a basic design tool to visualize proportions. This will help you determine how many wood planks you’ll need and where to cut them.
When designing around reclaimed wood, expect some variation. Let the wood’s natural quirks influence your layout. Mixing widths or tones can add authenticity, especially in a rustic design.
Frame Layout Table:
| Part of Fireplace | Description | Typical Dimensions (inches) |
| Base Plinth | Horizontal bottom board | 48–60 wide x 5–8 tall |
| Side Columns | Vertical support pieces | 36–42 tall x 6–8 wide |
| Mantel Shelf | Top horizontal surface | 60–72 wide x 8–12 deep |
| Back Panel (optional) | Wall-mounted inset or tile backing | Custom based on opening |

Build the Fireplace Frame Step-by-Step
With your design finalized and materials prepped, it’s time to build. This is where the vision starts to come to life. Building a reclaimed wood fireplace surround can be done in a day or over a weekend depending on the complexity.
Start by constructing the frame using 2x4s or plywood as the structural base. Attach the side columns to the base plinth using screws or wood glue. Then secure the mantel shelf across the top. Use a level to ensure everything aligns correctly.
Next, clad the frame in your reclaimed wood planks. Start at the bottom and work upward, using a brad nailer or screws. Allow the natural color variations to guide your arrangement—some people even lay the pieces out on the floor first to test different combinations.
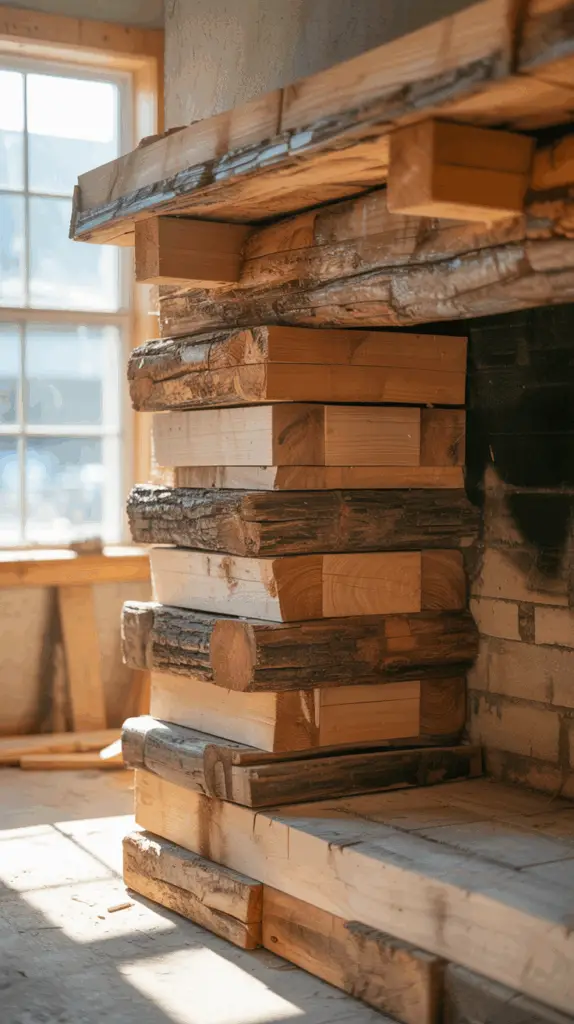
If adding an insert, measure and trim the interior opening. You can mount an electric fireplace, fill it with stacked logs, or add tile backing for a more finished look.
Build Process Table:
| Step | Tools Needed | Notes |
| Build Inner Frame | 2x4s, drill, screws, level | Create sturdy base structure |
| Attach Mantel | Wood glue or brackets | Align evenly, secure in place |
| Add Reclaimed Facing | Brad nailer or screws | Start from bottom, work upward |
| Cut Opening (optional) | Saw, measuring tape | For inserts or decorative niches |
| Touch Up | Wood filler, sanding block | Fill gaps, ensure smooth edges |

Add an Electric Insert or Decorative Interior
The interior of your faux fireplace is where function and personality meet. You can opt for a working electric fireplace insert for heat and ambiance or decorate the niche for visual appeal only.
If choosing an electric insert, select a model that fits your frame opening. Many plug-in inserts include flame effects, remote controls, and safety features. Mount it securely per manufacturer instructions.
For a decorative-only design, consider stacked birch logs, candles, tile backing, or seasonal vignettes. Paint the interior a dark color to create visual depth, or install peel-and-stick tile for texture and contrast.
This is also a great place to display personal style—antique books, potted plants, or vintage mirrors all work beautifully. Make the inside of your fireplace as special as the frame itself.
Interior Styling Options Table:
| Interior Style | Materials or Features | Visual Effect |
| Electric Insert | Plug-in with flame & heat settings | Warmth and realism |
| Stacked Logs | Birch or firewood stacked vertically | Natural, rustic look |
| Candle Display | Votive or pillar candles, fire-safe | Soft glow and ambiance |
| Tiled Niche | Peel-and-stick or real ceramic tiles | Patterned texture and color |
Seal and Protect the Wood Finish
Preserving the beauty of reclaimed wood means sealing it properly—especially since fireplaces can attract dust and wear. Depending on the final look you want, you can go matte, satin, or slightly glossy.
Use a clear polyurethane or furniture-grade wax to protect the surface without covering up its character. For a more rustic aesthetic, opt for a matte finish that allows imperfections and texture to show through. If you’re placing items on the mantel, a more durable sealant will prevent scratches or ring marks.
Apply sealants in thin, even coats, allowing each layer to dry completely. Avoid over-brushing or thick applications that could muddy the natural grain.
If the wood darkens more than you like after sealing, a whitewashing technique (diluted white paint brushed and wiped off) can tone it back down while enhancing texture.
Wood Finish Options Table:
| Finish Type | Appearance | Best Use |
| Matte Polyurethane | Natural, raw wood feel | Rustic mantels, aged look |
| Satin Finish | Soft sheen, easy to clean | Everyday use, modern spaces |
| Wax Finish | Subtle glow, tactile texture | Low-traffic decorative surrounds |
| Whitewash Layer | Lightens dark wood, adds patina | Brightens heavy tones |
Style Your Mantel with Complementary Decor
Now that your fireplace is complete, it’s time to make it shine. The mantel is the crown of your design—a chance to express your style and add finishing touches that elevate the entire room.
Start with a focal point like a mirror, oversized artwork, or a vintage clock. Then layer in smaller elements—candlesticks, vases, framed photos, or greenery. Vary the heights and materials to keep it visually interesting, and balance both sides without making it too symmetrical.
For a seasonal twist, swap out decor elements throughout the year. In fall, add mini pumpkins and eucalyptus; in winter, bring in pine garlands and brass accents. Keep a mix of organic textures—ceramics, wood, glass, and metal—to maintain harmony with the reclaimed wood backdrop.
Mantel Styling Table:
| Decor Element | Material Suggestions | Placement Tips |
| Focal Point | Mirror, painting, large photo | Center or slightly off-center |
| Candlesticks | Brass, wood, ceramic | Flank either end or group in odd numbers |
| Greenery | Garland, potted plants | Add softness and movement |
| Personal Accents | Books, sculptures, souvenirs | Tell a story, don’t overcrowd |
Conclusion
Building a DIY fireplace with reclaimed wood is more than just a home improvement project—it’s a creative experience that connects you to history, craftsmanship, and the joy of making something by hand. From sourcing the perfect planks to styling the finished mantel, every step lets you shape a feature that reflects your personal taste and warmth.
Whether your goal is to cozy up your space, create a rustic focal point, or experiment with sustainable materials, a reclaimed wood fireplace brings timeless charm with a story to match. It’s proof that with a little vision and some well-worn wood, even the simplest walls can become the coziest corners of your home.

