Build Your Own DIY Pantry Cabinet with Minimal Tools for a Stylish Storage Upgrade
Table of Contents
Build Your Own DIY Pantry Cabinet with Minimal Tools
Every kitchen needs more storage—whether you live in a spacious farmhouse or a cozy apartment. Pantry cabinets are essential for organizing food, kitchen supplies, and even cleaning products. But pre-built pantries can be expensive, bulky, or simply not the right fit for your space. What if you could create one yourself—with minimal tools and maximum impact?
Building a DIY pantry cabinet is surprisingly achievable, even if you’re working with basic equipment and beginner-level skills. You don’t need a workshop full of power tools or a contractor’s license to get started. All it takes is a clear plan, a few affordable materials, and a bit of patience.
In this guide, we’ll walk you through everything you need to know to build a custom pantry cabinet tailored to your kitchen’s layout and your personal style. From choosing the right design and cutting your wood, to assembly and finishing touches, this project empowers you to take control of your storage—and enjoy the satisfaction of building something useful with your own hands.
Whether you’re solving a clutter problem or simply adding rustic charm to your home, this project proves that beautiful kitchen upgrades don’t require a big budget or a garage full of tools.
Plan the Size and Style of Your Pantry Cabinet
Before you dive into building, the most important step is planning. A pantry cabinet must be functional—but it should also suit your space and taste. Will it stand alone in a corner, tuck into a tight nook, or serve as a full-wall built-in? Understanding where it will live determines the height, width, and depth of your build.
For a kitchen or utility area with limited space, a tall narrow cabinet can store vertical items like cereal boxes or broom handles. If you have more width to work with, consider adding double doors or side shelves for expanded access.
Style also matters. You can keep the look simple and modern with flat panels and clean lines, or embrace a farmhouse aesthetic with beadboard, shaker doors, and distressed paint. Your cabinet should complement the room, not compete with it.
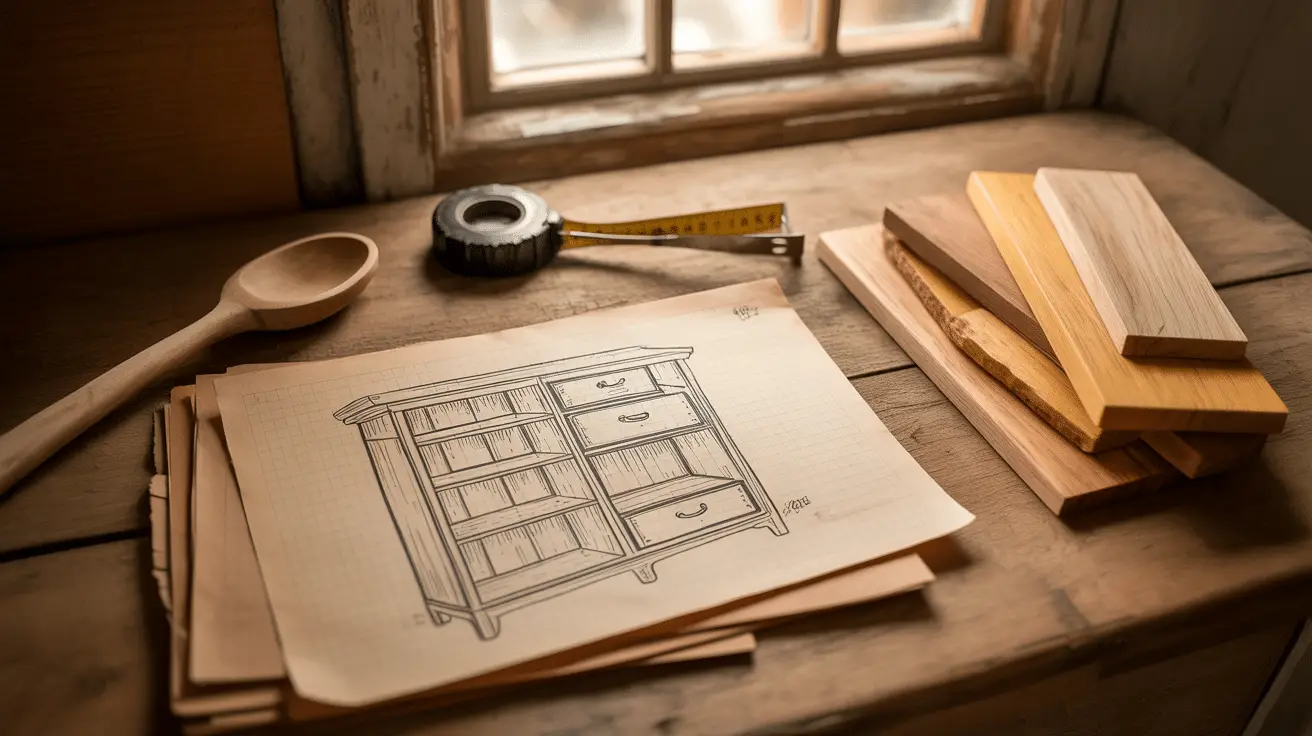
Once you’ve decided on dimensions and style, sketch your design. Include measurements, door placement, shelving layout, and trim ideas. This will help you calculate how much plywood or MDF you’ll need—and guide your build from start to finish.
Basic Planning Table:
| Design Element | Options to Consider | Suggestions for Beginners |
| Height | 60–84 inches | Match fridge or upper cabinet |
| Width | 24–36 inches | Choose based on wall space |
| Depth | 12–18 inches | Standard shelf size |
| Door Style | Flat panel, shaker, open shelving | Flat panel is easiest to build |
| Finish Style | Paint, stain, whitewash | Choose a finish to match kitchen |
Gather the Materials and Tools You’ll Need
This project is all about simplicity—so the tool list is intentionally minimal. You don’t need a full woodworking shop. Most of the build can be completed using basic materials and tools that are readily available, even from big-box home improvement stores.
For materials, standard plywood or MDF sheets are ideal for the cabinet body and shelving. Pine or poplar can be used for trim or framing. If your budget allows, choose pre-sanded boards to reduce prep time. Hardware includes simple hinges, magnetic door catches, and handles or knobs that reflect your design style.
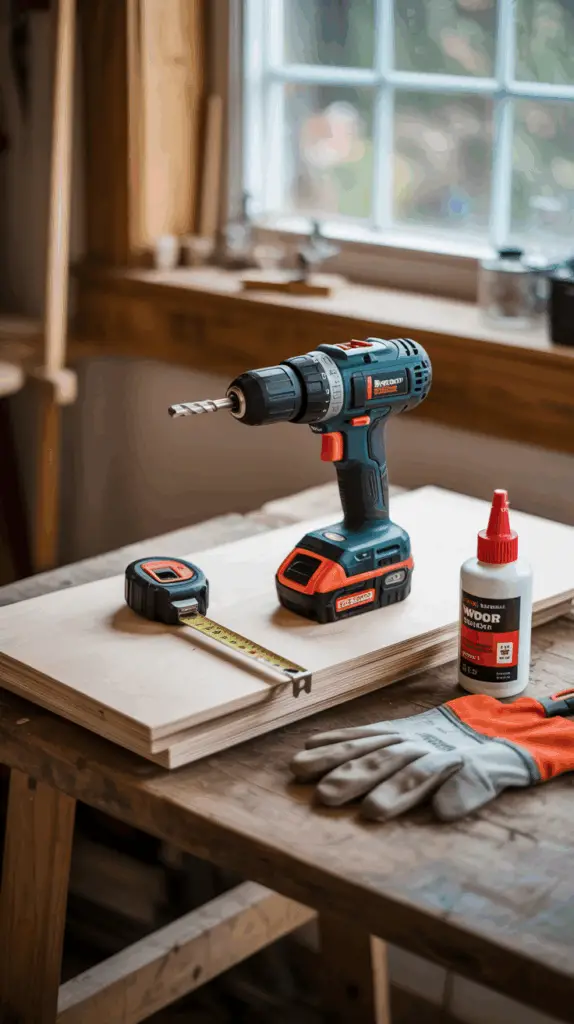
On the tools side, the essentials are a drill, circular saw or handsaw, measuring tape, level, wood screws, and wood glue. If you can get access to a pocket hole jig (like a Kreg Jig), it will make joinery cleaner and sturdier, but it’s not essential.
DIY Pantry Cabinet Supply List:
| Item | Quantity or Notes | Purpose |
| ¾” Plywood or MDF | 1–2 sheets depending on size | Cabinet body, doors, shelves |
| Wood Screws | 1¼” or 1½” | Assembly |
| Hinges | 2–4 per door | Cabinet doors |
| Handles/Knobs | 1–2 depending on design | Functional & aesthetic |
| Drill + Bits | Standard size | Pre-drilling and fastening |
| Circular Saw or Handsaw | One saw needed | Cutting panels |
| Wood Glue | One bottle | Joint strength |
| Paint/Stain & Brushes | Color of choice | Final finish |

Cut and Assemble the Cabinet Box
Once your materials are ready, begin by cutting the plywood or MDF panels according to your design sketch. For most cabinets, you’ll need six main panels: two sides, a top, a bottom, a back, and interior shelves. Use a circular saw with a straight edge guide for clean, accurate cuts.
Start by assembling the cabinet box. Attach the top and bottom panels between the two side panels using wood glue and screws. Check that everything is square by measuring diagonally from corner to corner. A back panel adds rigidity—nail or screw it in last.
If you’re building adjustable shelves, drill evenly spaced shelf pin holes along the inside walls. For fixed shelves, screw or glue them directly into place using corner supports.
Be sure to leave space for your doors to close properly. A small gap (⅛ to ¼ inch) between each door and the cabinet frame ensures smooth operation and helps prevent warping.
Cabinet Assembly Steps Table:
| Step | Description | Tools/Materials Used |
| Cut Panels | Sides, top, bottom, back, shelves | Circular saw, tape measure |
| Build Frame | Connect top/bottom to side panels | Wood screws, glue, drill |
| Attach Back Panel | Square the box and close it off | Nails or screws |
| Add Shelves | Adjustable or fixed, your preference | Shelf pins or supports |
| Check for Level | Ensure balance on all sides | Level, square |
Build and Install the Cabinet Doors
The cabinet doors are the face of your pantry and offer another opportunity to personalize your design. For beginners, a flat panel door is the easiest option: simply cut two rectangular panels to size and sand the edges smooth.
To add more charm, consider attaching a shaker-style frame to each door using thin strips of wood (¼” x 2″ stock) with wood glue and finish nails. Beadboard inserts or decorative trim also work well if you want something more farmhouse-inspired.
Install the doors using simple inset or overlay hinges. Position your hinges evenly (typically about 2–4 inches from the top and bottom) and pre-drill holes for a clean attachment. Magnetic catches or soft-close hinges can be added depending on your budget.
Add your handles or knobs last, using a template or measuring tape to center them properly.
Door Building Guide:
| Door Type | Difficulty Level | Visual Style |
| Flat Panel | Easiest | Minimalist, modern |
| Shaker Frame | Moderate | Classic, versatile |
| Beadboard Insert | Moderate | Farmhouse, vintage |
| Trimmed Overlay | Slightly advanced | Decorative, traditional |
Finish the Cabinet with Paint, Stain, or Sealant
Finishing your pantry cabinet is where the entire project comes to life. Whether you choose a bright coat of paint or a warm wood stain, the finish adds protection and personality.
If painting, begin with a primer—especially for MDF. Use a foam roller or angled brush for smooth results. Choose a durable, washable paint in a satin or semi-gloss finish to stand up to kitchen use. Colors like creamy white, sage green, navy blue, or charcoal gray work beautifully in homey kitchens.
For a natural look, opt for wood stain. Light oak, walnut, or weathered gray finishes are ideal for rustic charm. Always test your stain on a scrap piece first to ensure you like the tone.
Once painted or stained, seal your work with a clear polyurethane (water-based for indoor use). This final layer protects the surface from spills, fingerprints, and daily wear.
Finishing Product Table:
| Finish Type | Best For | Recommended Products |
| Primer | Bare wood or MDF | Zinsser Bulls Eye, Kilz Original |
| Paint | Solid color finish | Behr, Benjamin Moore Advance |
| Stain | Natural wood look | Minwax, Varathane |
| Sealant | Protection from moisture | Varathane Polyurethane (clear) |
Organize the Interior for Functional Storage
Now that your cabinet is complete, it’s time to make the interior work hard for you. A pantry is only as helpful as it is functional. Thoughtful organization can help you store more in less space—and make it easier to find what you need every day.
Start by grouping items by type: dry goods, baking supplies, snacks, canned foods, or cleaning items. Use bins, baskets, or clear containers to keep similar items together and prevent clutter. Lazy Susans work great for oils or sauces in deep shelves, and tiered organizers help display canned goods clearly.
Labeling bins or jars can streamline your routine and add to the visual appeal. If your shelves are adjustable, take the time to set them at heights that match what you actually store.
Pantry Organization Checklist:
| Category | Storage Suggestion | Helps With |
| Dry Goods | Glass or plastic jars with labels | Freshness, easy identification |
| Snacks | Wicker baskets or bins | Easy grab-and-go access |
| Spices & Oils | Lazy Susan or tiered shelf | Visibility, space-saving |
| Cleaning Items | Bottom shelf in caddy or tote | Safe and accessible |
Conclusion
Building your own DIY pantry cabinet with minimal tools is more than just a weekend project—it’s a meaningful upgrade to your home that adds storage, style, and a sense of accomplishment. From sketching your design to placing the last shelf liner, every step lets you tailor the piece to your unique needs and aesthetic.
Even with basic tools, you can create a functional, beautiful storage solution that feels like it belongs in your kitchen. With careful planning, a bit of effort, and your personal touch, your handmade pantry cabinet will become a lasting, useful part of your daily life—and a proud reminder of what you can create on your own.

