Transform Your Living Room with a DIY Fireplace Mantel Makeover: A Step-by-Step Guide
Table of Contents
Introduction
A fireplace is often the heart of a living room, acting as both a focal point and a cozy gathering space. Yet, despite its potential to enhance the room’s charm, many fireplace mantels often look outdated or uninspired. The good news? With a DIY fireplace mantel makeover, you can completely transform the look and feel of your living room without breaking the bank.
Why is this makeover so popular? Because it’s not just about aesthetics—it’s about bringing new life to a space. With a few creative touches and some basic tools, you can revamp your mantel to suit your style, whether you’re going for rustic, modern, or even vintage charm. In this guide, we’ll walk you through the entire process, from planning your makeover to the finishing touches, and provide expert tips to ensure the project is smooth and enjoyable.
So, whether you’re a seasoned DIYer or a beginner, this blog will show you how to make your fireplace mantel a true showstopper. Let’s dive into the transformative world of DIY fireplace mantel makeovers and unlock the potential of your living room!
Why a Fireplace Mantel Makeover?
A fireplace mantel is one of the most prominent features of a living room, but over time, it can become tired or disconnected from the overall decor. Whether your mantel is drab, outdated, or simply doesn’t reflect your current style, a makeover can breathe new life into your space. Here’s why a fireplace mantel makeover matters:
- Enhanced Aesthetic Appeal: A fresh mantel design can elevate the entire room, making it look more stylish and cohesive.
- Personalization: A DIY project allows you to inject your personal taste into the room, whether through color, materials, or decorative accents.
- Increased Value: Updating the mantel can raise the value of your home by making the living room more inviting and visually appealing to potential buyers.
Step 1: Assessing Your Existing Fireplace Mantel
Before diving into a makeover, it’s essential to evaluate the current state of your fireplace mantel. This step will help you determine whether you need a complete overhaul or just a few minor adjustments. Here’s what to look for:
- Material & Condition: Examine the structure. Is it wood, stone, or marble? Is it damaged or simply outdated? Knowing the material will guide you in selecting appropriate tools and supplies.
- Style & Size: Does the current style fit with your overall decor? Take measurements to ensure any new mantel or changes will fit perfectly.
- Functionality: Consider how the mantel is used. Is it functional for holding decor, photos, or other items, or does it need a bit more storage or support?
Once you have a clear idea of what you’re working with, you can plan accordingly. For example, a wooden mantel might need a fresh coat of paint or a complete sanding and refinishing if it has become worn out.
Table: Mantel Assessment Checklist
| Factor | Action | Notes |
| Material & Condition | Inspect for damage or wear | Sand, refinish, or replace as necessary |
| Style & Size | Compare with current decor | Measure carefully for a new design |
| Functionality | Determine use for storage | Add shelves or hooks if needed |
Step 2: Choosing the Right Design for Your Space
Now that you’ve assessed your mantel, it’s time to decide on a design that complements your living room’s aesthetic. Here are some popular styles to consider:
- Rustic: A rustic design features natural wood, distressed finishes, and earthy tones. This style works well in country or farmhouse-themed rooms.
- Modern: Clean lines, sleek finishes, and neutral colors define modern mantels. Think minimalistic and contemporary.
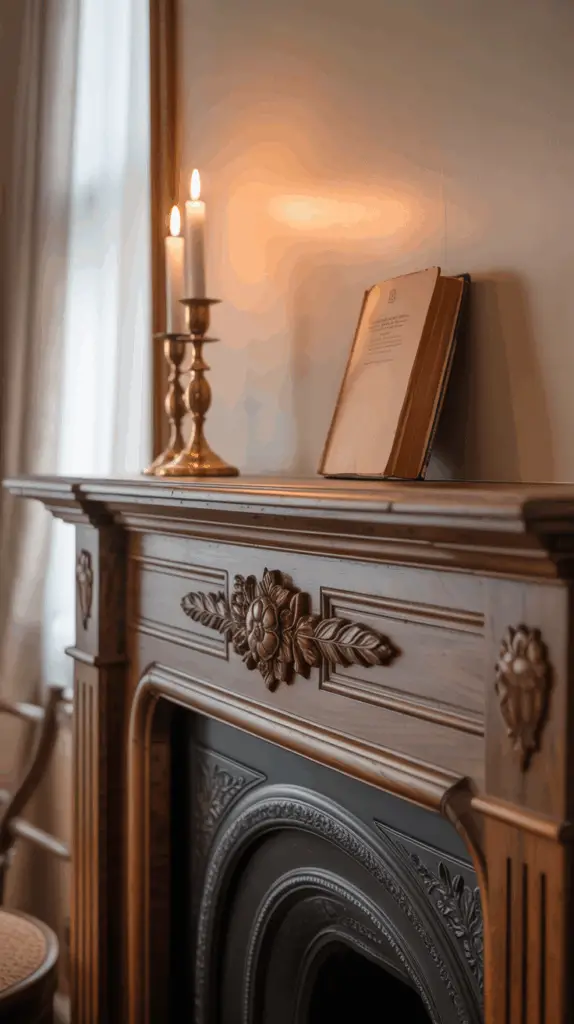
- Traditional: Classic moldings, carvings, and elegant finishes make traditional mantels timeless. This style suits more formal or classic spaces.
- Industrial: Incorporate metals, exposed brick, or reclaimed wood to create an industrial-style mantel. Perfect for urban lofts or modern homes.
- Coastal: Light wood or whitewashed finishes paired with soft hues create a breezy, beach-inspired look.
By considering the overall style of your living room, you can choose a mantel makeover that enhances the space.

Step 3: Selecting Materials and Tools
The materials and tools you choose will significantly impact the outcome of your fireplace mantel makeover. Here’s a breakdown of what you may need based on your chosen design:
- For Painting or Refinishing:
- Sandpaper
- Primer and paint (or stain)
- Paintbrushes or rollers
- Drop cloths
- Sandpaper
- For Adding New Features:
- New wooden panels or trim
- Screws or nails for installation
- Wood glue or construction adhesive
- Decorative brackets or corbels
- New wooden panels or trim
- For Installing New Shelves or Storage:
- Floating shelf brackets
- Measuring tape
- Drill
- Floating shelf brackets
Having these materials on hand will streamline the process and ensure you don’t run into any unexpected hiccups mid-project.
Step 4: Preparing the Mantel Area
Proper preparation is key to achieving a professional-looking result. Start by clearing the mantel area of all decor and objects. If you’re planning to paint or refinish, remove any hardware, such as hooks or shelves. Here’s a step-by-step approach:
- Remove Old Paint or Stain: Use a sander to strip old paint or finish if necessary. This will allow the new layers to adhere properly.
- Clean the Surface: Ensure the mantel is free from dust, dirt, and grease. A clean surface will make any finish look smoother and more polished.
- Protect the Surrounding Area: Use painter’s tape around the edges of the mantel to protect your walls and floor from accidental paint splashes.
Table: Preparation Checklist
| Task | Materials Needed | Notes |
| Remove old paint or stain | Sander, paint stripper | Sand evenly for a smooth surface |
| Clean the surface | Damp cloth, cleaning solution | Ensure no dust or grease remains |
| Protect surrounding areas | Painter’s tape, drop cloths | Tape off walls, floor, and trim |
Step 5: The DIY Process—Step by Step
Now that you’ve prepared everything, it’s time to dive into the actual makeover! Here’s a step-by-step guide for a basic DIY fireplace mantel makeover:
- Sanding & Refinishing: Start by sanding the mantel surface. For a more rustic look, consider distressing the wood with a hammer or chains. Then, apply primer and a few coats of paint or stain.
- Adding Decorative Elements: After the base is complete, install any additional design elements like corbels, new trim, or a shelf. Be sure to measure carefully for proper alignment.
- Final Touches: Once the paint is dry, add finishing touches like decorative vases, plants, or artwork to complete the look.
Step 6: Styling Your New Mantel
With your DIY fireplace mantel makeover complete, it’s time to style it! The key is to balance aesthetics with functionality. Here are some ideas:
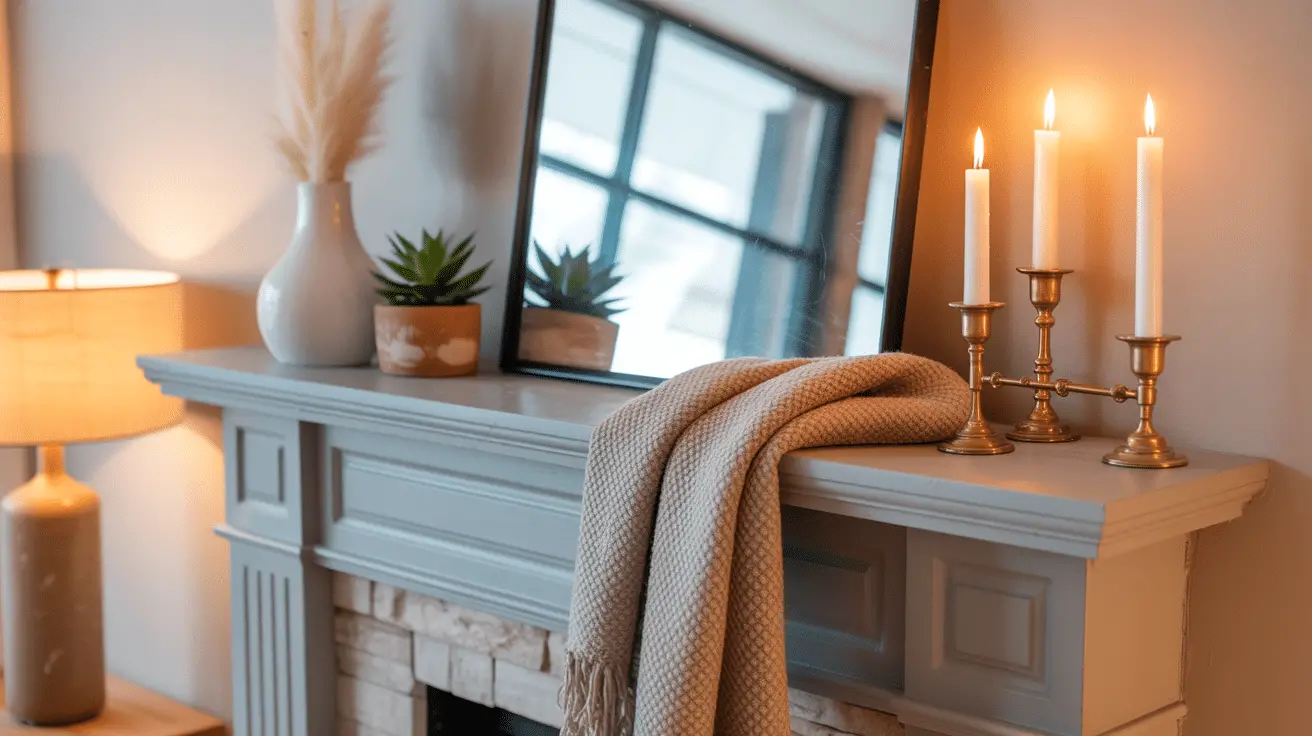
- Seasonal Decor: Update your mantel with seasonal decor such as candles, vases, and themed items for holidays or changing seasons.
- Symmetry: Place items in pairs or groups for a balanced look, such as two large vases or matching photo frames.
- Statement Piece: If you’re going for a minimalist style, place a statement piece like a large mirror or artwork above the mantel to draw the eye.
Remember to keep your personal style in mind and have fun with the process!
Conclusion
Transforming your living room with a DIY fireplace mantel makeover is an affordable and rewarding way to refresh your space. With a bit of creativity, the right materials, and a clear plan, you can create a mantel that enhances your living room’s overall aesthetic. Whether you opt for a modern, rustic, or traditional design, your new fireplace focal point will be a statement piece that sets the tone for the entire room. So gather your tools, choose your design, and start your DIY fireplace mantel makeover today!

