Maximize Small Spaces: DIY Laundry Room Shelves for Stylish and Efficient Organization
Table of Contents
Introduction
Laundry rooms, though essential, are often overlooked when it comes to organization. Whether you have a tiny space or just want to improve the functionality of your existing laundry area, adding DIY shelves is a great solution. Shelving units help maximize vertical space, organize supplies, and ensure everything has a designated place—making your laundry tasks less stressful.
In this blog, we’ll explore how you can create beautiful and functional DIY laundry room shelves, even in the smallest of spaces. From choosing the right materials to creative shelving ideas, this post will guide you through every step of the process. You’ll also find helpful tips on organizing laundry essentials, optimizing your layout, and personalizing your space. Whether you’re working with limited room or simply want to make your laundry area more efficient, you’ll be equipped with all the knowledge you need to get started.
Let’s dive into the world of DIY laundry room shelves and discover how easy it is to transform your space into an organized, functional haven!
Choosing the Right Shelving Materials for Your Laundry Room
When embarking on a DIY shelving project, the first step is selecting the right materials. Not all materials are suitable for a laundry room, as this space is exposed to moisture, humidity, and sometimes cleaning products that could cause wear and tear. Understanding which materials can withstand these conditions is essential for longevity and aesthetic appeal.
Wood Shelves
Wood shelves are a popular choice due to their warmth and versatility. However, when choosing wood for a laundry room, opt for hardwoods like oak, maple, or plywood that are more durable and resistant to moisture. To protect the wood from damp conditions, consider sealing it with a water-resistant finish or installing a vent to allow proper airflow.
Metal Shelves
For a more modern or industrial look, metal shelves are a great option. Steel or stainless steel shelves are durable, easy to clean, and can hold heavier laundry supplies, such as detergent bottles and fabric softeners. A metallic finish adds a sleek, contemporary touch to the space, and these shelves are incredibly easy to install.
Floating Shelves
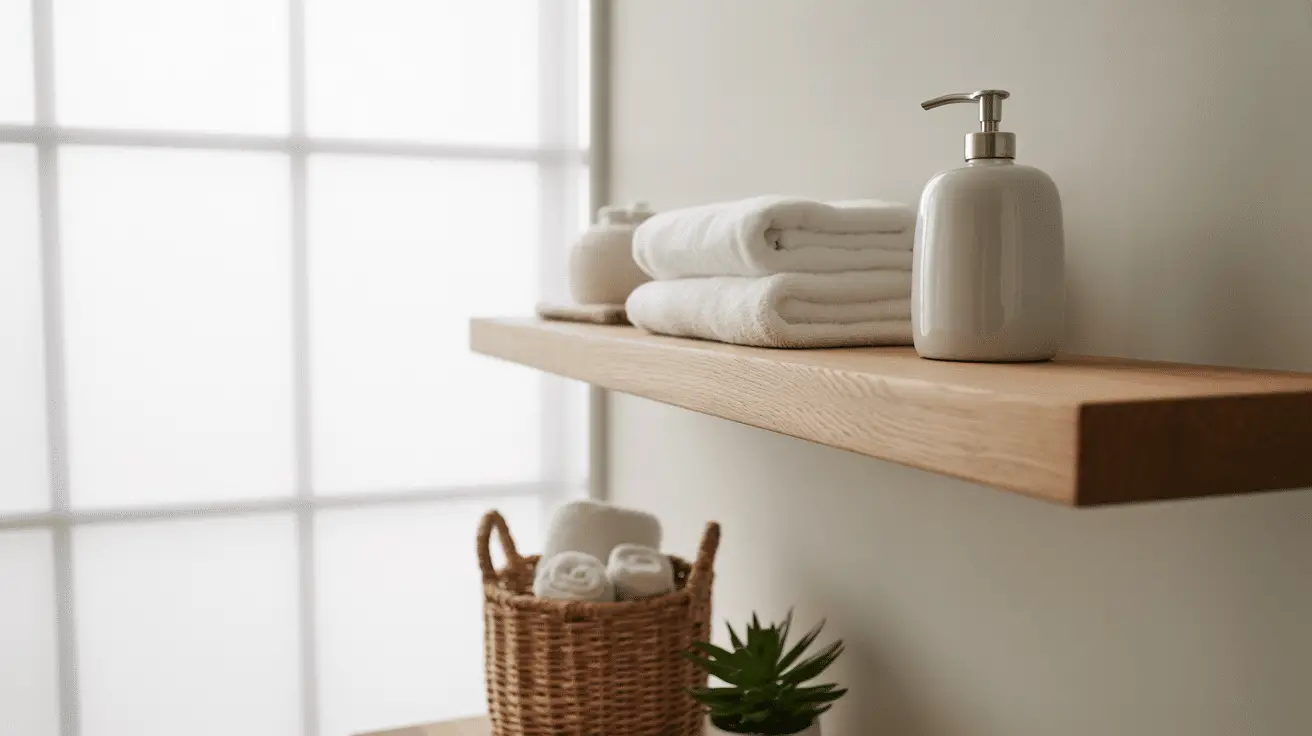
Floating shelves offer a clean and minimalist design that’s perfect for small spaces. These shelves do not require brackets or visible supports, giving your laundry room a more open and airy feel. You can install floating shelves above your washer or dryer to utilize overhead space for storage, keeping detergents, cleaning supplies, or even folded towels within easy reach.
| Material Type | Pros | Cons | Best For |
| Wood | Warmth, Versatility | Susceptible to moisture without treatment | Aesthetic appeal, lighter laundry loads |
| Metal | Durable, Easy to Clean | May rust without protection | Industrial or modern design, heavy items |
| Floating Shelves | Sleek, Minimalist | Requires secure mounting | Small or modern laundry rooms, overhead storage |
How to Plan Your Laundry Room Shelves for Maximum Efficiency
Planning your DIY shelves requires careful thought about the layout and how the shelves will function. Organizing a small space can be challenging, but with the right planning, you can make your laundry room feel more spacious and functional.
Assess Your Space
Begin by measuring your laundry room. Identify areas where shelves can be installed without obstructing walkways or the washer and dryer. Typically, the space above the washer and dryer, behind the door, or on an empty wall is ideal for shelving. These areas often go underutilized and can serve as perfect spots to add extra storage.
Consider Shelving Height
In small spaces, every inch counts. Consider installing shelves that are high enough to store laundry essentials without crowding the room but low enough to easily reach items when needed. Adjustable shelves are ideal, as you can alter the height based on your storage needs over time.
Use Vertical Space Wisely
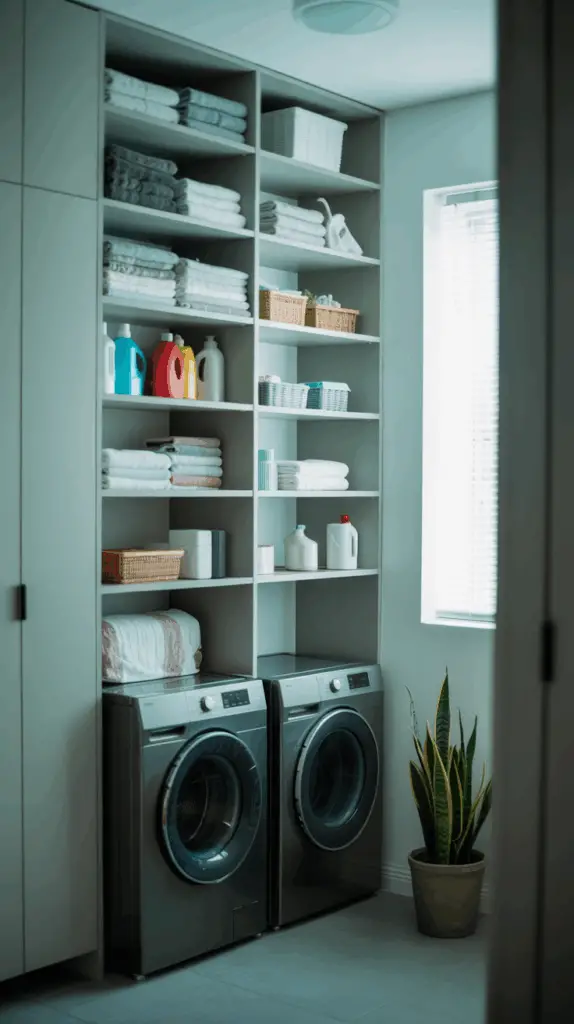
Maximize vertical space by installing tall shelves that reach up to the ceiling. This creates additional storage while keeping your laundry room organized and clutter-free. You can use these shelves for less frequently used items, such as extra cleaning supplies or seasonal products.

| Planning Tip | Benefit |
| Measure Your Space | Ensures shelves fit perfectly and optimize available space |
| Adjustable Heights | Allows flexibility for different items and future needs |
| Vertical Storage | Utilizes overhead space for storing larger items |
Creative Shelving Ideas to Maximize Small Laundry Rooms
Small laundry rooms present unique challenges, but with a bit of creativity, you can turn them into highly functional and stylish spaces. Here are a few clever shelving ideas to consider when planning your DIY project:
Wall-Mounted Baskets
Wall-mounted wire baskets are a fantastic solution for small laundry rooms. They provide an open, accessible place to store smaller items like laundry pods, dryer sheets, or cleaning rags. These baskets are perfect for easy access while also saving floor space.
Corner Shelves
Don’t overlook the corners in your laundry room. Corner shelves are a great way to make the most of unused space and can be customized to fit the unique shape of your room. You can use these shelves to store items that don’t need to be accessed frequently or to display decorative elements like plants.
Storage Above Appliances
Utilize the space above your washer and dryer by installing floating or open shelves. These are perfect for storing laundry detergents, fabric softeners, or spare towels. If you have a high ceiling, you can stack multiple shelves to store extra supplies, keeping the items you use most at eye level.
| Creative Idea | Benefit |
| Wall-Mounted Baskets | Easy access to small items, saves space |
| Corner Shelves | Maximizes unused space, customizable |
| Above Appliance Shelves | Stores supplies out of the way, accessible |
Installing Your DIY Laundry Room Shelves Step by Step
Once you’ve chosen your materials and designed your shelving layout, it’s time to start the installation. Follow these steps to ensure your shelves are securely mounted and functional:
Step 1: Gather Tools and Materials
You’ll need shelves, brackets (if applicable), screws, a drill, measuring tape, a level, and a stud finder to locate wall studs.
Step 2: Measure and Mark
Use your measuring tape to determine where you want the shelves to go. Mark the spots where the brackets or mounting hardware will be placed, ensuring they are level.
Step 3: Install the Brackets
If you’re using brackets for support, install them first by drilling screws into the wall studs. This ensures that the shelves can bear weight without falling. Make sure each bracket is level before tightening the screws.
Step 4: Mount the Shelves
Place the shelves onto the installed brackets and secure them with screws. If you’re installing floating shelves, you’ll need to use hidden brackets or supports, which may require drilling additional holes for stability.
| Step | Action | Tip |
| 1 | Gather Tools and Materials | Ensure you have all necessary tools for a smooth installation |
| 2 | Measure and Mark Shelf Placement | Use a level to avoid crooked shelves |
| 3 | Install Brackets | Ensure brackets are securely mounted on wall studs |
| 4 | Mount Shelves | Double-check shelf alignment before securing |
Best Organizational Tips for a Functional Laundry Room
Organization is key to maintaining a clean and efficient laundry room. Once your shelves are in place, follow these tips to maximize their potential:
Use Baskets and Containers
Storage bins, baskets, and containers are essential for organizing laundry supplies. Labeling these items will help you quickly find what you need, reducing clutter and streamlining your laundry routine.
Keep Essentials Close
Place frequently used items on the lowest shelves for easy access. This includes laundry detergent, fabric softener, and stain removers. Items that are used less often, like extra towels or seasonal items, can be placed on higher shelves.
Create Zones for Different Items
Organize your shelves into zones—one for laundry detergents, another for dryer sheets, and a third for cleaning supplies. This will prevent items from getting mixed up and help you maintain a tidy space.
| Organizational Tip | Benefit |
| Baskets and Containers | Helps organize small items, reduces clutter |
| Keep Essentials Close | Improves accessibility and efficiency |
| Create Zones | Streamlines laundry tasks, keeps items organized |
Conclusion
Creating an organized and functional laundry room doesn’t have to be a daunting task, even in small spaces. By adding DIY shelves, you can transform your laundry area into an efficient, stylish space that maximizes every inch. Whether you choose wood, metal, or floating shelves, each material offers unique benefits to enhance both the aesthetics and functionality of your room.
With the right planning and creative shelving solutions, your laundry room can become a well-organized space where everything has its place. Plus, these DIY projects are affordable, easy to do, and can be personalized to suit your style. So roll up your sleeves, grab your tools, and start organizing your laundry room today!

