Budget-Friendly Kitchen Backsplash Ideas You Can DIY for a Stylish Makeover
Table of Contents
A kitchen backsplash can completely transform your space—adding texture, color, and personality while protecting your walls from splashes and spills. But hiring a contractor or choosing high-end tile can quickly add up. The good news? There are countless budget-friendly kitchen backsplash ideas you can DIY, even with minimal experience.
Whether you’re working with a rental space, prepping for resale, or just itching for a fresh look, these DIY options offer style without the hefty price tag. With a little creativity and the right materials, you can craft a custom backsplash that reflects your taste and enhances the heart of your home.
From peel-and-stick tiles to painted stencils, beadboard to faux brick, this guide covers a wide range of low-cost, high-impact backsplash solutions. You’ll get the pros and cons of each option, expert tips for installation, and visual inspiration for creating a kitchen you’ll love—without overspending.
If you’re ready to roll up your sleeves and bring charm and character to your kitchen, these DIY backsplash ideas are a perfect place to start.
Peel-and-Stick Tiles: The Quick, Stylish Fix
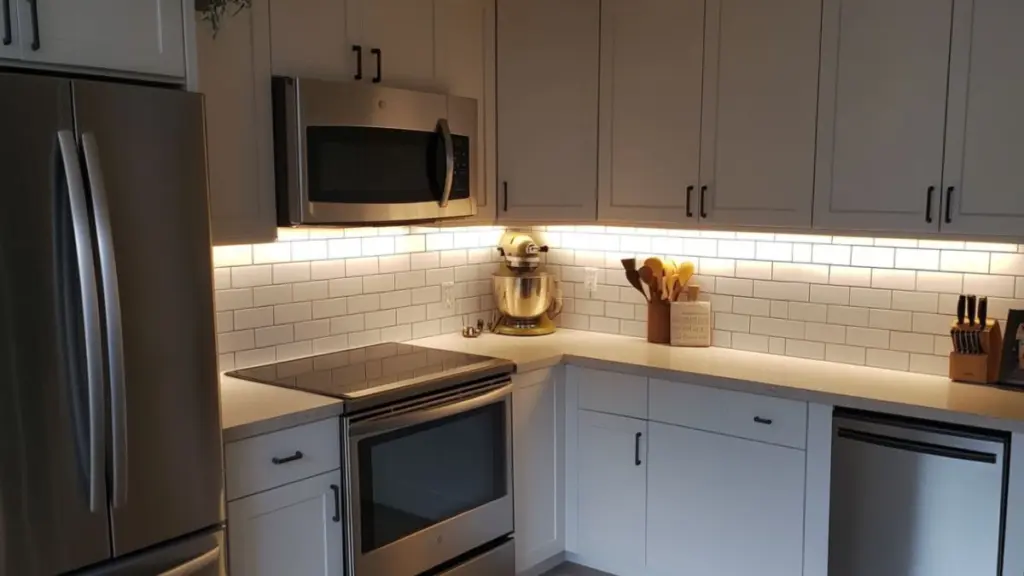
One of the easiest and most popular options for a DIY kitchen backsplash is peel-and-stick tile. These tiles come in a variety of finishes—from glossy subway styles to faux marble and patterned designs—and require no grout, mortar, or special tools.
They’re perfect for renters or homeowners who want a quick upgrade without a long-term commitment. Many options are heat- and moisture-resistant, making them ideal for areas near the stove or sink.
The trick to a seamless finish? Start with a clean, dry, and flat wall surface. Measure carefully and use a level to keep your rows even. Peel-and-stick tiles can be trimmed with utility scissors or a sharp craft knife, which makes this project beginner-friendly.
Though not as durable as real ceramic tile, peel-and-stick backsplash tiles hold up surprisingly well with light use and proper care. They’re especially suited for galley kitchens, apartments, or small-space makeovers.
Pros and Cons of Peel-and-Stick Tiles
| Pros | Cons |
|---|---|
| Easy to install and remove | Can peel over time with heavy heat/moisture |
| No grout or special tools needed | Limited lifespan compared to real tile |
| Wide range of colors and finishes | May not work on textured walls |
| Perfect for renters and DIY beginners | Not ideal for long-term high-traffic use |
Painted Stencils: Creative and Customizable
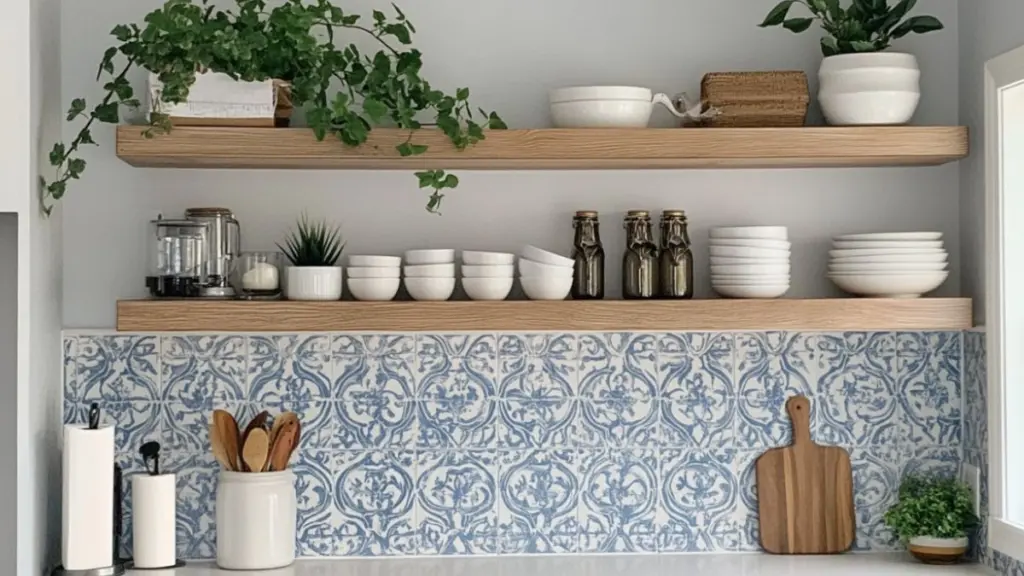
For a budget-friendly backsplash that makes a bold statement, painted stencils are a fantastic option. With just a stencil, some painter’s tape, and a durable paint suited for kitchens, you can mimic the look of intricate tile at a fraction of the cost.
Choose geometric designs for a modern feel or Moroccan motifs for a bohemian flair. Paint stencils work best on smooth walls or painted panels and can be completed in a weekend. To protect the finish, seal your painted backsplash with a clear, water-resistant topcoat.
This DIY option is perfect for those who love color and pattern or want to create a one-of-a-kind space. And the best part? You can repaint or refresh the design as your style evolves.
Painted Backsplash Design Ideas
| Style | Paint Colors to Try |
|---|---|
| Modern geometric | Black + white, navy + blush |
| Boho Moroccan | Turquoise, terracotta, gold |
| Scandinavian minimal | Soft gray, white, charcoal |
| Vintage cottagecore | Sage green, cream, dusty rose |
Beadboard Backsplash: Classic and Cost-Effective
If you’re aiming for timeless charm with a hint of farmhouse or cottage appeal, beadboard is a beautiful and budget-conscious choice. Available in pre-primed panels from most home improvement stores, beadboard is easy to cut and install, even for beginners.
Once cut to size, the panels can be adhered directly to the wall using construction adhesive or brad nails. Caulk the seams and finish with paint for a clean, polished look. Beadboard is especially popular in white or soft pastels, making it an excellent choice for bright, airy kitchens.
One of the biggest advantages of a beadboard backsplash is its versatility. It can be installed vertically for a traditional look or horizontally for a more modern feel. And because it’s made from MDF or wood, it takes paint beautifully—meaning you can change the color as your kitchen evolves.
For added protection, apply a coat of polyurethane or water-resistant paint, particularly behind the sink or stove. Beadboard brings texture and character to your kitchen while staying within budget.
Beadboard Backsplash DIY Overview
| Step | Instructions |
|---|---|
| Measure + cut panels | Use a table saw or handsaw for precision |
| Adhere to wall | Use adhesive or finishing nails |
| Caulk + paint | Fill seams, paint with kitchen-safe paint |
| Seal (optional) | Add clear coat behind sink/stove |
Faux Brick Panels: Rustic Texture Without the Mess
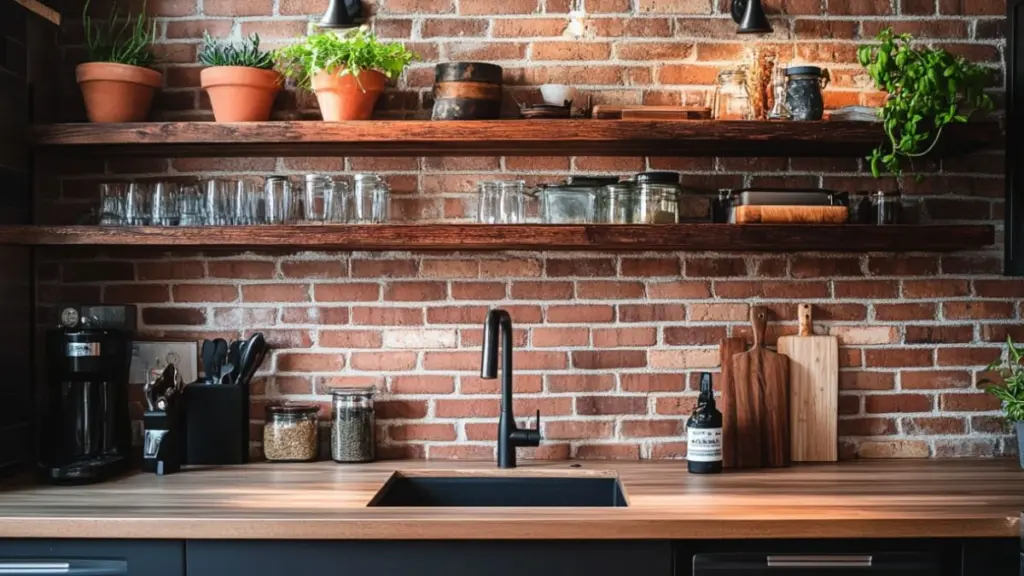
Love the look of exposed brick but don’t want the cost or labor? Faux brick panels offer the rustic, textured aesthetic of brick without the need for mortar or demolition. These lightweight panels come in sheets and can be painted, whitewashed, or left raw depending on your style.
They’re often made from polyurethane or PVC and are easy to cut with a jigsaw. Adhesive and finishing nails will keep them in place, and a little caulk between seams creates a more seamless look.
Faux brick backsplashes work particularly well in industrial, rustic, or farmhouse kitchens. Pair with black fixtures, butcher block counters, or matte white cabinets for a high-contrast finish.
Faux Brick Finishing Options
| Finish Type | Best Used For |
|---|---|
| Whitewashed | Bright, cottage-style kitchens |
| Painted (gray/black) | Urban industrial aesthetic |
| Distressed red brick | Rustic farmhouse or loft-inspired designs |
Vinyl Wallpaper: Stylish and Surprisingly Durable
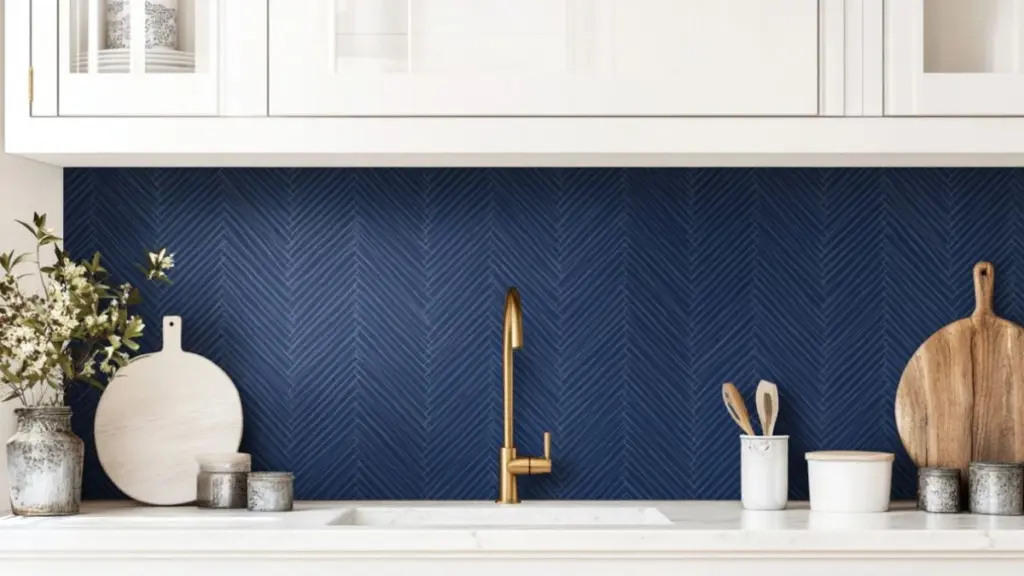
Vinyl wallpaper may not be the first thing that comes to mind when thinking of backsplashes—but it’s a clever, stylish, and budget-friendly option. Modern vinyl wallpaper comes in realistic tile prints, bold patterns, and subtle textures, and it’s made to withstand moisture and wiping.
Ideal for low-splash zones or areas without direct heat exposure, this DIY hack is perfect for renters or temporary upgrades. Simply apply peel-and-stick wallpaper to a clean surface, smoothing out bubbles with a squeegee or credit card.
For added durability, seal edges with clear caulk or add a plexiglass sheet over the wallpaper in areas near the stove.
The real appeal of vinyl wallpaper is the design range—you can achieve the look of zellige tile, herringbone, or Moroccan mosaics with no grout and minimal cost.
Vinyl Wallpaper Backsplash Quick Tips
| Feature | Tip |
|---|---|
| Prep surface | Clean and dry completely before application |
| Apply slowly | Use a level and smooth bubbles as you go |
| Use edge sealing | Clear caulk or clear panels for protection |
| Choose vinyl only | Avoid paper wallpaper for durability |
Chalkboard Paint: Functional and Fun
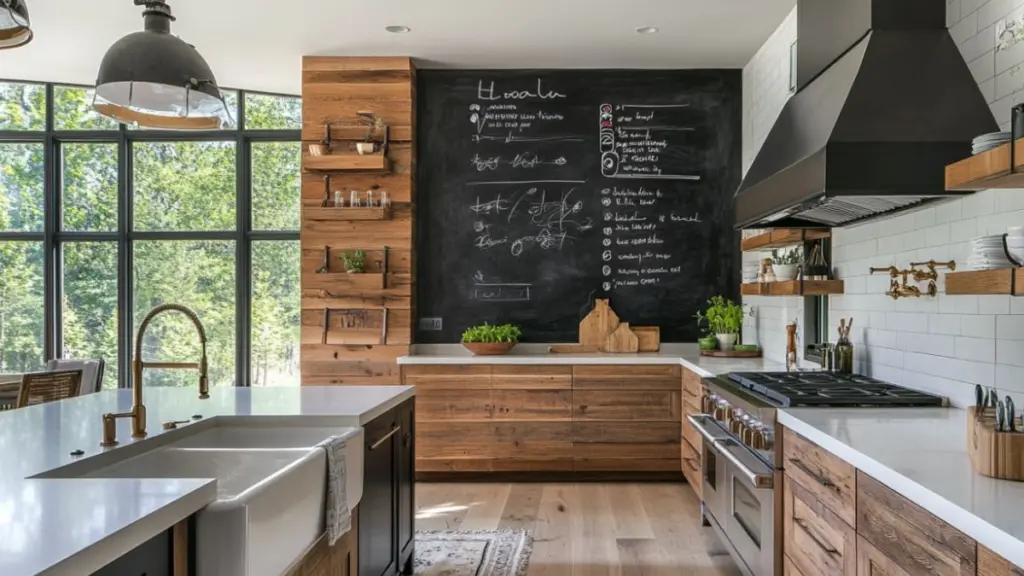
Looking for a backsplash idea that’s interactive and fun? Chalkboard paint turns your wall into a writable surface perfect for grocery lists, family notes, or daily inspiration.
Apply to a primed surface with a foam roller for a smooth finish, and let it cure fully before writing. Chalkboard paint pairs especially well with minimalist or industrial kitchens and is ideal for creative types.
Add framed trim to make your chalkboard backsplash feel intentional, or stencil sections for recipes, quotes, or decorative designs. For easier maintenance, use liquid chalk markers instead of traditional chalk to avoid heavy dust.
Chalkboard Paint Backsplash Uses
| Creative Purpose | How It Works |
|---|---|
| Weekly meal planning | Write your grocery list in plain view |
| Kids’ doodle area | Give kids a safe space to be creative |
| Daily quotes or affirmations | Boost your mood while you cook |
Conclusion
You don’t need a big budget to make a big impact in your kitchen. With the right DIY backsplash idea, you can transform your space into something functional, personal, and totally stylish.
Whether you lean minimalist with beadboard or bold with vinyl wallpaper, these budget-friendly options prove that creativity goes a long way. With accessible materials, simple tools, and a weekend of work, you can give your kitchen a beautiful, customized refresh—one that’s both affordable and uniquely yours.
