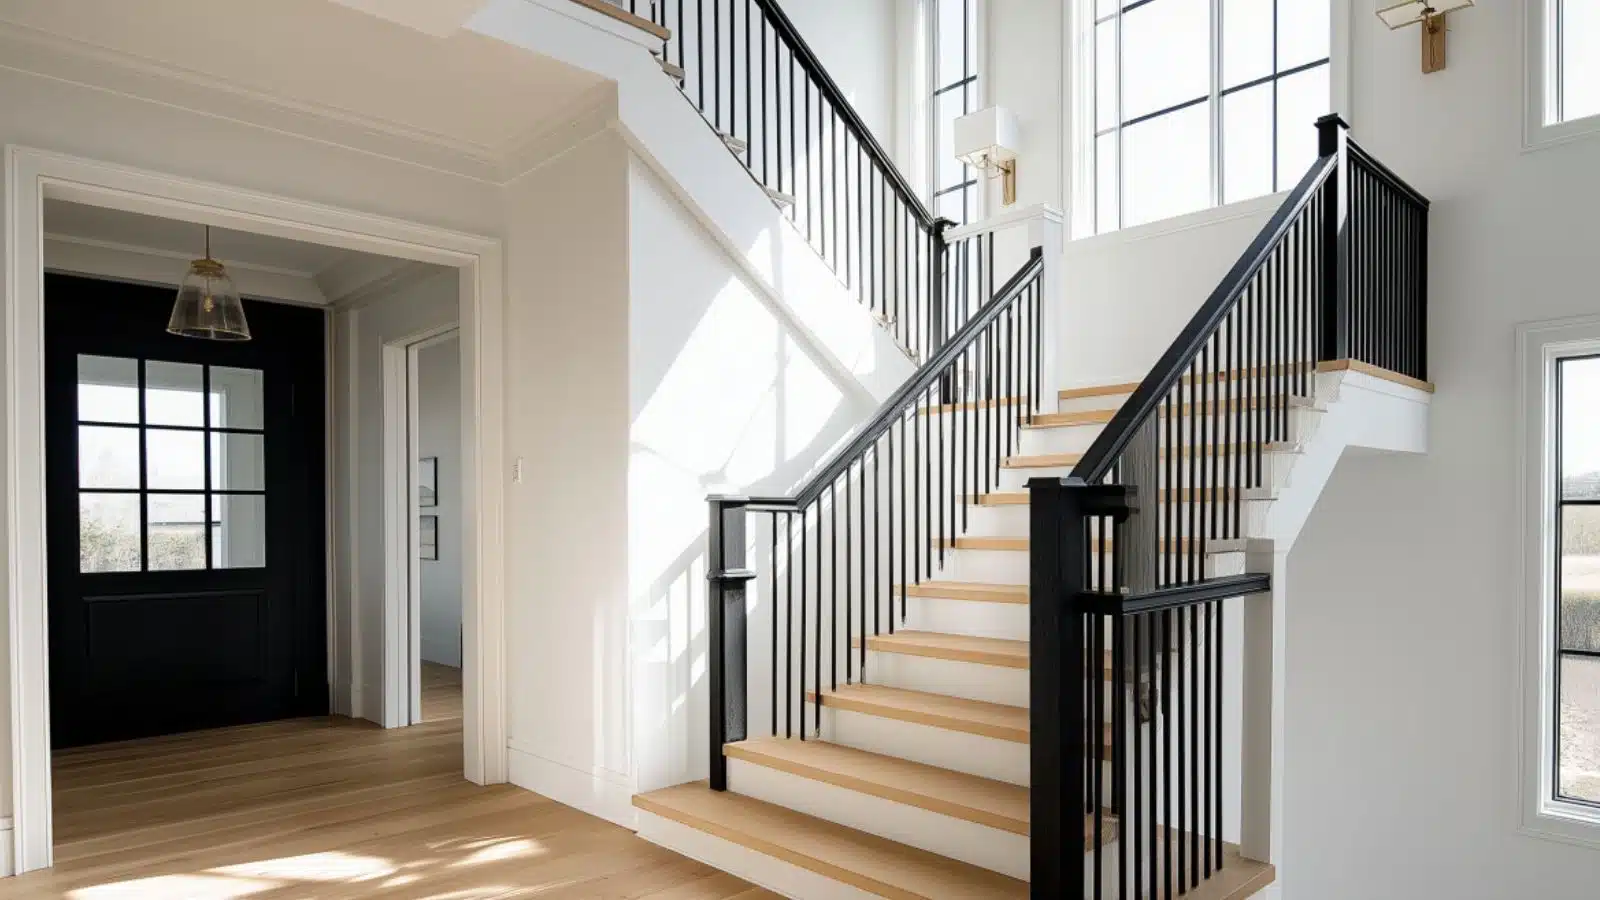
DIY Black Stair Railing Paint Project for a Quick Makeover: Modern Style on a Budget
Table of Contents
If your staircase feels outdated or lacks visual impact, you’re not alone. Stairs are one of the most overlooked elements in home design, yet they’re among the most frequently used. According to Zillow, even small updates to entryways and staircases can significantly boost a home’s aesthetic—and potential value. The good news? You don’t need a full renovation to achieve a transformation. A DIY black stair railing paint project is a quick, budget-friendly solution that delivers dramatic results.
Black-painted railings have become a popular trend in modern farmhouse, transitional, and minimalist homes. They add contrast, sophistication, and timeless appeal without overpowering the space. Whether your staircase is wood, iron, or a mix of materials, the right shade of black can redefine your entire entryway or hallway.
In this blog, we’ll walk you through everything you need to know to tackle your own DIY black stair railing makeover—from choosing paint types to prepping surfaces, applying finishes, and styling around your new statement railing. Whether you’re a seasoned DIYer or a weekend warrior with a paintbrush, this guide will equip you with all the tools and tips to refresh your space with confidence.
Why Black Railings Are a Game-Changer in Home Design
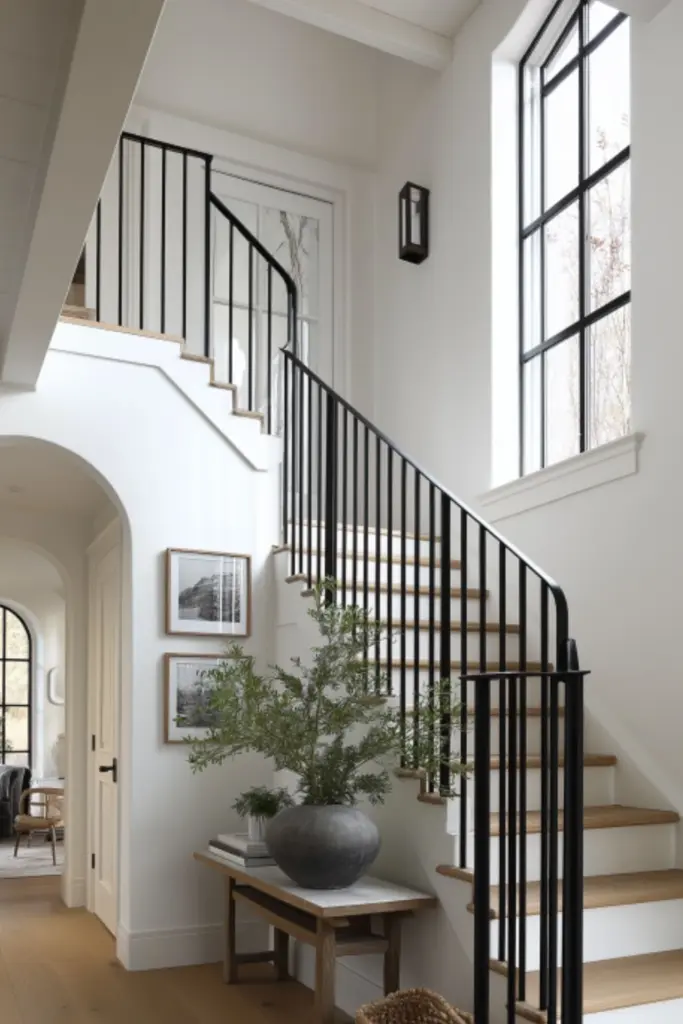
There’s a reason black stair railings are a designer favorite—they’re bold, clean, and effortlessly modern. A black railing draws the eye and creates contrast against lighter wall colors and wood flooring. It functions like eyeliner for your staircase: defining lines, adding sharpness, and framing the architecture of your home.
Beyond style, black railings also offer versatility. They blend well with various interior themes—from modern farmhouse and industrial to traditional and Scandinavian. Whether your home leans warm and rustic or cool and minimal, black railings can anchor your aesthetic without clashing.
Another benefit? Black finishes are relatively low maintenance. They hide fingerprints better than white or natural wood, especially if you choose a satin or matte finish. That makes this upgrade not only beautiful but also practical.
Table: Benefits of Black Stair Railings
| Benefit | Why It Matters |
|---|---|
| High Visual Impact | Instantly elevates home design |
| Works with Any Style | Pairs well with modern, classic, or rustic |
| Low Maintenance | Hides dirt and fingerprints |
| Timeless Appeal | Won’t go out of style quickly |
| DIY-Friendly | Easy to paint without hiring pros |
Choosing the Right Paint for Stair Railings
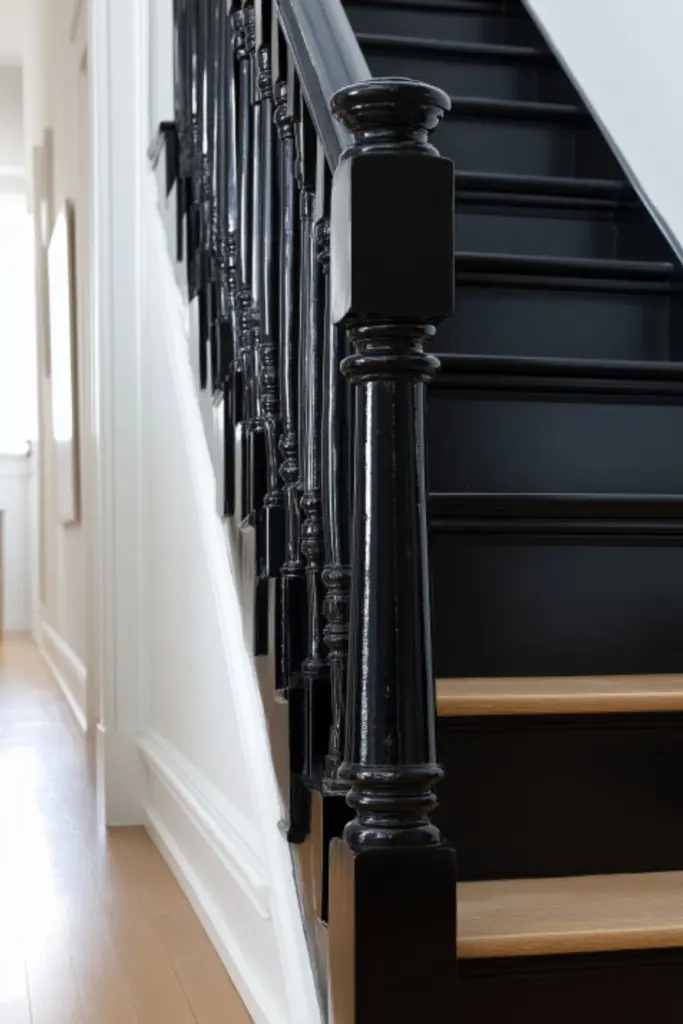
Before you grab the nearest can of black paint, it’s important to understand that not all paints are created equal—especially for high-touch surfaces like stair railings. Durability, finish, and application method are key to ensuring your project lasts and looks professionally done.
Oil-based paints offer a super smooth finish and excellent durability but take longer to dry and require strong ventilation. Latex or acrylic-based enamels are more user-friendly, dry faster, and clean up with water—ideal for most DIY projects.
Finish also plays a major role. Matte black gives a subtle, modern look but may show smudges more easily. Satin or semi-gloss finishes strike a balance between style and practicality. They’re easy to clean and reflect just enough light for visual depth.
Also consider whether you’ll be spraying or brushing. Spraying gives a factory-smooth finish but requires more prep. Brushing or rolling is simpler but may leave slight texture unless applied carefully.
Comparison Table: Paint Types for Railings
| Paint Type | Pros | Cons |
|---|---|---|
| Oil-Based Enamel | Smooth finish, durable | Long drying time, strong fumes |
| Latex Enamel | Easy to use, fast drying | Slightly less durable |
| Acrylic Enamel | Good adhesion, water cleanup | May require more coats |
| Chalk Paint + Sealant | Matte finish, trendy aesthetic | Needs sealing, less durable alone |
How to Prep Your Stair Railing for Painting
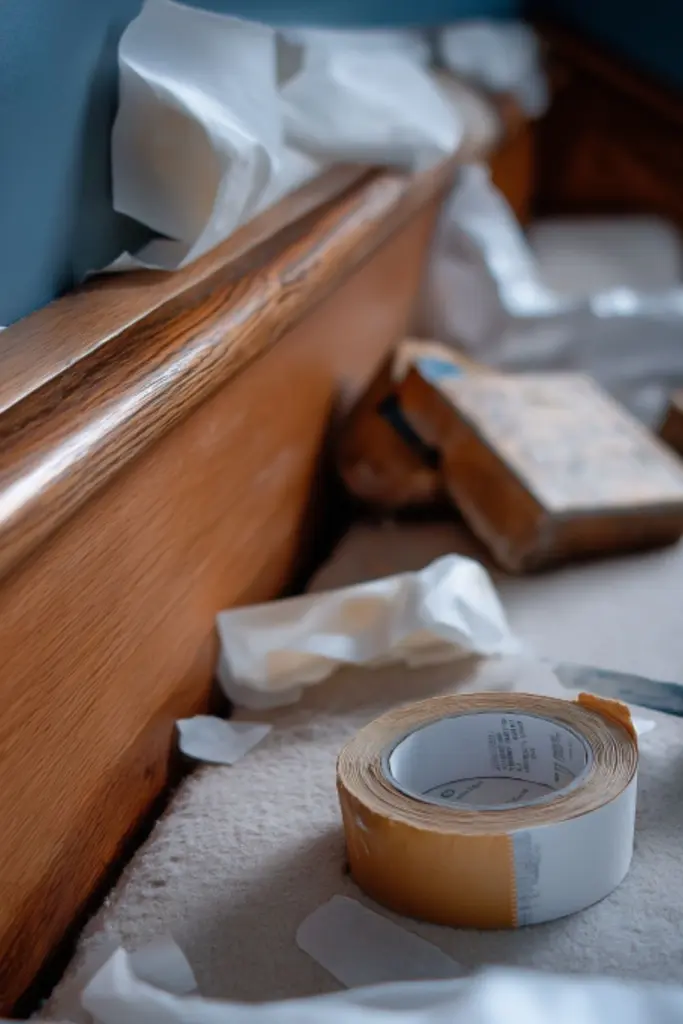
Prep work may not be the most glamorous step, but it’s arguably the most important. A poorly prepped surface can lead to chipping, uneven coverage, or a finish that doesn’t last. The goal is to create a clean, dull, and slightly rough surface so your paint adheres well.
Start by wiping down the railing with a degreasing cleaner to remove oils, fingerprints, and dirt. If the railing has an existing glossy finish, light sanding with 220-grit sandpaper will help the new paint stick better. For wooden railings, sanding also smooths imperfections and ensures an even coat.
Once sanded, vacuum up dust and wipe surfaces clean with a damp microfiber cloth. If you’re using a primer (which is highly recommended for older or bare wood), apply a coat and let it dry completely. Choose a stain-blocking, bonding primer that pairs with your paint type.
Don’t forget to mask the area. Use painter’s tape to protect walls, stair treads, and flooring. If you’re worried about drips, lay down drop cloths along the stairs and around the base of the railing.
Visual Guide: Prepping Checklist
| Task | Purpose |
|---|---|
| Clean with Degreaser | Removes oil, dust, and residue |
| Sand Surface | Promotes better adhesion |
| Wipe Clean Again | Eliminates leftover dust |
| Apply Bonding Primer | Seals and smooths surface |
| Mask with Painter’s Tape | Protects surroundings from drips |
Step-by-Step Guide to Painting Your Stair Railing
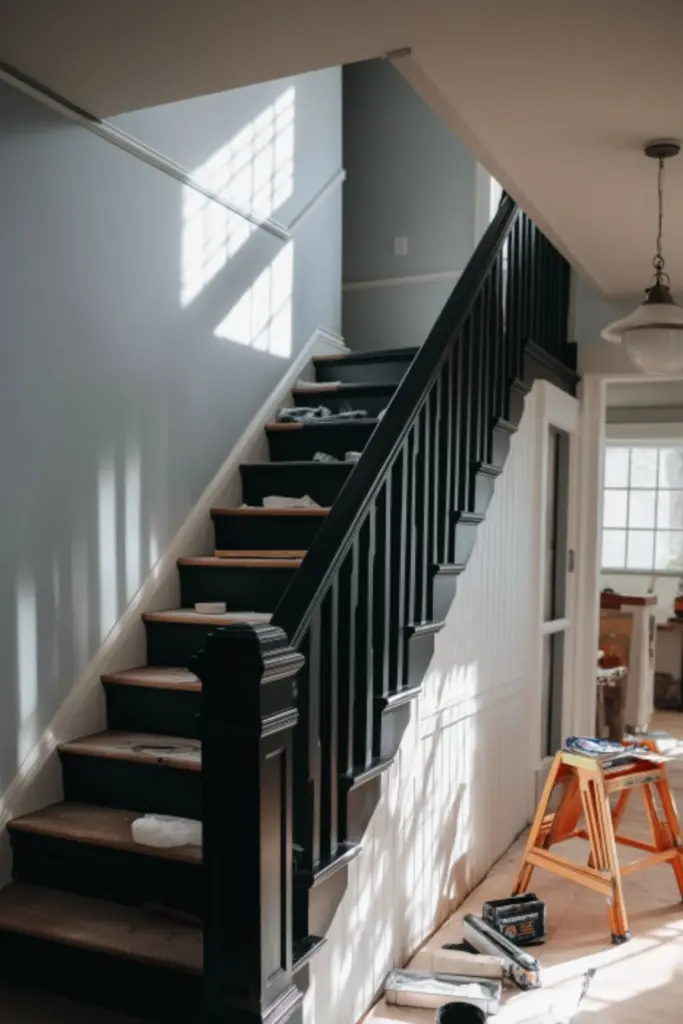
Now for the fun part: transforming your railing with rich, bold black paint. With good prep behind you, painting becomes a rewarding and straightforward task.
Start at the top and work downward. Use a high-quality angled brush for detail areas and a mini foam roller for flat surfaces or balusters. Apply the paint in thin, even coats to avoid drips. Depending on the paint type and coverage, you may need 2–3 coats.
Allow each coat to fully dry before applying the next—this is critical for preventing tackiness or peeling later. Between coats, lightly sand any imperfections or drips using a fine-grit sanding sponge. Wipe clean before repainting.
Once the final coat dries completely, you can optionally apply a clear polyurethane topcoat for extra protection—especially helpful for households with kids or pets. Just be sure your paint is compatible with the topcoat.
Step-by-Step Table
| Step | Description |
|---|---|
| 1. Start at the top | Prevents drips from spoiling finished areas |
| 2. Use thin coats | Ensures even finish and fewer brush marks |
| 3. Let dry between coats | Essential for durability |
| 4. Light sand between coats | Smooths out any bumps or brush strokes |
| 5. Optional topcoat | Adds extra protection and sheen |
Choosing the Right Shade of Black for Your Railing
Not all blacks are created equal. The tone you choose can shift the entire mood of your staircase. The right black can feel bold and dramatic or soft and understated—it all depends on your home’s lighting, wall color, and flooring.
Jet black or deep charcoal tones look sleek in modern spaces and pair beautifully with white or gray walls. If your home features warm woods and neutral hues, a softer black with brown undertones (like espresso or carbon) can enhance that warmth without overwhelming.
Also, consider the finish. Matte black has a subtle, elegant feel but may show more fingerprints. Satin and eggshell finishes strike a balance between softness and cleanability. Semi-gloss is easy to wipe clean and works well in high-traffic homes but reflects more light.
To be confident in your decision, test a few swatches. Paint samples directly onto a hidden part of the railing or a board and hold them up in different lighting.
Black Paint Swatch Comparison Table
| Black Paint Name | Undertone | Best Paired With | Finish Suggestions |
|---|---|---|---|
| Sherwin-Williams Tricorn Black | True black | Modern, white walls | Satin, Semi-gloss |
| Benjamin Moore Black Satin | Warm undertone | Beige or cream surroundings | Satin |
| Behr Carbon Black | Soft brown/gray | Warm woods, cozy interiors | Eggshell or Satin |
| Farrow & Ball Railings | Blue undertone | Cool-toned minimalist décor | Matte or Satin |
Styling Your Stairs After the Makeover
Once your black stair railing is painted and cured, the transformation truly begins when you style the space around it. Accessories, artwork, lighting, and nearby furniture can all help highlight your new focal point.
Start with lighting. If your staircase is in a hallway or foyer, swap out overhead lights for something that matches the new vibe—think black iron pendants, globe fixtures, or lantern-style sconces. The contrast between the lighting and the railing can elevate the overall aesthetic.
Wall art is another powerful tool. Line your stairwell with black frames or floating shelves featuring monochrome prints, botanicals, or family photos. Keep frames and mats uniform for a gallery wall that feels cohesive and polished.
Add softness with textiles. If your stairs are open, a stair runner in a jute, sisal, or patterned design can add contrast and prevent slips. Pair the updated railing with a nearby entry bench, potted plant, or console table to tie the whole area together.
Styling Guide for Your New Railing
| Styling Element | Idea | Why It Works |
|---|---|---|
| Lighting | Black pendant or sconce lighting | Complements railing, adds drama |
| Wall Décor | Monochrome gallery wall | Creates cohesion and visual rhythm |
| Flooring/Textiles | Natural fiber stair runner | Adds warmth and texture |
| Entryway Accessories | Black framed mirror or table lamp | Repeats tone for design harmony |
Conclusion
A DIY black stair railing paint project is one of those rare home updates that delivers maximum visual impact with minimal time and cost. With the right prep, paint, and a clear vision, you can take a basic staircase and turn it into a stunning design feature that complements the rest of your home.
Whether you lean modern, rustic, or transitional, black railings act as a stylish bridge between functionality and flair. From the first brush stroke to the final accessory, every step you take in this makeover adds value—not just to your home, but to the experience of living in it.

