DIY Farmhouse Kitchen Decor Projects to Try This Weekend for a Charming Country Touch
Table of Contents
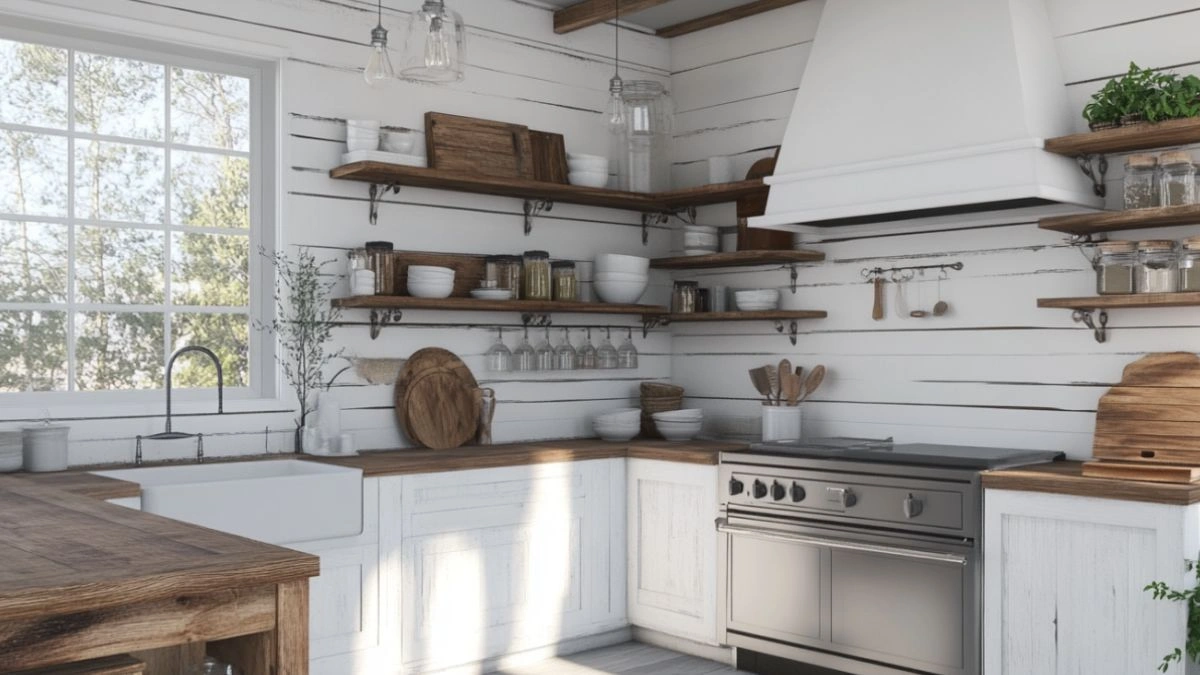
There’s something undeniably inviting about a farmhouse kitchen. It’s cozy, unpretentious, and filled with character—exactly what many of us want when gathering, cooking, or sipping coffee at home. And the best part? You don’t need a full renovation to achieve the look. With a few easy, weekend-ready DIY projects, you can bring farmhouse charm into your kitchen on a budget.
According to interior trends, farmhouse-style kitchens remain one of the most sought-after styles, blending rustic elements with vintage flair and modern function. From reclaimed wood accents to mason jar lighting and shiplap shelves, the possibilities are endless—and achievable.
In this post, we’re sharing DIY farmhouse kitchen decor projects that are beginner-friendly, cost-effective, and deliver big visual impact. Whether you’re a seasoned DIYer or just getting started, these projects are perfect for updating your space without the commitment of a full remodel. Grab your tools and a little creativity—it’s time to bring farmhouse warmth to your kitchen one charming detail at a time.
Build and Style a Rustic Wood Floating Shelf
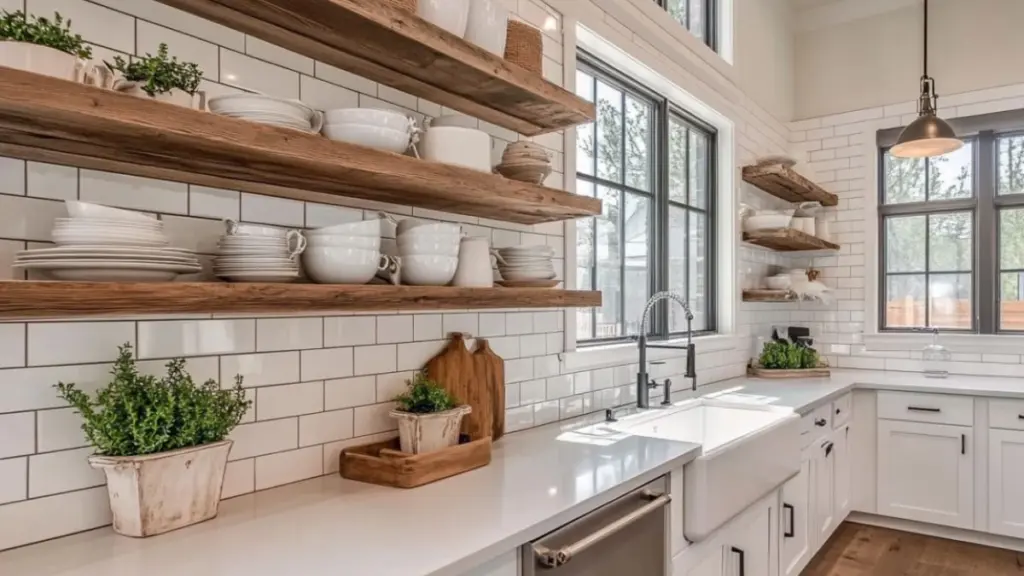
Floating shelves are one of the most functional and aesthetic upgrades you can make to a farmhouse kitchen. They showcase your favorite dishware, allow for easy access to everyday items, and contribute to that open, airy feel that defines farmhouse style.
Start with reclaimed wood or sanded pine boards, ideally around 2–3 inches thick for a chunky, rustic look. Stain the wood in warm honey, walnut, or weathered gray for an aged feel. You can either use concealed floating shelf brackets for a clean install or black metal shelf brackets for a more industrial farmhouse look.
Once installed, style your shelf with a mix of practical and decorative items: white ceramic plates, glass jars filled with pantry staples, a small potted herb, or a framed quote. The key is to keep it simple and curated—clutter can quickly detract from the cozy minimalism of farmhouse design.
DIY Shelf Materials and Tools Checklist
| Materials Needed | Tools Required | Styling Tips |
|---|---|---|
| 2″–3″ thick wood board | Drill, level, screws | Use 3–5 items per shelf for balance |
| Wood stain or sealer | Stud finder (for install) | Mix textures: wood, ceramic, greenery |
| Metal or hidden brackets | Measuring tape, sander | Keep color palette neutral or warm |
Create a Shiplap Wall or Backsplash Accent

Few things scream farmhouse kitchen more than a touch of shiplap. This horizontal wooden paneling adds texture and old-world charm to even the most modern spaces. And with peel-and-stick or lightweight MDF options available today, it’s easier than ever to install over a weekend.
Choose a focal wall—often behind open shelves, the sink, or the range—and install shiplap panels horizontally using adhesive or nails. If you’re going for an authentic look, leave small gaps between the boards. Paint them a classic farmhouse white or soft gray for a clean yet rustic effect.
Not ready for a full wall? Try a mini shiplap backsplash behind your coffee station or along the sides of your kitchen island.
Shiplap Installation Breakdown
| Shiplap Style | Best Use Area | Color Options |
|---|---|---|
| Real wood or MDF | Accent walls, backsplashes | Classic white, sage green, pale gray |
| Peel-and-stick panels | Renters or low-commitment updates | Textured faux wood, neutral tones |
| Beadboard alternative | Cabinet backs or islands | Cottage-style detail with farmhouse flair |
Repurpose Mason Jars into Farmhouse Lighting
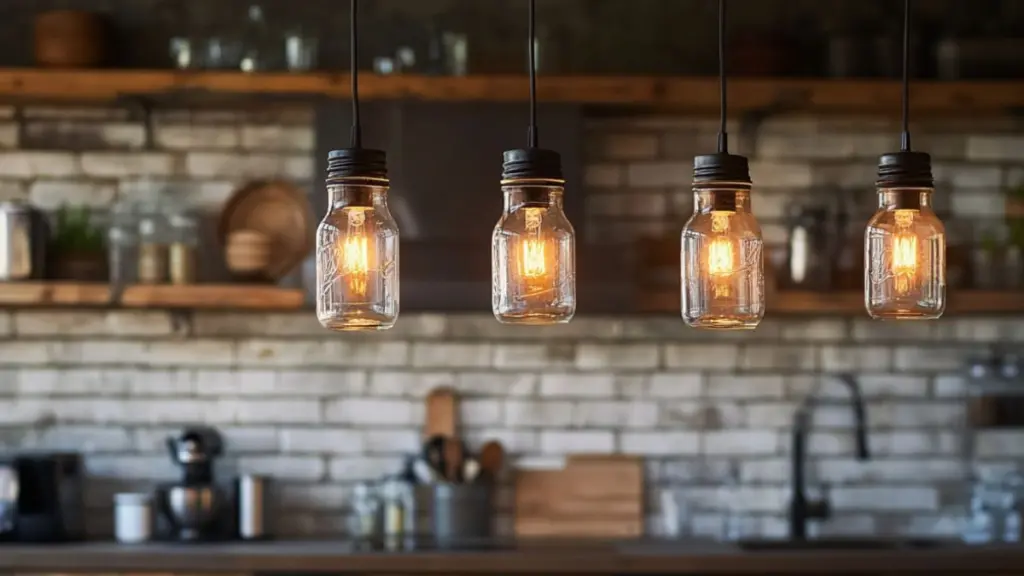
Mason jars are a staple in farmhouse kitchens—not just for canning and storage, but also as budget-friendly decor materials. One of the most charming DIY projects you can tackle in a weekend is transforming mason jars into pendant lights or lantern-style accent lighting.
For pendant lights, use wide-mouth mason jars and fit them with a pendant light kit. You can hang them over a kitchen island or dining nook for an eye-catching rustic detail. Add Edison-style bulbs for a warm vintage glow.
For a simpler project, fill jars with string lights or candles and display them on shelves or countertops. Wrap twine around the tops for added texture, or label each one with chalk paint for a personalized touch.
Mason Jar Lighting Ideas
| Project Type | Difficulty Level | Where to Use |
|---|---|---|
| Pendant lights | Intermediate | Over island or sink area |
| LED string light jars | Beginner | Open shelves, window sills |
| Candle holders | Beginner | Dining table centerpiece, countertops |
Make a DIY Farmhouse Sign with Stencils or Decals
A hand-lettered sign is a timeless touch in any farmhouse kitchen. Whether it says “Gather,” “Pantry,” or a favorite quote, this easy project adds personality and authenticity to your decor.
Start with a stained wood board in a size that fits your wall space. Use alphabet stencils, vinyl decals, or a Cricut machine to transfer your message onto the board. Then paint over the letters using white or black chalk paint for a vintage effect.
Hang the sign above the pantry door, over your open shelving, or on a blank wall that needs warmth. If you prefer a seasonal approach, create a few signs to swap throughout the year.
Farmhouse Sign Project Guide
| Supplies Needed | Design Tips |
|---|---|
| Wood board (cut to size) | Choose fonts that are bold but rustic |
| Stencils or decals | Use phrases like “Eat,” “Gather,” “Blessed” |
| Chalk paint or acrylic | Match text color to surrounding decor |
Style a Coffee Bar or Beverage Nook
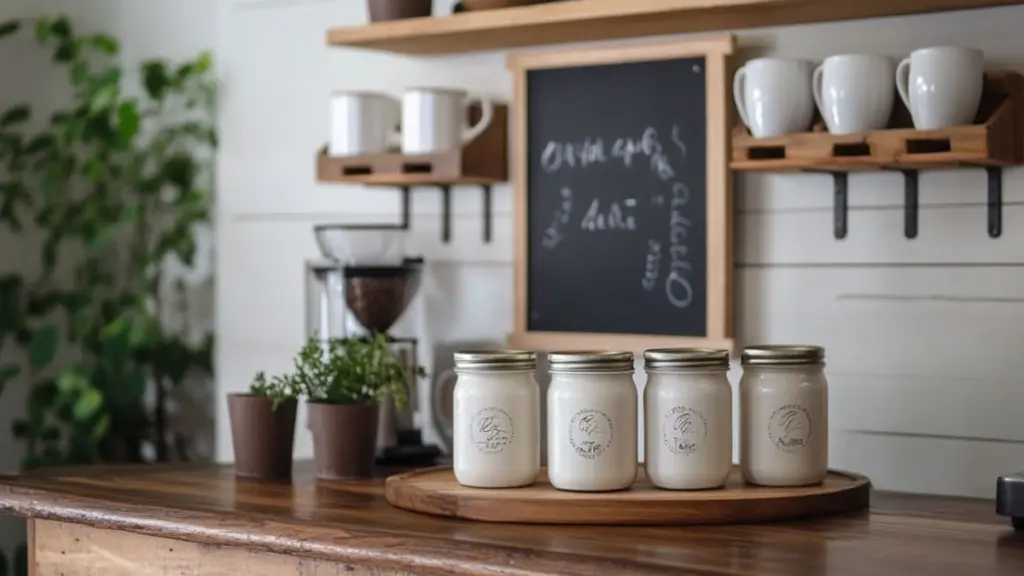
A cozy beverage station isn’t just functional—it’s an instant farmhouse decor moment. Dedicating a corner of your kitchen to a coffee bar, tea nook, or drink center adds charm and can be customized easily with DIY touches.
Start with a console table, rolling cart, or even a small repurposed cabinet. Above the station, install a shelf or peg rail to hold mugs, mason jar containers, or decorative items. Use baskets to organize pods, tea bags, or accessories.
Add a chalkboard sign or a framed printable with a morning quote for that extra farmhouse feel. Vintage canisters, enamelware, and reclaimed wood trays complete the look.
Coffee Bar Styling Essentials
| Element | Purpose | Design Tip |
|---|---|---|
| Console or cart | Functional storage base | Paint it white, sage, or distressed gray |
| Wall decor | Personalize the nook | Chalkboard or hand-lettered sign |
| Accessories | Organize and style | Use mason jars, wood trays, woven baskets |
Install Beadboard Cabinet Ends for Instant Charm
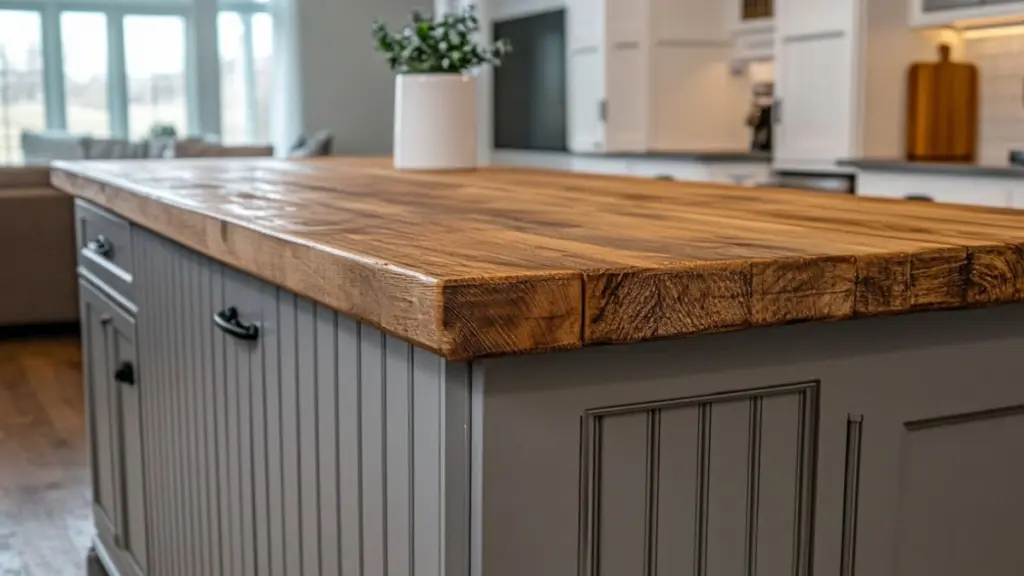
Sometimes, all it takes is a small architectural detail to shift your kitchen’s style. Adding beadboard paneling to the sides of your kitchen cabinets or island is an easy weekend upgrade that delivers a high-end farmhouse finish.
Cut MDF beadboard panels to fit the exposed cabinet ends, then attach with adhesive and finish nails. Caulk and paint to match your cabinetry or choose a soft contrast color to highlight the detail. This trick works especially well if your cabinetry feels too flat or modern and you want to add warmth without a full replacement.
Beadboard Upgrade Guide
| Application Area | Paint Ideas | Visual Effect |
|---|---|---|
| Cabinet ends | White, sage green, light gray | Softens and enhances farmhouse style |
| Island sides | Charcoal or navy for contrast | Adds texture and dimension |
| Pantry or cabinet door | Same tone as cabinets | Subtle farmhouse refinement |
Conclusion
You don’t need a major renovation to create the warm, rustic kitchen of your dreams. With just a few simple tools and a free weekend, these DIY farmhouse decor projects can bring character, charm, and coziness to your space.
From open shelving and shiplap walls to mason jar lighting and customized signs, each project builds on the farmhouse aesthetic in a meaningful way. Whether you take on one idea or all seven, the satisfaction of transforming your kitchen with your own hands is the true reward.
