DIY Porch Decorating Projects to Personalize Your Entryway
Table of Contents
Your front porch is the first thing guests see—and the perfect space to make a lasting impression. Whether you’re welcoming neighbors or simply coming home after a long day, a beautifully decorated porch creates a sense of warmth and personality. In fact, a survey by the National Association of Realtors found that 94% of real estate agents believe curb appeal makes a positive impact on home value—and your porch is a big part of that.
But you don’t need a massive budget or professional designer to give your entryway a makeover. With a few creative, budget-friendly DIY porch decorating projects, you can elevate your home’s exterior and express your personal style at the same time.
This guide will walk you through practical, stylish, and seasonal DIY projects that range from painting planters to crafting custom welcome signs and layered doormats. Whether your vibe is rustic farmhouse, modern boho, or classic cottage, you’ll find ideas here to turn your porch into a one-of-a-kind, welcoming retreat.
Let’s get inspired and start crafting a front porch that feels just like you.
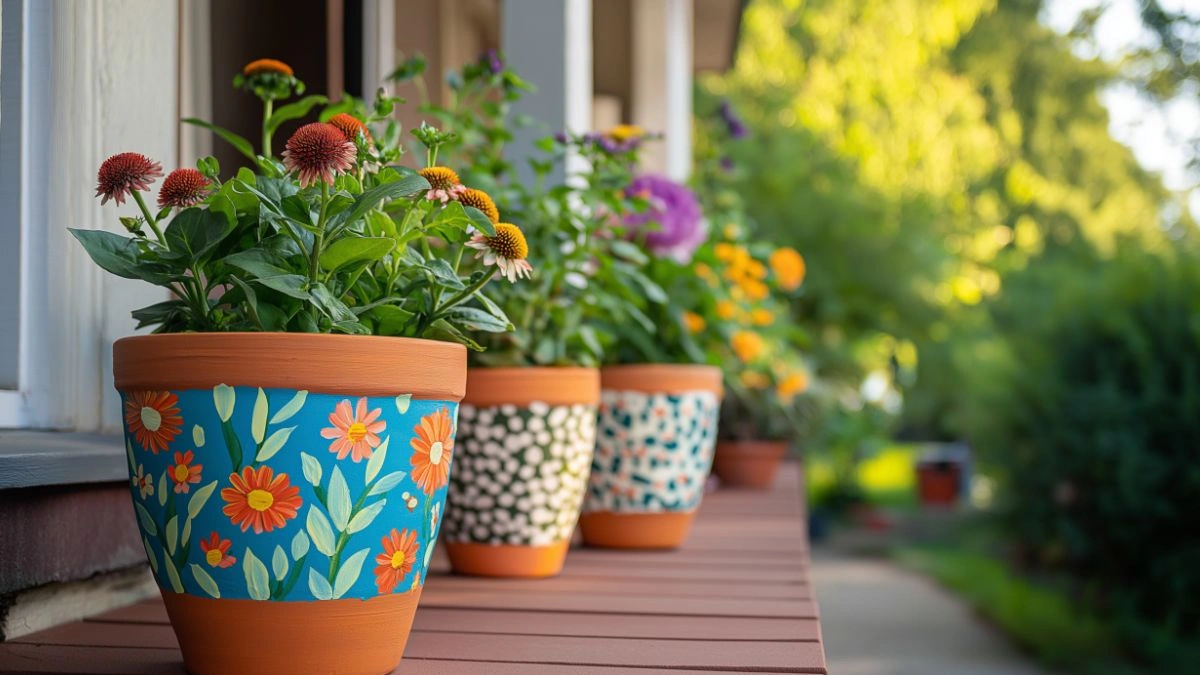
Painted Flower Pots for a Pop of Personality
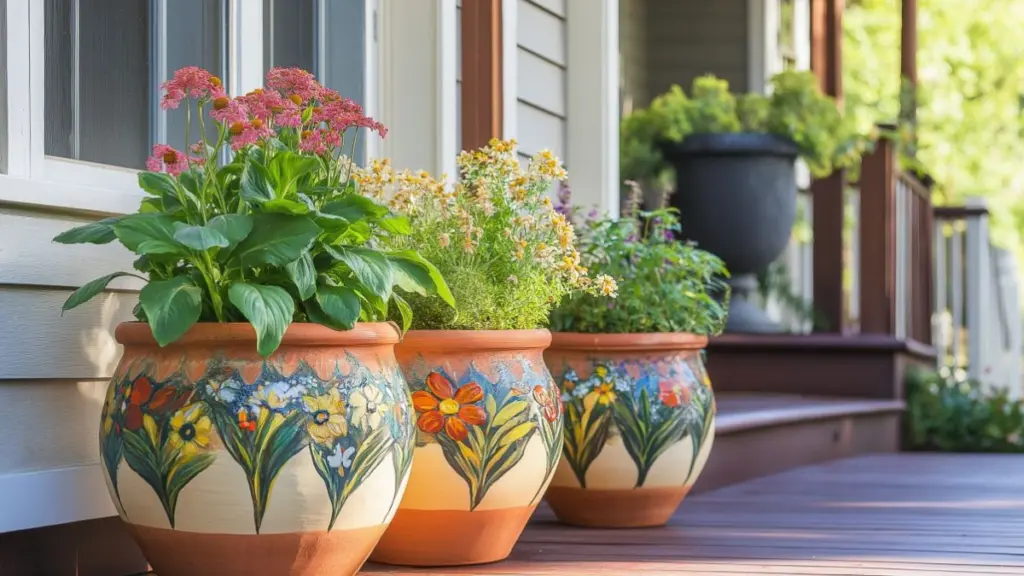
One of the easiest ways to bring color and charm to your entryway is by painting your own flower pots. This DIY project is simple, inexpensive, and completely customizable to your home’s style.
Start with terracotta, ceramic, or plastic pots and choose exterior-grade paint in a palette that complements your home’s siding and door color. You can stencil patterns, add ombre fades, or even use painter’s tape to create crisp geometric designs. Once painted, seal the pots with a waterproof topcoat for outdoor durability.
Position your painted pots in clusters by the door, line them along the steps, or place them on raised plant stands for height variation.
DIY Painted Pot Guide
| Step | Materials & Tips |
|---|---|
| Prep the Pot | Sand and clean surface for better paint adhesion |
| Prime for Color | Use outdoor spray primer for a smooth base |
| Paint & Design | Acrylic or latex paint + stencils or tape guides |
| Seal for Weather | Use clear outdoor sealant spray |
Create a Layered Doormat Look with Personality
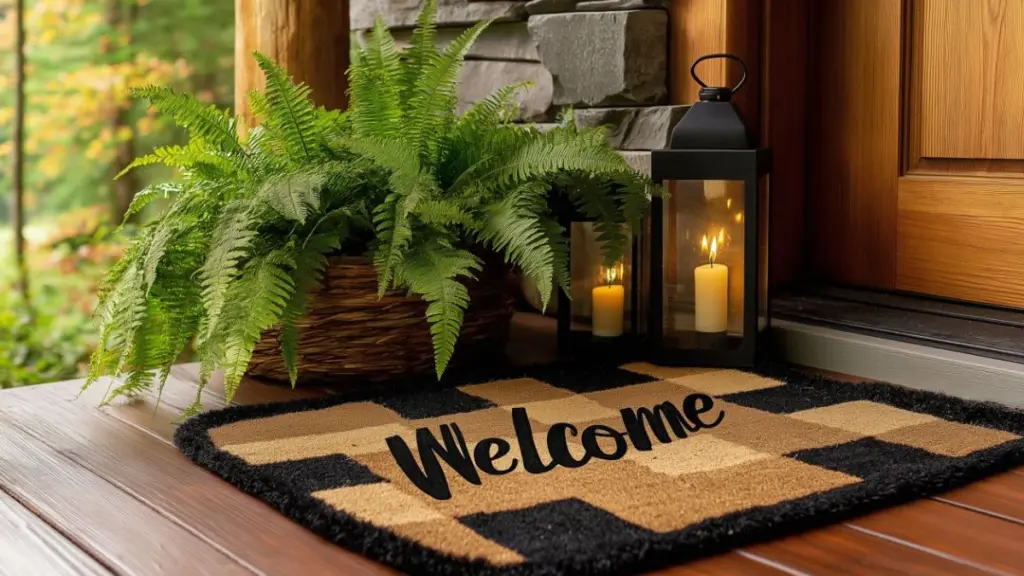
Layering doormats is a design trick that adds texture and interest to your porch. It’s an easy, low-cost project that instantly boosts curb appeal—and the DIY aspect allows you to personalize your entryway even more.
Start with a larger neutral base mat, such as a black-and-white stripe or natural jute. Then layer a smaller, more detailed mat on top—this is where the DIY comes in. Buy a plain coir mat and stencil on a fun or seasonal phrase using outdoor paint, or use a Cricut to create a custom design.
Rotate top layers with the seasons or to celebrate special occasions—it’s an effortless way to keep your porch looking fresh all year.
Layered Doormat Combo Ideas
| Base Layer Style | DIY Top Layer Phrase Example |
|---|---|
| Buffalo Check | “Home Sweet Home” |
| Natural Woven Jute | “Hey There, Pumpkin” (for fall) |
| Black & White Stripes | “Welcome to Our Happy Place” |
| Minimalist Gray | “Sleigh All Day” (for winter) |
Handmade Porch Welcome Sign with Farmhouse Flair
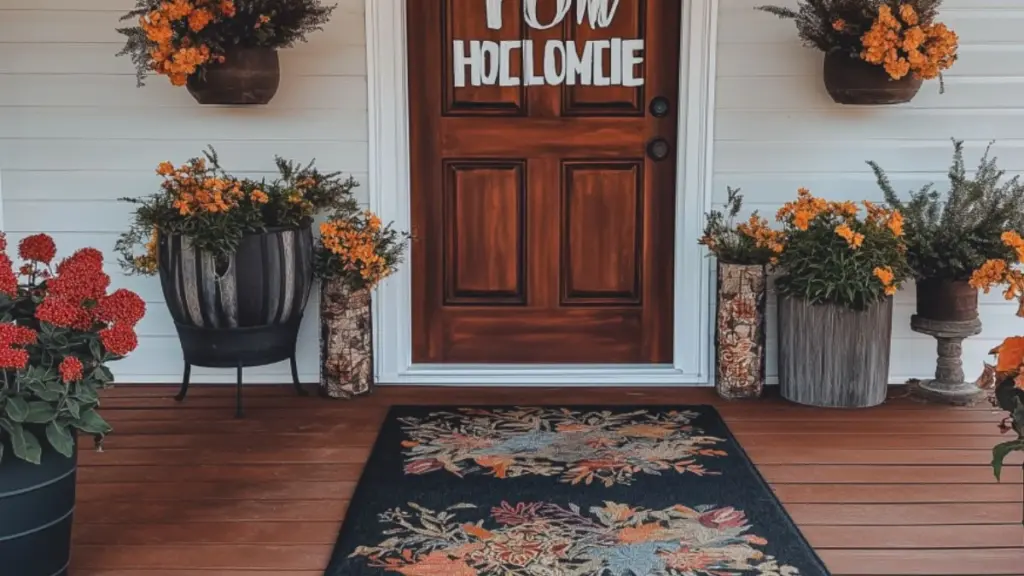
Nothing says “home” quite like a tall welcome sign propped near your front door. These vertical porch signs are a staple in farmhouse-style decor, and making one yourself is easier than it looks.
Start with a wood board (around 4 to 5 feet tall) and sand it smooth. Stain or paint the background, then use stencils or a vinyl decal to add your message—“Welcome,” “Hello,” or even your family name. Seal it with outdoor polyurethane for durability.
These signs look great leaning casually next to the door or hung on a covered wall. You can even swap out the ‘O’ in “Welcome” with a seasonal shape—like a snowflake for winter or a sunflower in summer.
Welcome Sign Design Tips
| Element | Personalization Options |
|---|---|
| Board Finish | Rustic stain, painted white, or distressed |
| Font Style | Classic serif, handwritten script, bold sans |
| Seasonal Swap | Add interchangeable magnetic icons |
| Extra Decor | Tie ribbon, greenery, or attach a hook |
Expanded Section: Build Your Own Porch Planter Box
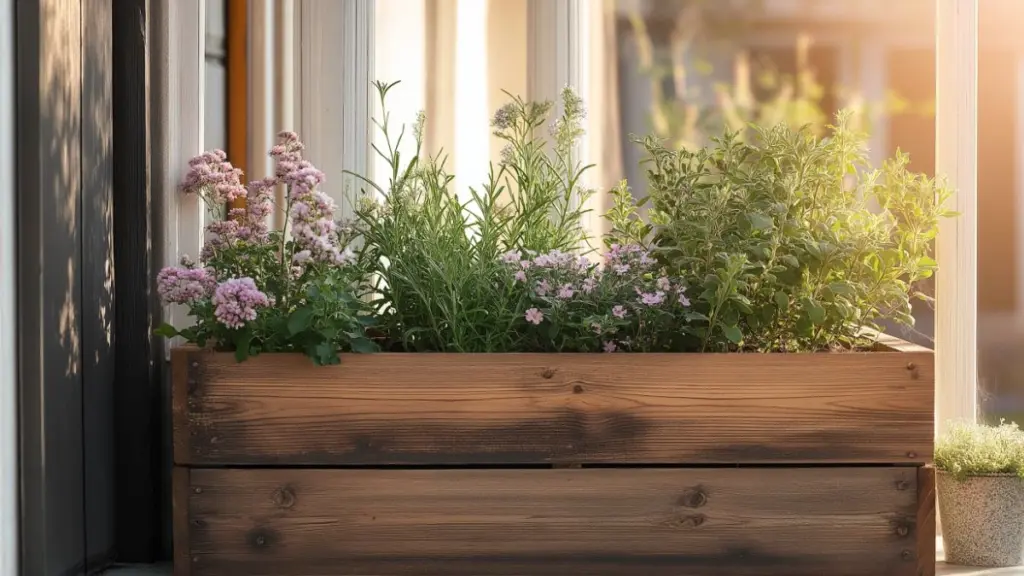
Planter boxes are both decorative and functional—and building one yourself adds a custom charm that store-bought containers simply can’t match. Perfect for flowers, herbs, or even seasonal displays, DIY porch planter boxes can be made with basic tools and a modest budget.
Start with untreated wood such as cedar or pine. Measure and cut boards to your desired size, then assemble using outdoor wood screws or nails. Add a bottom with drainage holes, or line the inside with landscape fabric if using as a cachepot. Finish with outdoor stain or paint in a hue that complements your entryway.
To make them even more versatile, install caster wheels to move the box easily or stencil your house number on the front for a functional touch.
DIY Planter Box Blueprint
| Step | Details |
|---|---|
| Materials Needed | 1×6 boards, screws, drill, wood glue, sandpaper |
| Assembly | Form a rectangular box and secure corners |
| Weatherproofing | Add sealant or paint + liner for water drainage |
| Custom Add-ons | House number stencil, decorative trim, wheels |
Add Porch Lighting with Mason Jar Lanterns
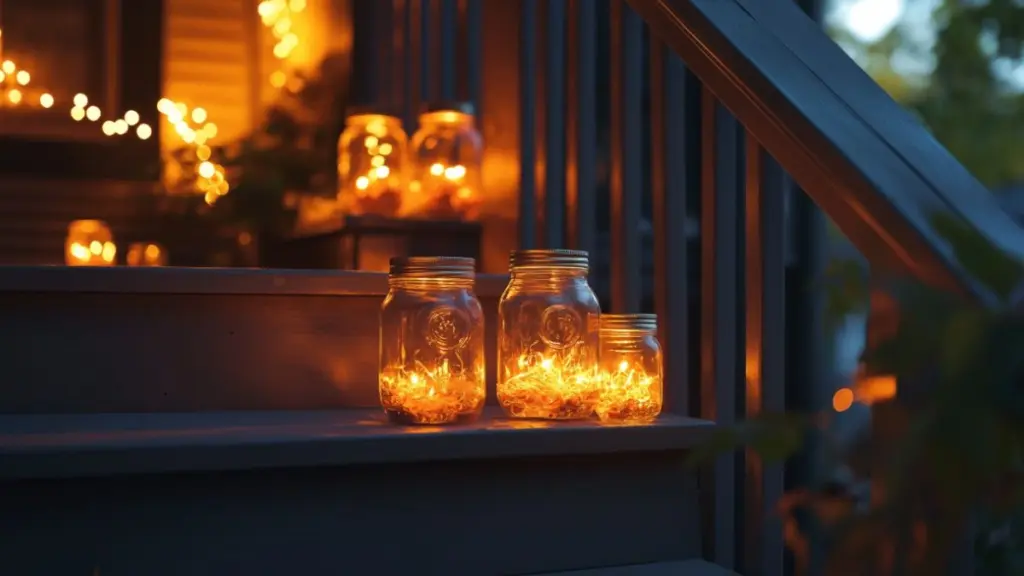
Lighting can completely transform your porch from day to night—and there’s no easier DIY project than mason jar lanterns. These cozy, vintage-style accents work year-round and give your porch a welcoming, softly lit glow.
To make them, simply fill mason jars with battery-operated fairy lights or LED tea lights. For a seasonal touch, add small pinecones, mini pumpkins, or floral sprigs depending on the time of year. Secure the lid or leave it open for airflow, and wrap jute rope or wire around the top to hang or cluster them.
You can place mason jar lanterns on steps, side tables, or even mount them to the wall for sconce-style lighting.
Mason Jar Lantern Inspiration
| Jar Type | Filler Ideas | Placement Suggestions |
|---|---|---|
| Clear Glass | Fairy lights, mini ornaments, eucalyptus | Clustered on stairs or tables |
| Tinted Blue/Amber | Sand and candles, seasonal florals | Hung from hooks or plant hangers |
| Wide Mouth | Battery pillar candle + moss or leaves | On risers or porch shelves |
Craft a Seasonal Wreath for a Personalized Door Accent
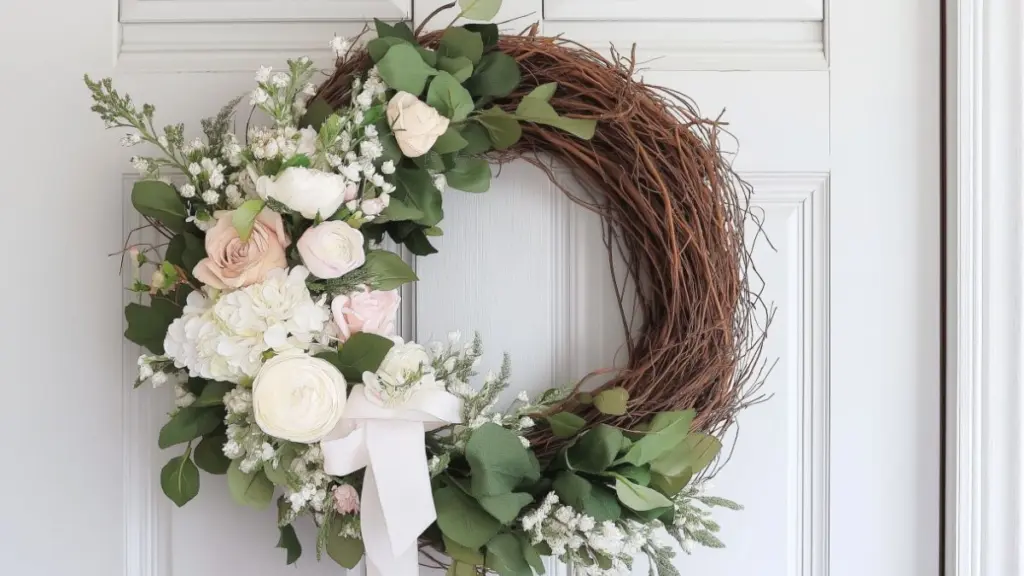
A wreath adds instant polish to any entryway—and making your own allows you to change it out with the seasons and keep it uniquely yours. You’ll need a base (grapevine, foam, or wire) and your choice of embellishments.
For spring, try faux flowers, greenery, and pastel ribbon. Summer welcomes citrus accents and burlap bows, while fall calls for dried leaves, wheat stalks, and mini gourds. Winter wreaths can feature evergreens, berries, and velvet ribbon for a cozy holiday vibe.
Attach materials using floral wire or a hot glue gun, and don’t be afraid to layer for fullness. For extra flair, monograms or wooden cutouts add a personal touch.
Wreath-Making Material Ideas
| Season | Wreath Base | Accent Materials |
|---|---|---|
| Spring | Grapevine | Lavender sprigs, faux tulips, burlap |
| Summer | Wire | Citrus slices, ferns, striped ribbon |
| Fall | Foam | Dried corn husks, plaid bow, acorns |
| Winter | Grapevine | Pinecones, red berries, velvet ribbon |
Conclusion
Personalizing your entryway through DIY porch decorating projects is not only rewarding—it’s an invitation to express your creativity and make your house feel more like home. Whether you’re painting planters, layering rugs, or building your own planter box, these hands-on touches infuse charm, warmth, and intention into your outdoor space.
With just a few materials and a weekend afternoon, your porch can go from overlooked to outstanding. Best of all, these projects are easy to update with each season, allowing your entryway to evolve and welcome guests in style—year after year.

