Easy DIY Kitchen Table Makeover Ideas for a Fresh New Look on a Budget
Table of Contents
Introduction
Is your kitchen table looking a little tired or outdated? You’re not alone. The kitchen table is one of the most used pieces of furniture in the home—serving meals, hosting homework sessions, and gathering family for conversations. Yet, it often becomes worn down and overlooked.
The good news? A beautiful, functional transformation doesn’t require a pricey furniture upgrade. In fact, a DIY kitchen table makeover can breathe new life into your space with just a weekend of work and a modest budget. According to a 2023 Home Design Trends Report, DIY furniture upgrades surged in popularity, with 62% of homeowners opting for cosmetic updates over full replacements.
This guide is designed to walk you through a practical, creative, and affordable kitchen table refresh. From sanding and painting to staining, stenciling, and sealing, we’ll cover all the steps and style options that help you customize your table for your aesthetic. Whether you love farmhouse charm, minimal modern, or a vintage vibe, there’s a method that fits your home. Let’s dive into the world of easy DIY updates that deliver a fresh new look—without sacrificing character or breaking the bank.
Assess your table and choose the right makeover method
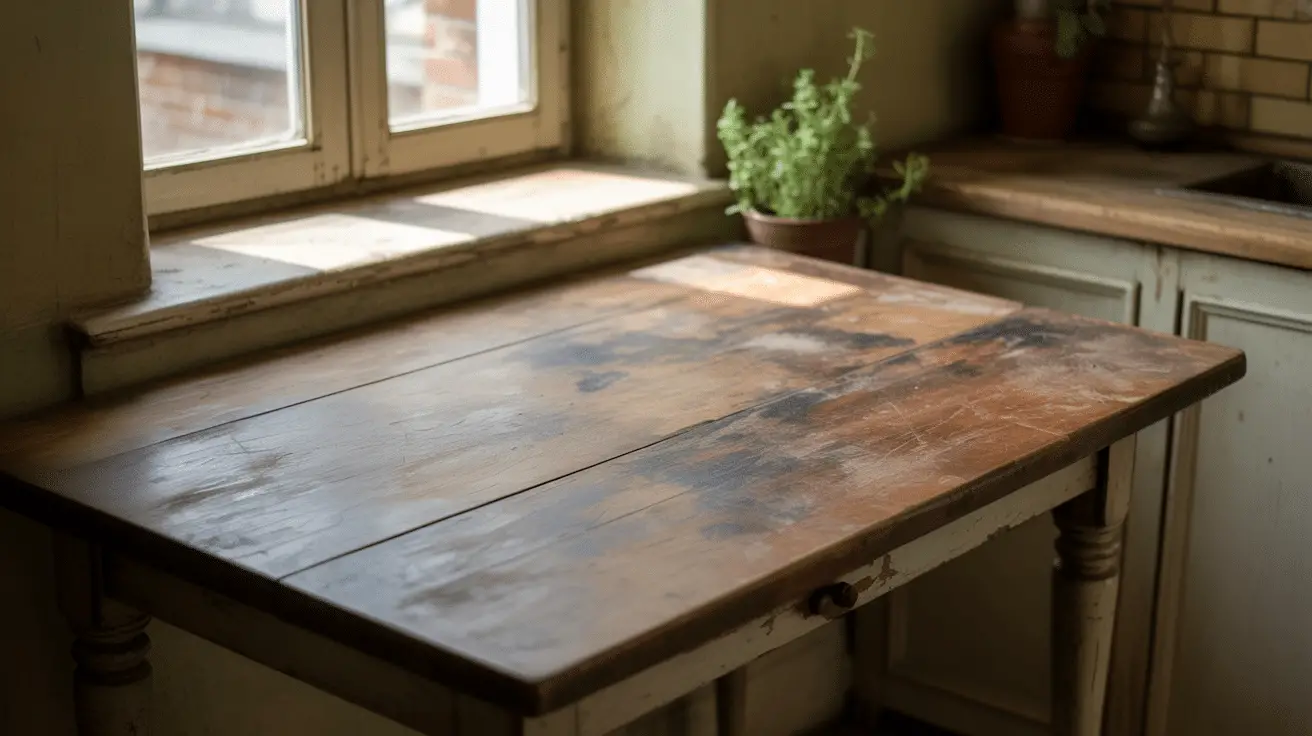
Before diving into paints and tools, it’s essential to evaluate your current kitchen table. Its condition, material, and finish will determine which makeover methods are realistic and which ones offer the best results.
Start by checking the structural integrity. Is the table stable? Are any legs wobbly? Does the surface have significant damage like deep scratches, peeling veneer, or water stains? If so, some light repairs may be necessary before you get into cosmetics. A table made from solid wood is ideal for sanding and refinishing, while laminate or veneer surfaces are better suited to paint-based transformations.
Also consider your design goals. Do you want a bright, modern look with color? A rustic farmhouse table with a wood-stained top and painted base? Or maybe a bold statement piece with patterns or two-tone finishes? Once you know what you’re working with and where you’re headed, the rest becomes much smoother.
Table Assessment Checklist
| Element | What to Look For | Recommended Approach | Repair Tip |
| Tabletop Surface | Wood, veneer, or laminate | Sanding/staining or painting | Use wood filler for chips |
| Legs and Base | Sturdy vs. wobbly | Paint or stain based on design | Reinforce joints with wood glue |
| Existing Finish | Glossy, matte, or peeling | May need sanding or deglossing | Use deglosser before painting |
| Style Goal | Farmhouse, modern, vintage, etc. | Helps guide color and material choice | Keep inspiration photos handy |
Prep your kitchen table like a pro
Every successful DIY kitchen table makeover starts with proper prep. It might be tempting to jump right into painting or staining, but taking time to clean, sand, and prime your table ensures a smooth finish that lasts.
Begin by thoroughly cleaning the surface. Use a degreasing cleaner or a mix of water and vinegar to remove any food residue, oil, or sticky buildup. Allow the table to dry completely. Then, inspect the surface for imperfections—fill in dents or scratches with wood filler and allow it to dry before sanding.
Next comes sanding. For wood tables, use medium-grit (around 120) sandpaper to remove the old finish. Follow with a finer grit (220) for a smooth surface. If your table has a laminate top, use a liquid deglosser or light sanding just to roughen the surface for better adhesion.
Finally, wipe everything down with a tack cloth or damp rag to remove dust. If you’re painting, apply a high-quality primer to help the paint stick and prevent chipping. For staining, ensure the wood is raw and clean so it can absorb the new color evenly.
Table Prep Step-by-Step
| Step | Tools Needed | Pro Tip |
| Clean the Surface | Degreaser or vinegar + cloth | Let dry fully before sanding |
| Fill and Repair | Wood filler, putty knife | Choose a stainable filler if staining |
| Sanding | 120- and 220-grit sandpaper | Sand with the grain, not against it |
| Wipe Down | Tack cloth or damp rag | Ensure no dust remains before priming |
| Prime (if painting) | Primer + small foam roller | Use stain-blocking primer for dark wood |

Paint it fresh for a dramatic transformation
Painting is one of the easiest and most budget-friendly ways to give your kitchen table a brand-new look. With endless color options and finishes to choose from, you can create everything from minimalist elegance to bold personality with just a few coats.
Start with choosing the right paint. Chalk paint is excellent for a matte, vintage-inspired finish and requires minimal prep. Latex or acrylic paints, paired with a good primer, offer a durable finish with more color flexibility. For a sleek, modern look, opt for a satin or semi-gloss finish that’s easy to wipe down.
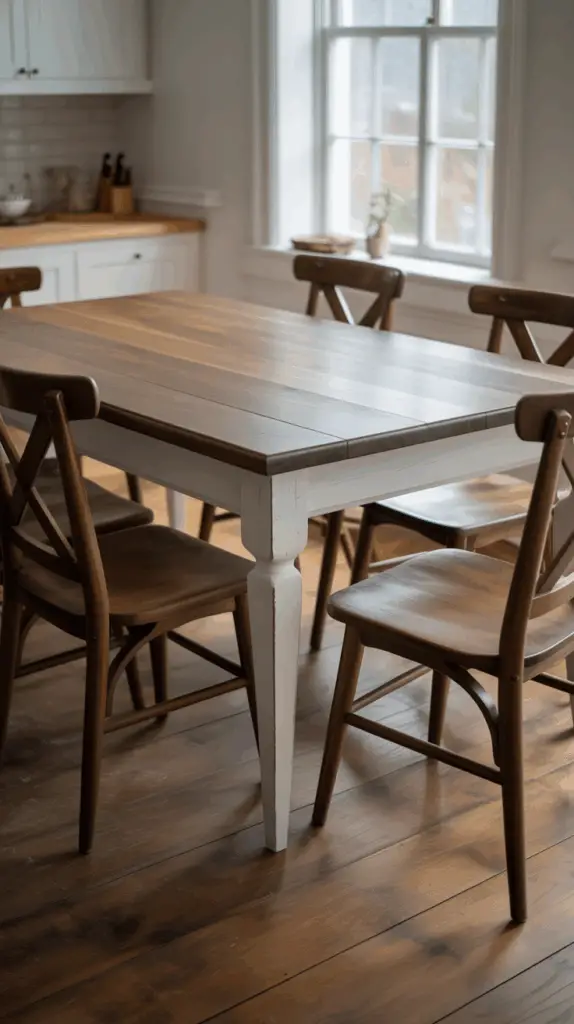
Apply thin, even coats using a foam roller or high-quality brush. Allow each coat to dry thoroughly before applying the next. Two to three coats are usually sufficient. For a two-tone effect, consider painting the base a soft white or black and leaving the top stained or painted a contrasting color.
Once dry, seal the table with a polyurethane or polycrylic topcoat. This step is essential to protect your hard work from everyday wear, especially if your table gets a lot of use.
Paint Makeover Guide
| Feature | Material Needed | Suggested Color Styles | Protective Step |
| Full Paint Job | Chalk or latex paint | White, black, muted blue or green | Polyurethane or polycrylic topcoat |
| Two-Tone Finish | Paint + stain | White base + dark top | Use painter’s tape for clean lines |
| Bold Statement | Bright or moody hues | Navy, forest green, terracotta | Consider satin or semi-gloss sheen |
| Distressed Look | Chalk paint + sanding | Cream, sage, pale gray | Light distressing on edges |

Try staining for a warm, natural finish
If you love the look of wood grain and want a finish that feels warm and organic, staining your table is a classic choice. This method highlights the natural beauty of wood while giving it a refreshed, rich tone—and it’s often more forgiving than painting when it comes to wear and tear.
Start by selecting your stain. Water-based stains dry faster and emit less odor, while oil-based stains penetrate deeply and offer richer color. Choose a color that complements your kitchen decor—natural oak, walnut, or espresso are popular options. For a more contemporary feel, try a gray or whitewash stain.
Apply the stain with a clean, lint-free cloth or foam brush in the direction of the wood grain. Work in sections and wipe off excess stain after a few minutes to avoid blotching. Let the table dry for 24 hours, then assess whether a second coat is needed for depth.
Once your desired color is achieved and fully dry, apply a protective finish such as polyurethane or tung oil. This seals the wood and ensures durability. A satin or matte topcoat maintains a natural appearance while offering surface protection.
Staining Process Overview
| Step | Product/Tool Needed | Important Notes |
| Choose Stain | Oil or water-based stain | Test color on a hidden spot first |
| Apply Evenly | Lint-free cloth or foam brush | Follow grain, wipe excess promptly |
| Dry & Recoat | Patience pays off | Allow 24 hrs between coats |
| Seal the Surface | Satin polyurethane or oil | Two coats recommended |
Personalize with stencils, hardware, or paint accents
Adding decorative details is a great way to give your kitchen table a one-of-a-kind personality. Whether through hand-painted patterns, stenciled borders, new hardware, or dipped leg effects, these subtle design choices can elevate even the simplest table into something special.
Stencils are perfect for those wanting a farmhouse or vintage-inspired design. Choose patterns like florals, leaves, geometric shapes, or even typography. Apply with a dry brush and minimal paint to avoid bleeding. Edges, center medallions, or apron details are all fair game.
You can also swap or add hardware to your table or matching chairs. Consider matte black handles on table aprons or decorative nailhead trim on bench seating. Dipped legs are a trendy, easy project—just tape off the bottom few inches of each leg and paint in a contrasting color or metallic finish.
These details allow you to express your style while maintaining the balance between charm and utility. They’re also budget-friendly, often costing less than $20 per project.
Accent Ideas Table
| Personal Touch | Style Vibe | Where to Apply | Budget Tip |
| Painted Stencils | Farmhouse, cottage, boho | Tabletop center, edges | Use reusable stencils |
| Dipped Legs | Modern or playful | Bottom 4–6 inches of each leg | Painter’s tape ensures clean lines |
| Added Hardware | Industrial, vintage | Drawer fronts or edges | Check craft or salvage stores |
| Contrasting Edge Paint | Mid-century or eclectic | Tabletop rim or apron | Use small artist brushes |
Conclusion
A kitchen table makeover is one of the most rewarding DIY projects you can take on—it’s accessible, affordable, and incredibly impactful. Whether you opt for a fresh coat of paint, a warm wood stain, or detailed personal touches like stencils and dipped legs, the transformation is entirely your own.
The key is in thoughtful planning, careful prep, and choosing a finish that aligns with both your lifestyle and aesthetic. Your refreshed table will not only look beautiful but also carry the charm and satisfaction of a project done with your own hands. A simple weekend effort can leave you with a space that feels brand new—and truly reflects your style.

