Grey Kitchen Ideas: Budget-Friendly Makeovers That Transform Your Space
Table of Contents
makes grey truly magical is its versatility and affordability. You don’t need to gut your kitchen or invest in a complete remodel to breathe new life into your space. With a few clever updates and DIY strategies, you can create a kitchen that feels high-end and on-trend—all on a budget.
In today’s world of soaring renovation costs, homeowners are turning to grey for its ability to work with nearly every style and every wallet size. Whether you love Scandinavian minimalism, modern farmhouse charm, or a vintage vibe, grey has a role to play.
This guide covers everything you need to reimagine your kitchen using budget-friendly grey design ideas. From the best paint choices to small touches that make a big difference, you’ll find inspiration to refresh your space with confidence. Let’s explore how a splash of grey—and a dose of creativity—can make your kitchen the favorite room in your home.
Paint Your Cabinets Grey for an Instant Upgrade
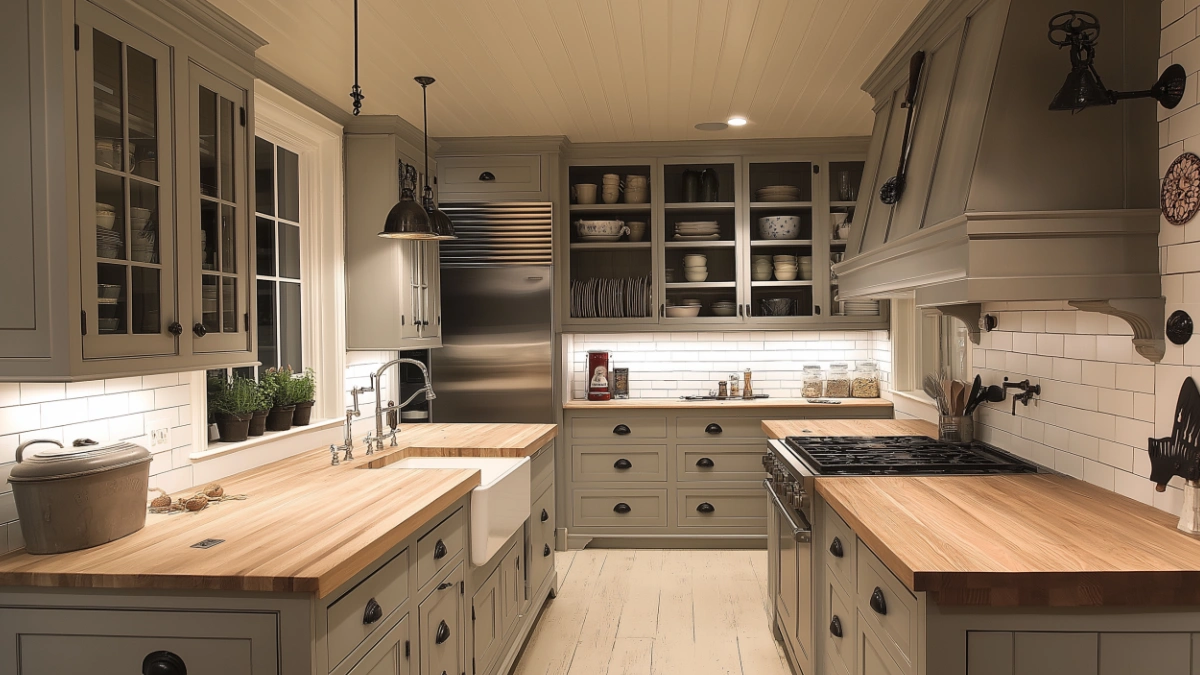
One of the easiest ways to transform your kitchen on a budget is by painting your cabinets. A fresh coat of grey paint can elevate dated cabinetry and create a timeless look. Whether your cabinets are oak, laminate, or MDF, proper prep and the right shade make all the difference.
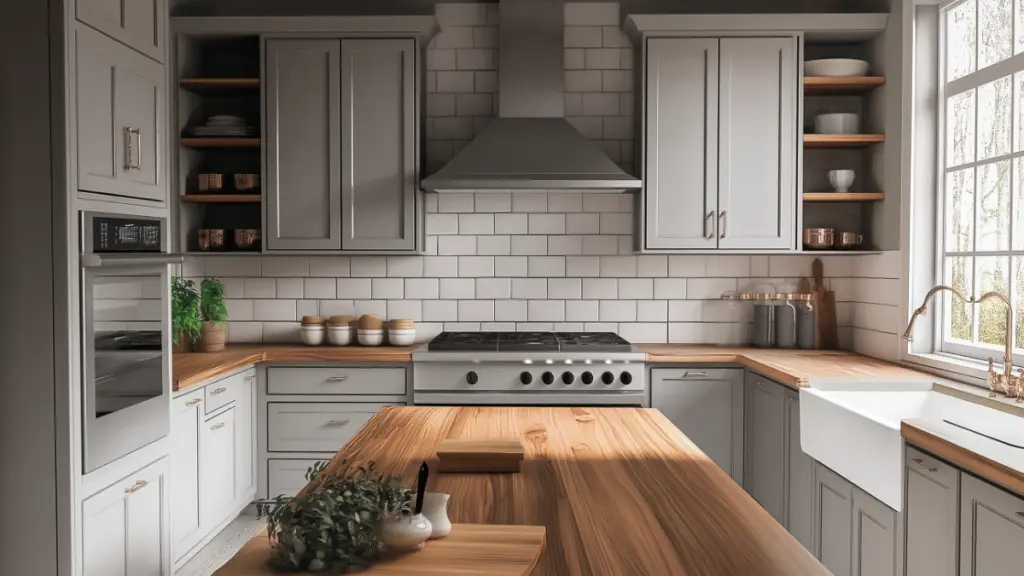
Begin by choosing a tone that complements your kitchen’s lighting. Light greys like dove or silver work well in smaller spaces, while deep charcoals or greige hues add sophistication to larger kitchens. Use high-quality cabinet paint for durability and consider a satin or semi-gloss finish for easy cleaning.
This update requires time more than money. Remove the cabinet doors, sand lightly, and apply a bonding primer before painting. Add new knobs or pulls for a full makeover effect.
Visual Table: Grey Cabinet Paint Makeover Guide
| Grey Tone | Best Kitchen Style | Estimated Budget | Ideal Lighting |
|---|---|---|---|
| Soft dove grey | Farmhouse, traditional | $75–$150 | Natural/bright light |
| Cool slate grey | Industrial, modern | $100–$200 | Artificial/LED |
| Warm greige | Transitional, minimalist | $90–$180 | Mixed lighting |
Upgrade Your Backsplash with Peel-and-Stick Grey Tiles

Backsplashes are a design focal point in any kitchen, but tile installation can be costly. Peel-and-stick options provide an affordable, stylish solution—especially in shades of grey. You can mimic the look of ceramic, stone, or even marble without the hefty price tag or professional labor.
Self-adhesive backsplash tiles are easy to install and come in a variety of patterns, such as subway, hexagon, or herringbone. They’re ideal for renters or anyone looking for a quick refresh. Be sure to measure your space carefully and clean the wall surface thoroughly before applying.
This project can typically be completed in a day and adds serious visual impact for a small cost.
Visual Table: Peel-and-Stick Backsplash Options
| Tile Style | Aesthetic Match | Price per Sq. Ft. | Installation Time |
|---|---|---|---|
| Grey subway tile | Modern farmhouse, classic | $5–$7 | 2–3 hours |
| Marble-look grey | Contemporary, upscale | $6–$9 | 4–5 hours |
| Matte hex tile | Scandinavian, minimal | $4–$6 | 3–4 hours |
Refresh with Grey Countertop Contact Paper
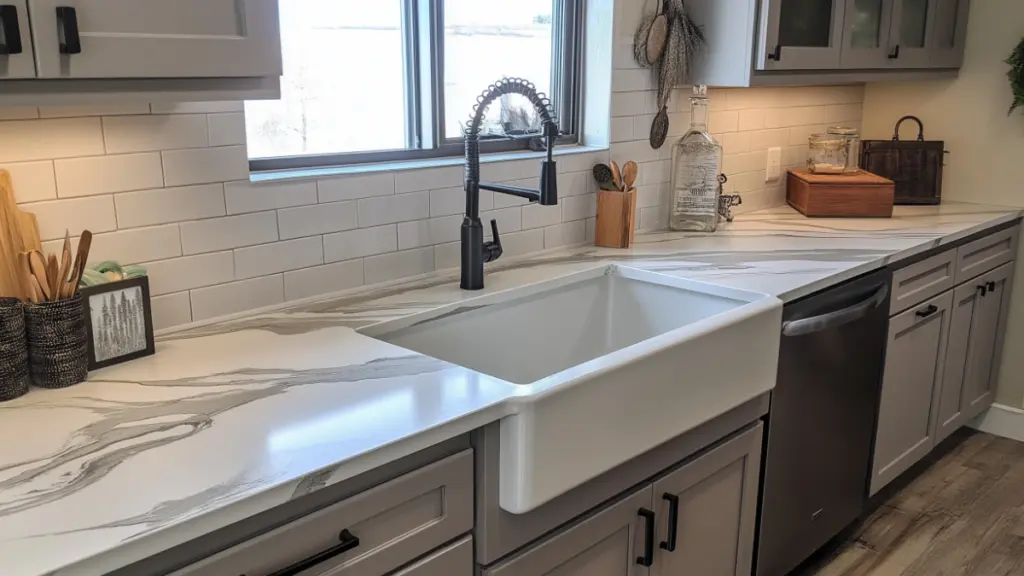
If your existing countertops are dated or damaged but you’re not ready to splurge on new stone or laminate, contact paper is a clever and cost-effective hack. Today’s contact papers are surprisingly realistic and durable when applied properly.
Look for marble-inspired grey with veining or concrete textures for an elevated feel. Prep is key: clean and dry the surface thoroughly, smooth the paper as you apply, and use a squeegee to remove bubbles. Seal edges with clear caulk or edge trim for a more polished finish.
This update is renter-friendly and perfect for those who love to change things up seasonally.
Visual Table: Grey Contact Paper Styles
| Design Type | Realism Level | Durability (months) | Ideal For |
|---|---|---|---|
| Grey marble-look | High | 6–12 | Elegant upgrades |
| Matte concrete | Medium | 8–14 | Industrial kitchens |
| Slate-textured | High | 10–16 | Modern/rustic blends |
Switch to Grey Open Shelving or Painted Wall Units
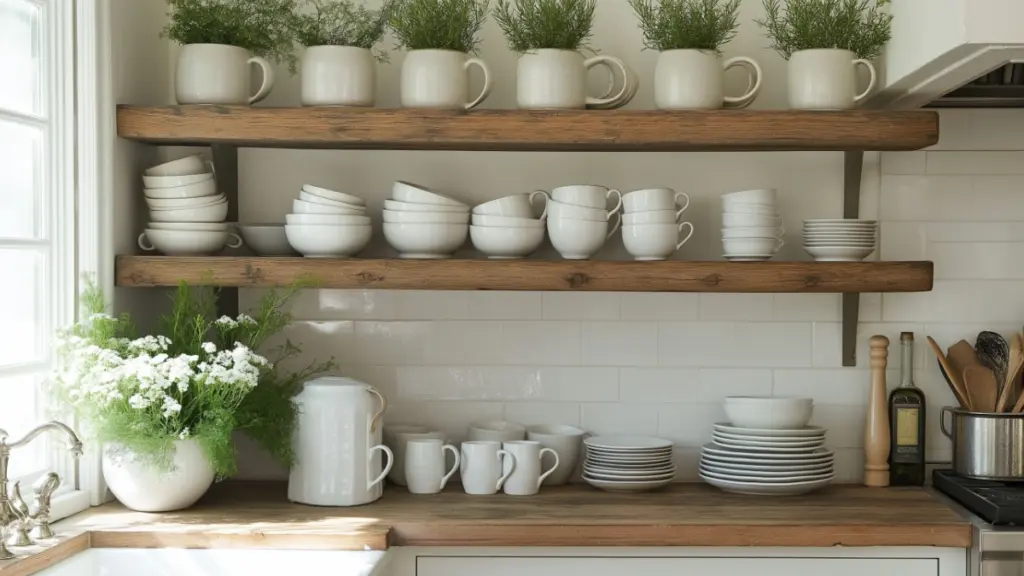
For small kitchens or limited budgets, removing upper cabinets and installing grey open shelving can open up the space and add style. Paint your wood shelves in a soft grey and style them with white dishes, copper accents, and greenery for an approachable, curated look.
This approach not only saves money but creates a sense of airiness and personality. If you’re not ready to ditch cabinets, consider painting just one wall-mounted unit grey to break up monotony.
Open shelves are great for frequently used items and small decorative touches that add warmth.
Visual Table: Open Shelving Styling Ideas
| Shelf Color | Accent Pairing | Best for Style Type |
|---|---|---|
| Light grey | White ceramics + wood spoons | Cozy cottage |
| Charcoal grey | Brass utensils + black trim | Modern urban |
| Greige | Rattan baskets + greenery | Transitional rustic |
Incorporate Grey Through Accessories and Textiles
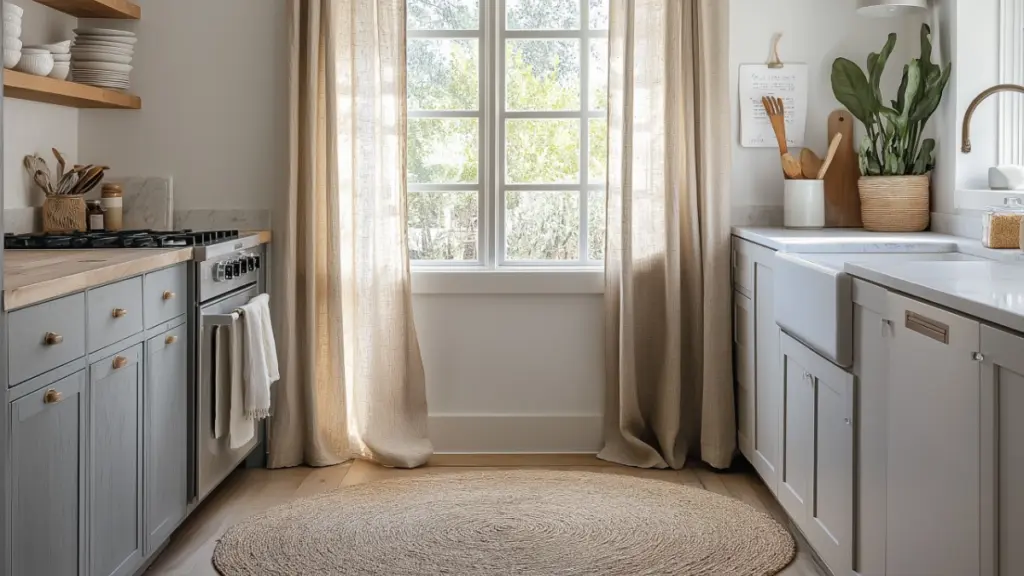
Sometimes the best budget updates are the smallest ones. A grey kitchen rug, soft cotton curtains, or even linen dish towels in smoky or cool tones can subtly shift your kitchen’s style. These additions add layers, texture, and functionality without any need for renovation.
Even hardware accents like brushed nickel, blackened bronze, or grey enamel knobs can tie the palette together. Consider matching light fixtures, drawer pulls, and utensil holders to create cohesion.
Because these updates are easy to swap out, they’re ideal for seasonal refreshes or rental homes.
Visual Table: Grey Accessory Ideas
| Item Type | Suggested Material/Finish | Budget Estimate |
|---|---|---|
| Window curtains | Light grey linen or cotton | $20–$40 |
| Drawer pulls | Brushed nickel or iron | $2–$5 each |
| Kitchen rug | Woven cotton or jute blend | $25–$70 |
Expanded Section 1: Budget-Friendly Grey Cabinet Makeovers
Painting kitchen cabinets is one of the most cost-effective ways to update a kitchen, and grey is the perfect choice for almost any aesthetic. A fresh coat of grey can immediately elevate dated wood tones and bring cohesion to mixed-material kitchens.
Start by removing the doors and hardware. Lightly sand the surface to remove any shine and apply a bonding primer to ensure longevity. Use a foam roller for even application, and opt for high-quality cabinet paint in a satin or semi-gloss finish.
Choosing the right shade is crucial. For a warm, inviting kitchen, try greige or mushroom grey tones. Want something sleek and contemporary? Opt for a blue-grey or slate finish. If you’re working with minimal natural light, choose lighter tones to keep the space from feeling heavy.
You can also consider two-tone cabinets—grey on the lower half and white above—to add dimension without making the space feel closed in.
Pair your new cabinets with simple hardware swaps. Matte black, brushed brass, or antique pewter handles can completely shift the vibe. For under $200, you can paint your cabinets and replace outdated knobs, giving your kitchen an entirely new look.
Visual Table: Step-by-Step Grey Cabinet Makeover Plan
| Step | What You’ll Need |
|---|---|
| Remove and prep doors | Screwdriver, sanding block, drop cloth |
| Prime and paint | Bonding primer, cabinet paint, roller |
| Replace hardware | New knobs/pulls, drill if needed |
| Reinstall and style | Level, patience, warm lighting |
Expanded Section 2: Playful Grey Tile and Backsplash Ideas
Tile makes a big visual statement in kitchens, but installing ceramic or stone tile can get expensive. Fortunately, you can recreate the look affordably with clever materials and layout choices.
One great option is using peel-and-stick tiles in a herringbone or staggered layout. These easy-to-install options stick directly to the wall, no grout required. Choose a matte finish in soft grey or marble-look tones for a sophisticated feel.
If you want something more tactile, explore large-format laminate panels designed to mimic stone. These work especially well behind the sink or stove, where durability matters. Many brands now offer water-resistant, heat-tolerant options that resemble slate or granite.
For renters or hesitant DIYers, there’s also the option of backsplash decals—removable vinyl tiles that can be applied over existing surfaces.
Mixing tile types can also be whimsical and creative. Try combining vertical and horizontal grey tile orientations or alternating matte and glossy finishes.
Visual Table: Tile Makeover on a Budget
| Option | Material Type | Cost per Sq. Ft. | Difficulty Level |
|---|---|---|---|
| Peel-and-stick tile | Vinyl or composite | $5–$8 | Easy |
| Laminate backsplash | Faux stone paneling | $7–$12 | Moderate |
| Vinyl decals | Printed adhesive squares | $3–$5 | Very easy |
Conclusion
A grey kitchen doesn’t have to mean a grey budget—or grey results. With smart choices and a bit of DIY spirit, you can refresh your kitchen in a way that feels stylish, cozy, and personal. From painted cabinets and clever backsplashes to charming hardware and affordable textiles, grey serves as the perfect foundation for any budget-friendly kitchen makeover.
Whether your space is big or small, traditional or modern, there’s a grey design idea here that can bring new life to your kitchen—without breaking the bank.
