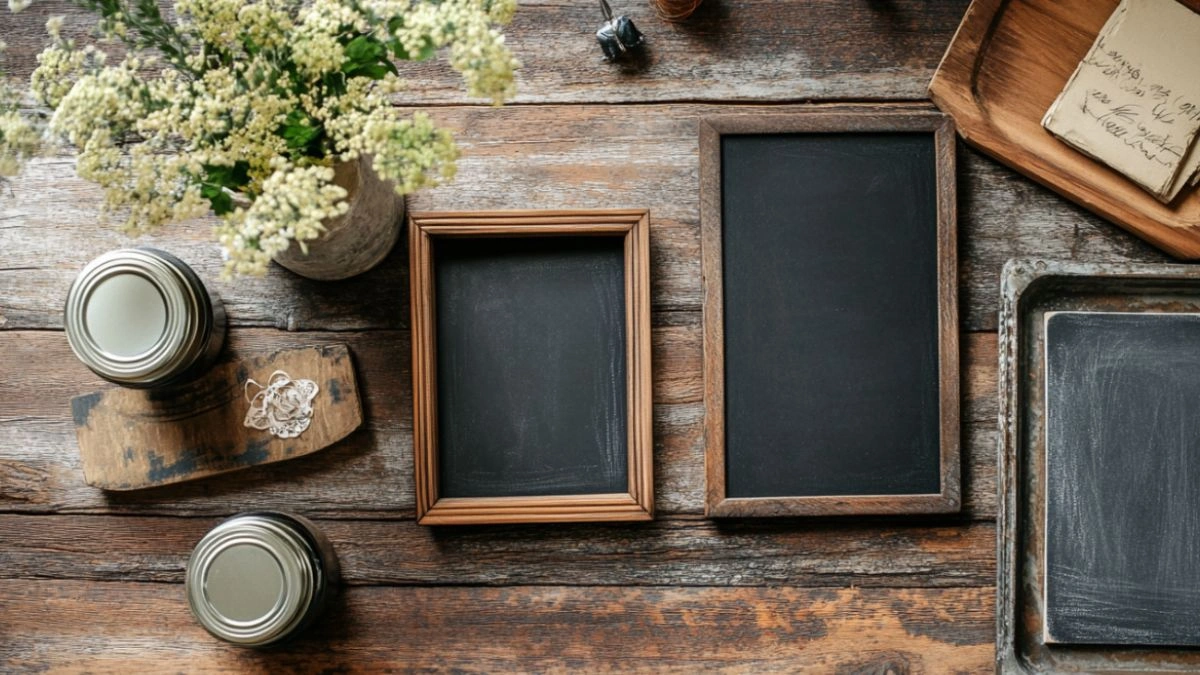
Hand-Painted Chalkboard Flowers: Easy DIY Projects for Holiday Craft Lovers
Table of Contents
There’s something delightfully nostalgic about chalkboard art—it reminds us of school days, handwritten notes, and seasonal messages drawn in white against dark backdrops. But what happens when you mix that classic look with floral design and handmade charm? You get hand-painted chalkboard flowers—a delightful DIY trend perfect for holiday crafts and decorations.
These projects combine the rustic beauty of chalkboard surfaces with the elegance of floral illustrations. Whether you’re designing a handmade sign, personalized gift tags, seasonal decor, or wedding accents, chalkboard flowers offer a creative outlet that’s both budget-friendly and beginner-friendly.
Even if you’re not confident in your painting skills, don’t worry. With the right tools, a few easy techniques, and a bit of inspiration, anyone can create beautiful botanical art with a chalk-inspired flair. This post will guide you through everything you need to know—from prepping surfaces to mastering paint techniques and designing projects that stand out at any celebration.
If you’re ready to bring cozy charm and creative joy into your crafting this season, hand-painted chalkboard flowers are the perfect place to start.
Choosing the Right Surface for Chalkboard Flower Art
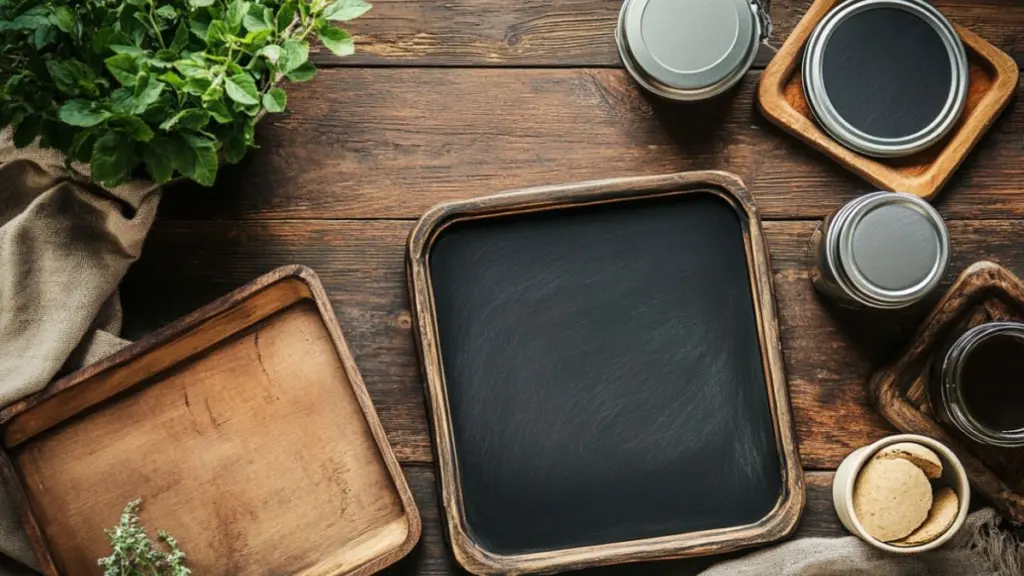
Before you pick up a brush, it’s important to consider your canvas. Chalkboard paint can be applied to a wide range of surfaces, making it one of the most versatile bases for your floral artwork. Common choices include wood plaques, ceramic tiles, tin signs, mason jars, and even recycled items like glass frames or old serving trays.
Choose a surface that fits the intended use of your project. For holiday signage, opt for wooden or metal boards. For place settings or gift tags, small wood slices or mini tiles work wonderfully. Pre-made chalkboard surfaces are available at craft stores, but DIY-ing your own offers more creative control.
Chalkboard Surface Comparison Guide
| Surface Type | Best Use Cases | Prep Needed |
|---|---|---|
| Wood | Signs, door hangers, tabletop decor | Sand, prime, paint |
| Tin or Metal | Rustic signs, magnets | Clean, apply chalkboard paint |
| Glass Frames | Framed art, event signage | Paint backside, cure properly |
| Mason Jars | Vases, kitchen gifts | Light sanding, partial painting |
Preparing Your Chalkboard Background
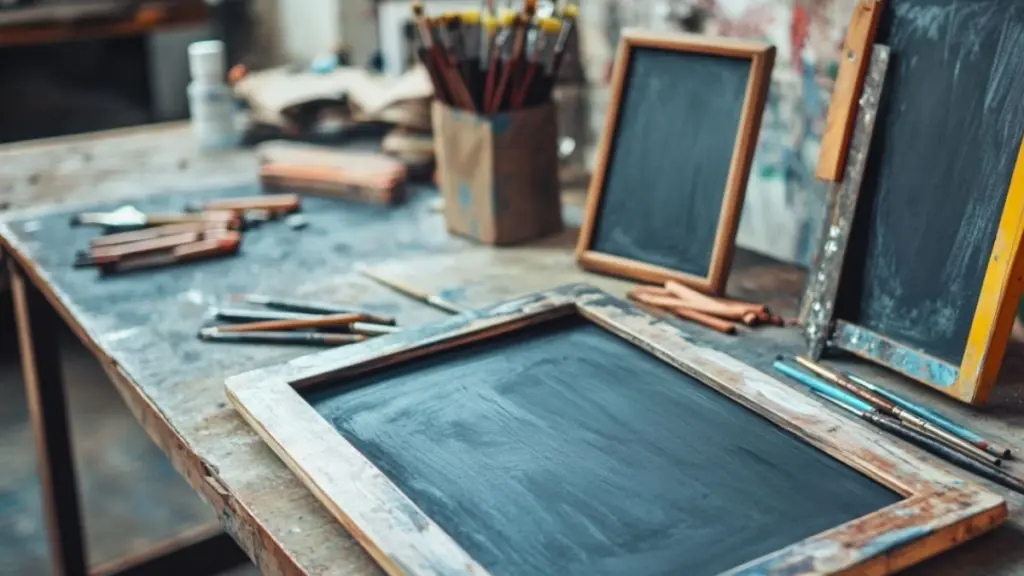
To achieve that rich, velvety black background that mimics true chalkboard, you’ll want to use quality chalkboard paint. Available in brush-on and spray varieties, chalkboard paint adheres well to smooth, non-glossy surfaces when properly prepped. Begin by sanding rough areas and applying a primer if working with wood or metal.
Once painted, allow the surface to cure for at least 24 hours. Then comes the secret trick: seasoning the chalkboard. Rub a piece of white chalk over the entire surface and wipe clean with a soft cloth. This step helps prevent “ghosting,” or permanent marks left by your first design.
Steps for Prepping a Chalkboard Surface
| Step | Description | Materials Needed |
|---|---|---|
| Sand and clean | Ensure smooth surface | Fine grit sandpaper, cloth |
| Apply chalkboard paint | Use even strokes | Foam brush or spray can |
| Let it cure | Wait 24–48 hours | Dry space, no touch |
| Season the surface | Rub and wipe chalk dust | White chalk, microfiber cloth |
Painting Floral Designs: Tools and Techniques
Now comes the fun part—adding your floral artwork. While the goal is to mimic chalk-drawn florals, paint is the best medium for longevity and clarity. Use fine-tip paintbrushes or paint pens with white or muted tones like cream, sage green, and dusty pink for a soft, chalk-like appearance.
To create flower forms, start with basic shapes—ovals for petals, curved lines for stems, and dots for pollen. Add flourishes like leafy vines or swirling tendrils for movement. You can sketch your design first in pencil or chalk, then paint over it with acrylics.
Floral Painting Starter Kit
| Tool or Material | Purpose | Tip |
|---|---|---|
| Fine detail brushes | Precision painting | Clean often for sharp lines |
| White acrylic paint | Chalk look with durability | Use matte finish for realism |
| Paint pens | Quick and easy floral lines | Great for fine stems or details |
| Chalk pencil | Sketch outlines before painting | Easily erasable base layer |
Seasonal Inspiration for Holiday Chalkboard Flowers
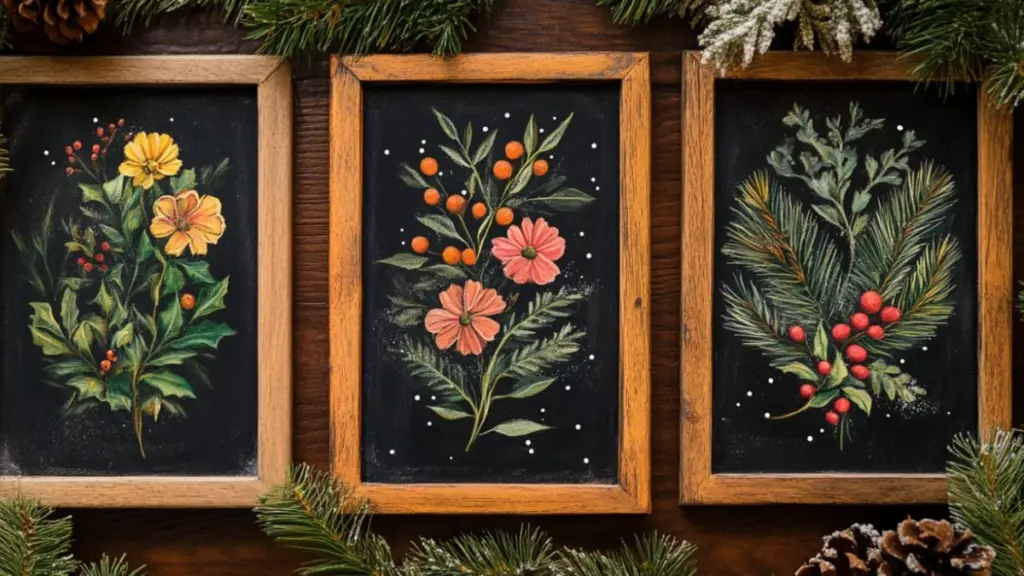
One of the best things about hand-painted chalkboard flowers is how adaptable they are across holidays and seasons. You can tailor your color palette, floral types, and layout depending on the occasion—from frosty winter wreaths to spring bouquets and fall garlands.
For winter holidays, incorporate poinsettias, holly leaves, and mistletoe. In spring, daisies, tulips, and cherry blossoms are perfect. For a fall theme, go with sunflowers, eucalyptus, and warm-hued leaves. Summer is great for playful designs with wildflowers or coastal-inspired greenery.
These projects make for perfect seasonal decorations: hang them on your front door, place them on the mantel, or create mini versions for table settings or gift tags.
Holiday Chalkboard Flower Themes
| Season | Flowers & Elements | Accent Colors |
|---|---|---|
| Winter | Poinsettias, holly, evergreen | White, red, gold |
| Spring | Tulips, cherry blossoms, peonies | Soft pastels, sage |
| Summer | Daisies, wildflowers, greenery | Bright white, coral |
| Fall | Sunflowers, eucalyptus, berries | Rust, ochre, cream |
Creating Chalkboard Flower Signs for Special Occasions
Hand-painted chalkboard flowers are not just for holidays—they’re perfect for birthdays, weddings, baby showers, and even everyday home decor. Use floral chalkboard art to make welcome signs, seating charts, food labels, or personalized gifts.
Design your sign around a simple phrase—“Welcome,” “Gather,” or “Thank You”—and frame it with painted florals. For weddings, intertwine initials with soft greenery and petals. Add a border or corner embellishment for extra charm without overwhelming the main message.
Special Occasion Design Tips
| Occasion | Floral Style | Design Suggestions |
|---|---|---|
| Wedding Sign | Romantic florals and greenery | Monograms, wreath layout |
| Birthday Decor | Cheerful wildflowers | Bold blooms around the border |
| Baby Shower | Soft blossoms and vines | Pastel palette, stork or moon motifs |
| Everyday Gift | Simple botanical accents | Add name or message at the center |
DIY Chalkboard Flower Gift Tags and Place Cards
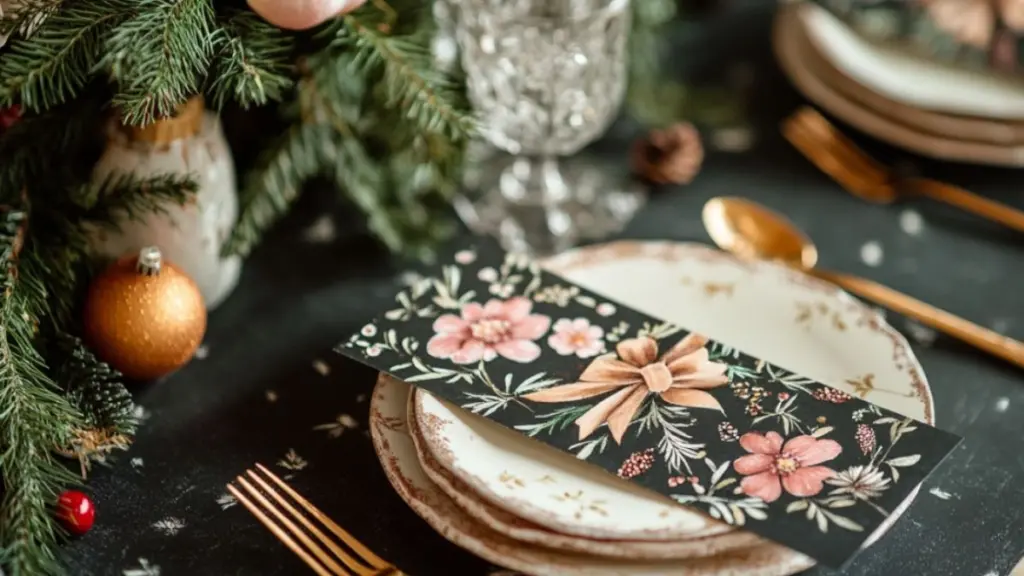
Miniature versions of chalkboard flower art can elevate your gift wrapping or holiday table settings with a personal touch. Small wood slices, mini canvas boards, or even thick cardstock painted with chalkboard paint work well for these crafts.
Paint a flower or leafy detail in one corner or border the entire edge. Leave space for a name or message written in white chalk pen. These tags double as keepsakes and add sophistication to even the simplest packages.
For place cards, match your floral theme to your table decor. Tie the tag to a napkin, prop it on a mini easel, or attach it with twine around cutlery. You can even turn these into ornaments or fridge magnets afterward.
Mini Chalkboard Crafting Ideas
| Project Type | Size/Surface | Use Cases |
|---|---|---|
| Gift Tags | 2–3″ wood slices or card tags | Holiday gifts, party favors |
| Place Cards | Mini tiles or framed cards | Wedding receptions, dinners |
| Ornaments | Chalkboard-painted mason jar lids | Seasonal decor, reusable keepsake |
Preserving and Displaying Your Finished Artwork
Once your chalkboard flower project is complete, you’ll want to preserve it for future use or seasonal storage. While chalkboard paint is designed for erasable artwork, your painted designs—especially those made with acrylics or pens—can last with proper sealing.
Use a matte acrylic sealant to keep the chalk-like finish. Avoid gloss unless intentionally going for a shiny look. Framing your work, especially for signs or seasonal decor, adds an extra layer of polish and makes hanging or storage easier.
Display your signs on an easel, gallery wall, kitchen shelf, or even inside a festive wreath. They’re lightweight and easy to reposition as needed.
Art Preservation and Display Ideas
| Task | Why It’s Important | Product or Tool Needed |
|---|---|---|
| Seal artwork | Prevent fading and smudging | Matte acrylic spray or Mod Podge |
| Frame for display | Protect and elevate presentation | Shadow box or open frame |
| Seasonal storage | Keep for next year’s holidays | Wrap in tissue, store flat |
Conclusion
Hand-painted chalkboard flowers blend timeless charm with personalized creativity. Whether you’re decorating for the holidays, crafting special occasion gifts, or simply adding a seasonal touch to your home, these easy DIY projects make a big visual impact with minimal effort. By using accessible materials and simple techniques, you can create beautiful floral pieces that celebrate every season, moment, and memory with grace and handmade style.
