How to Build a DIY Mud Kitchen with Farmhouse Charm for Backyard Fun
Table of Contents
There’s something magical about watching children lose themselves in imaginative outdoor play. And with the rising popularity of natural play spaces, the DIY mud kitchen has become a must-have backyard feature. According to a recent report by Parents.com, mud kitchens are among the top 5 trending outdoor play setups in 2025, offering sensory-rich fun without screens or schedules.
But why stop at functional when you can make it beautiful? Infusing your mud kitchen with farmhouse charm elevates this simple project into a rustic backyard feature that blends seamlessly with cozy home aesthetics. Think reclaimed wood, enamelware, mini chalkboards, and vintage hooks—all designed to mimic a real farmhouse kitchen, scaled perfectly for little hands.
Whether you’re a parent looking for screen-free entertainment or a decor lover hoping to keep things cohesive outdoors, this guide will walk you through how to create a functional, stylish, and budget-friendly mud kitchen with farmhouse flair. From choosing materials to styling ideas, get ready to turn your backyard into a beautiful space for hands-on discovery and wholesome fun.
1. What Is a Mud Kitchen and Why It’s Trending
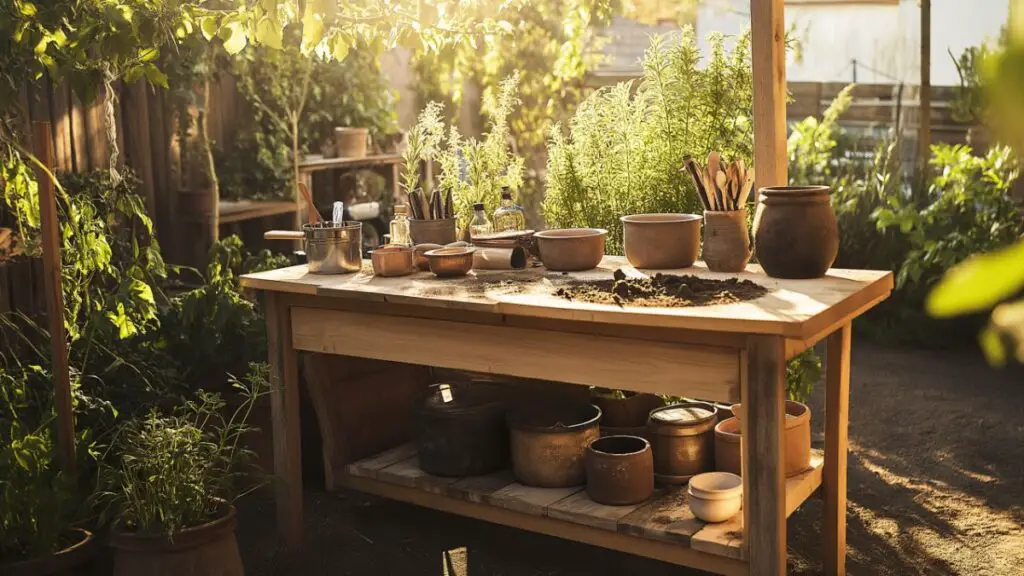
- Outdoor play that supports sensory, social, and imaginative development.
- Popular in Montessori and Waldorf-inspired households.
- Aesthetic appeal for family gardens and farmhouse-style homes.
Table 1: Benefits of Mud Kitchens
| Benefit Type | Example |
|---|---|
| Cognitive | Role-playing & problem-solving |
| Sensory | Touch, texture, smell exploration |
| Social | Cooperative play with siblings |
| Decorative | Enhances outdoor space design |
2. Planning a Mud Kitchen with Farmhouse Aesthetic
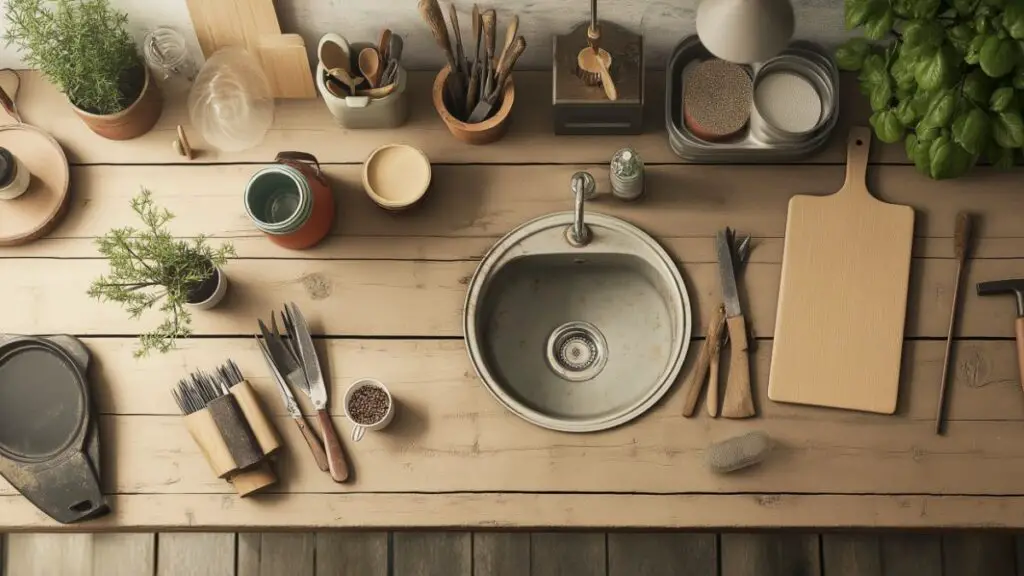
Designing a mud kitchen that blends functionality with farmhouse charm starts with a thoughtful layout and a few rustic design principles. The key is to keep it natural, neutral, and nostalgic.
Consider the following when planning:
- Layout Size: For toddlers, aim for a countertop height of around 18–24 inches. For older kids, 28–32 inches offers more workspace.
- Structure Type: A simple single-wall setup works in tight spaces, while L-shaped designs offer more room for dual play stations.
- Surface Materials: Reclaimed wood adds texture and history. Keep natural wood grains or use whitewash for a classic farmhouse finish.
- Functionality: Include space for a mixing station, pretend stovetop, and storage. Bonus points for adding a repurposed sink.
- Design Continuity: Tie it into your overall outdoor aesthetic—especially if your backyard has raised garden beds, a farmhouse-style patio, or rustic decor.
Table: Farmhouse Mud Kitchen Planning Guide
| Feature | Ideal Choice |
|---|---|
| Counter Material | Sanded pallet wood or pine board |
| Color Palette | Whites, grays, natural wood |
| Hardware Finish | Matte black or antique bronze |
3. Sourcing Farmhouse-Inspired Materials
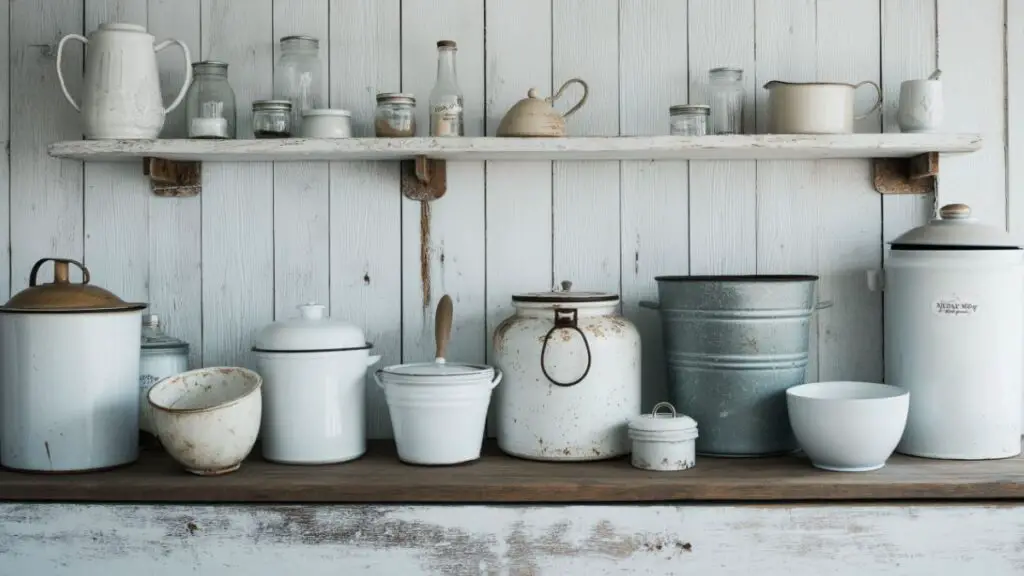
- Where to find reclaimed wood, old cabinet doors, and antique hardware.
- Ideal finishes: matte whites, distressed wood, soft grays.
- Use of enamel pots, mason jars, and galvanized bins.
Table 2: Materials for Farmhouse-Style Mud Kitchen
| Material | Source Suggestions | Use Case |
|---|---|---|
| Reclaimed Wood | Salvage yards, pallets | Frame and shelves |
| Enamelware | Thrift shops, flea markets | Bowls, pots, decor |
| Mason Jars | Dollar stores, recycling bin | Storage or flower decor |
4. Step-by-Step Build Instructions
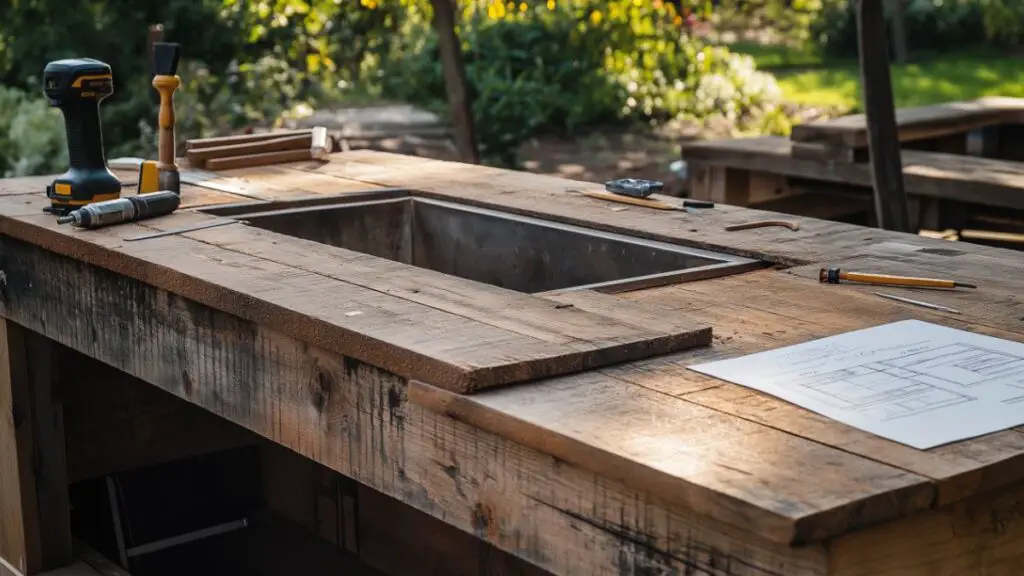
Once your plan is in place and your materials are sourced, it’s time to build. This process is beginner-friendly and can often be done in a weekend with basic tools.
Step-by-Step Instructions:
- Build the Base Frame
- Use reclaimed wood or pallet boards to construct a sturdy base.
- Secure vertical slats as the back panel for hooks or shelves.
- Add a Countertop and Sink
- Fit an old metal or plastic bowl into the counter as a sink.
- Drill drainage holes or leave it removable for cleaning.
- Install Shelves and Storage
- Add open shelves above or below for pots and ingredients.
- Crates or woven baskets offer charming farmhouse-style storage.
- Attach Decorative Touches
- Add a chalkboard, faux knobs for a stovetop, and labeled jars.
- Consider wood-burned signage or painted accents.
- Sand, Paint & Seal
- Smooth rough surfaces.
- Apply chalk paint or stain.
- Seal with a kid-safe outdoor finish.
Step-by-Step Timeline
| Step | Estimated Time |
|---|---|
| Base Frame & Back Panel | 1–2 hours |
| Sink & Counter Installation | 1 hour |
| Shelves & Hardware Mounting | 45 minutes |
| Finishing Touches | 1–2 hours |
With farmhouse style in mind, each added detail—no matter how small—contributes to the overall charm and usability of your mud kitchen.
5. Styling and Decorating for Farmhouse Charm
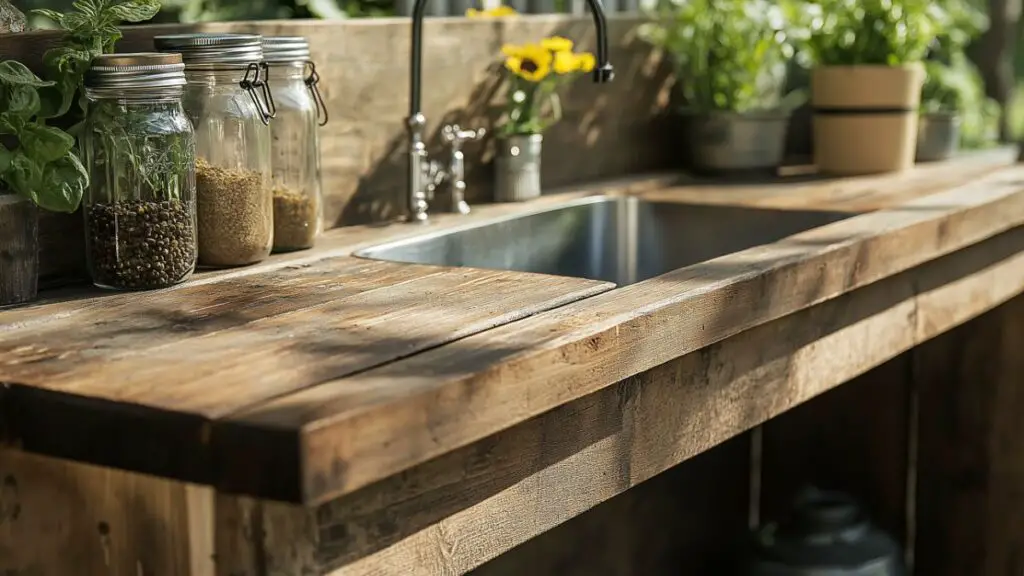
- Add chalkboard signage with hand-lettered labels.
- Hang mini utensils on wall hooks or wooden pegs.
- Add faux or real florals in tiny tin pots for decor.
Table 3: Easy Styling Elements for a Farmhouse Vibe
| Decor Element | Placement | Aesthetic Purpose |
|---|---|---|
| Chalkboard Menu | Center or backboard | Interactive & decorative |
| Tin Pots & Jars | Corners or shelf edges | Rustic charm, add greenery |
| Iron Hooks | Side panels or walls | Display utensils/farm tools |
6. Functional Additions for Long-Term Use
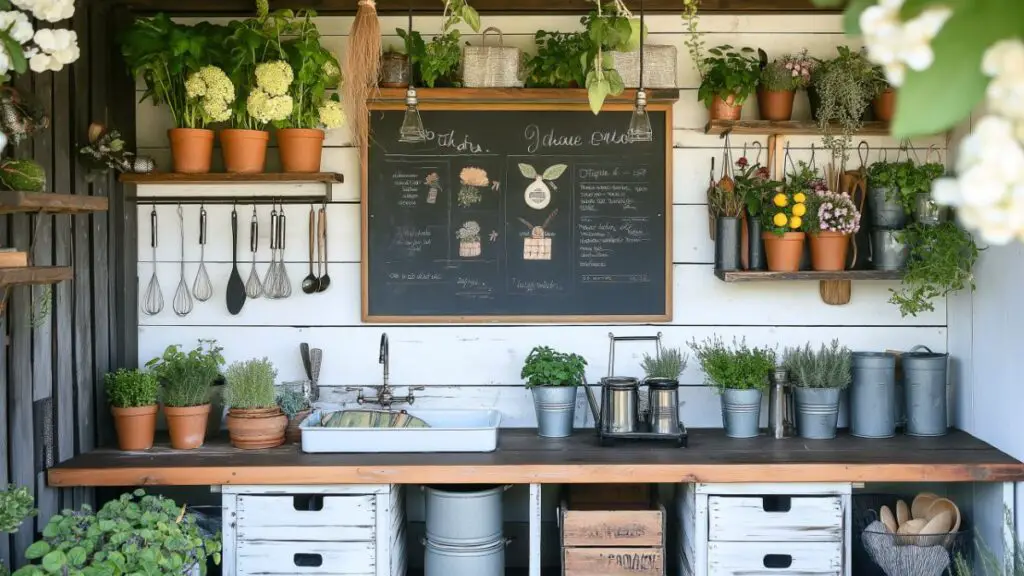
- Add a faux faucet, working sink basin (or bowl), and lower storage bins.
- Consider adding a roof or canopy for year-round outdoor use.
- Install casters for mobility in small yards or patios.
7. Safety and Weatherproofing Tips
- Smooth all edges and seal with non-toxic outdoor sealant.
- Use water-resistant paints or stains to match farmhouse style.
- Protect any metal components from rust.
Table 4: Safety & Weatherproofing Checklist
| Feature | Recommended Solution |
|---|---|
| Wood Sealant | Food-safe or zero-VOC polyurethane |
| Hardware Choice | Galvanized screws, rounded corners |
| Paint | Outdoor chalk or milk paint |
8. Fun Play Additions for Ongoing Engagement
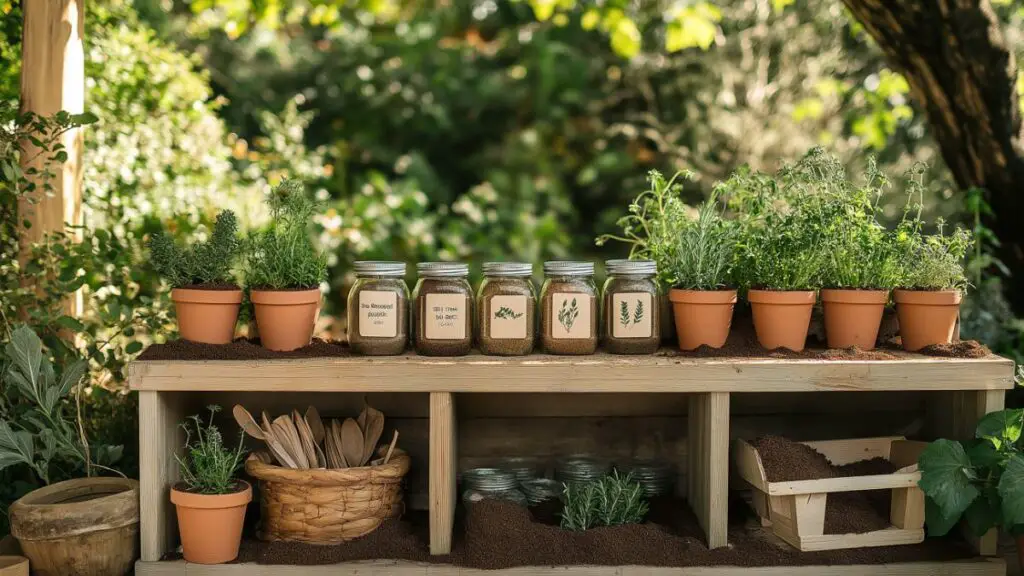
- Add recipe cards laminated for pretend play.
- DIY spice rack with labeled jars of dirt, leaves, and sand.
- Include a mini “herb garden” next to the kitchen space.
Conclusion
Blending creativity with rustic charm, a DIY mud kitchen with farmhouse style is more than just a backyard toy—it’s a timeless addition that encourages imaginative play while staying true to your home’s aesthetic. From planning and sourcing reclaimed materials to styling with enamelware and chalkboards, every detail adds to its charm and function. Best of all, it’s a sustainable project that recycles materials and builds lasting memories. Whether you’re building it for your kids or grandkids, or simply adding personality to your garden space, a farmhouse-inspired mud kitchen offers both beauty and purpose in one perfectly imperfect package.
