DIY Entryway Bench: Add Rustic Charm to Your Entry
Table of Contents
Introduction
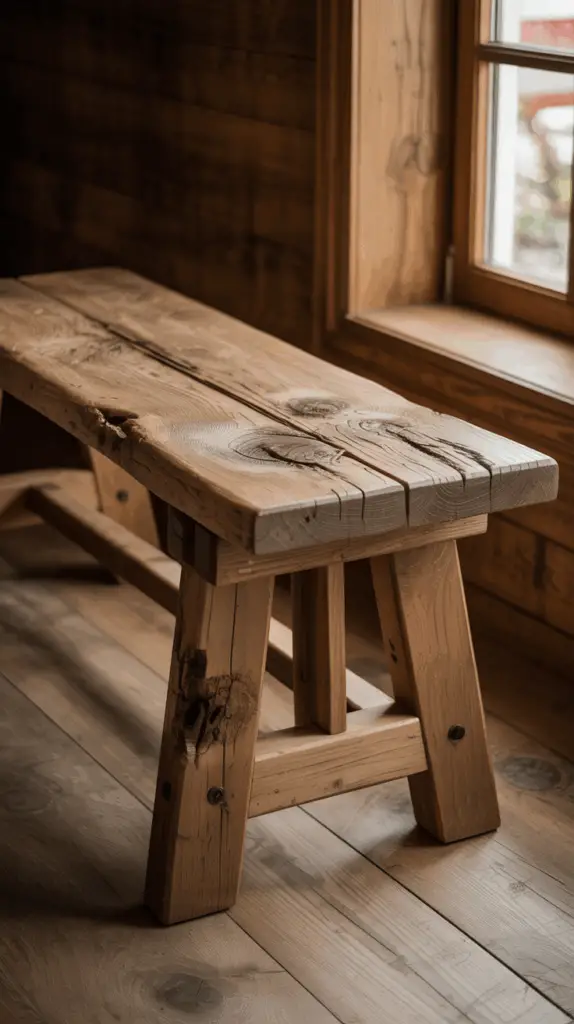
There’s something uniquely welcoming about a well-decorated entryway. It’s the first impression your home makes on visitors, and it often sets the tone for the rest of your decor. One of the best ways to infuse your entryway with warmth and personality is by adding a rustic DIY entryway bench. Not only is this piece of furniture highly functional, providing a space to sit or store shoes, but it also brings a cozy, vintage charm that can elevate any home. Whether you’re entering after a long day or greeting friends at the door, a rustic bench adds both character and comfort.
Creating your own entryway bench doesn’t require professional carpentry skills, and it’s a project that can be completed in a weekend. With just a few simple tools and materials, you can craft a piece that’s tailored to your personal style. This guide will walk you through the steps to build a stunning DIY entryway bench with rustic flair. From choosing the right materials to adding the perfect finishing touches, we’ll cover everything you need to know. Let’s dive in!
Why Choose a DIY Entryway Bench?
When you think about the furniture pieces in your home, the entryway bench often gets overlooked. Yet, it serves a multitude of purposes. From a place to rest while tying your shoes to a storage spot for hats and scarves, the entryway bench is both a functional and aesthetic necessity. By creating your own, you can customize the size, style, and finish to perfectly complement your home’s decor.
There’s something particularly satisfying about creating a piece of furniture that’s not only beautiful but functional. A DIY bench allows you to bring your vision to life and ensures that the final product fits the specific dimensions of your entryway. Choosing a rustic style for your bench adds a sense of timelessness that’s both welcoming and charming.
Additionally, building a DIY entryway bench can be an affordable alternative to purchasing one. By sourcing your own materials and using basic tools, you can create a high-quality, custom piece at a fraction of the cost of pre-made options.
Choosing the Right Materials for Your Rustic Bench
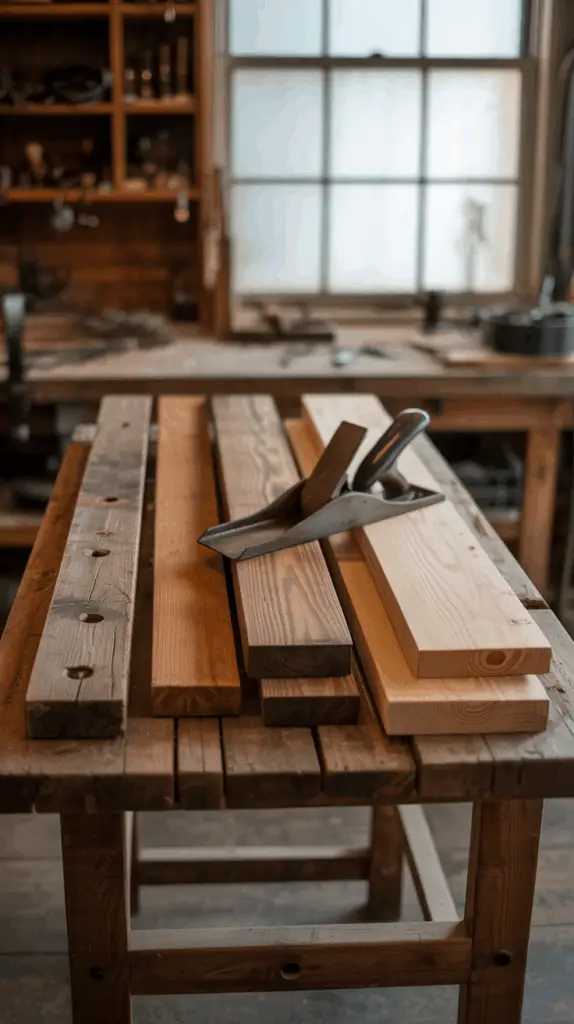
Before you begin crafting your entryway bench, selecting the right materials is essential. The materials will not only dictate the strength and durability of the bench but also its aesthetic appeal. For a rustic look, natural wood is a top choice, but there are several other options to consider depending on the style you prefer.
Wood Types for Rustic Charm
The first step in building a rustic bench is choosing the wood. Some popular options include:
- Reclaimed Wood: Using reclaimed wood is an eco-friendly choice that gives your bench a distinct character. This wood has a weathered look, with natural imperfections that add to the rustic charm. Reclaimed barn wood is a fantastic option for a truly vintage feel.
- Pine Wood: Pine is a softwood that’s easy to work with and budget-friendly. It’s light in color and can be stained or painted to match the tone you desire.
- Cedar: Cedar has a rich aroma and natural resistance to decay, making it perfect for furniture that may be exposed to the elements.
- Oak: For a more solid, long-lasting option, oak is a great choice. It’s sturdy, heavy, and adds a more refined rustic look.
Other Materials to Consider
In addition to wood, there are a few other materials you’ll need:
- Screws and Nails: Strong, sturdy fasteners will ensure your bench stays solid and durable.
- Wood Glue: A good wood glue will add additional strength to the joints of your bench.
- Finish or Stain: To bring out the beauty of the wood and protect it, applying a stain or finish is a crucial step.

Building the Frame of Your Entryway Bench
Once you’ve gathered your materials, the next step is constructing the frame. The frame will form the base and support for your bench, so it’s important to take your time during this stage to ensure it’s sturdy.
Measuring and Cutting the Wood
Start by measuring the space in your entryway where you plan to place the bench. This will help determine the ideal dimensions for your bench. A typical entryway bench is around 48 inches long, 16 inches deep, and 18 inches tall, but feel free to adjust based on your space.
Cut your wood to size for the two long sides of the frame, the front and back, and the base supports. Make sure all your cuts are straight and even to create a professional-looking result.
Assembling the Frame
Start by assembling the sides of the bench. Attach the front and back pieces to the sides using wood screws and wood glue for added strength. After the frame is assembled, add the base supports. These will help distribute weight evenly across the bench.
Adding the Bench Seat
Once the frame is constructed, it’s time to add the bench seat. The seat is the focal point of the bench, so it’s essential to choose a wood that’s both comfortable and visually appealing.
Choosing the Seat Wood
For the seat, select a piece of wood that is wide enough to provide comfort. You can opt for a single large plank or a collection of smaller planks that are joined together. Keep in mind that the wood should be sanded smooth to ensure comfort when sitting.
Attaching the Seat
Once you’ve selected the seat wood, place it on top of the frame. Use wood screws to attach the seat to the frame, ensuring it’s secure and level. If you’re using multiple planks, make sure they are aligned properly before securing them.

Finishing Touches: Sanding, Staining, and Sealing
Now that the structure of your bench is complete, it’s time for the finishing touches. Sanding, staining, and sealing are essential steps to achieve a polished and professional look.
Sanding the Bench
Start by sanding the entire surface of the bench, including the seat and frame, using medium to fine-grit sandpaper. This step will smooth out any rough edges and remove imperfections. Be sure to sand along the grain of the wood to maintain a smooth finish.
Staining the Bench
After sanding, you can stain the wood to enhance its natural color and add depth. Choose a stain that complements your existing decor. If you prefer a lighter finish, opt for a light oak or honey stain. For a more rustic look, a dark walnut stain will provide a rich, warm hue.
Sealing the Bench
To protect the wood from scratches and moisture, apply a clear wood sealant. This will also give the bench a shiny, polished appearance.
Customizing Your Rustic Bench
The beauty of a DIY entryway bench lies in its customization. You can personalize it to suit your style and needs, whether you want additional storage, a more decorative finish, or unique design features.
Adding Storage
Consider incorporating storage options into your bench. You could add a lower shelf for baskets, shoes, or other accessories. Alternatively, adding a few hooks on the back of the bench can provide a convenient place to hang coats, bags, or hats.
Decorative Elements
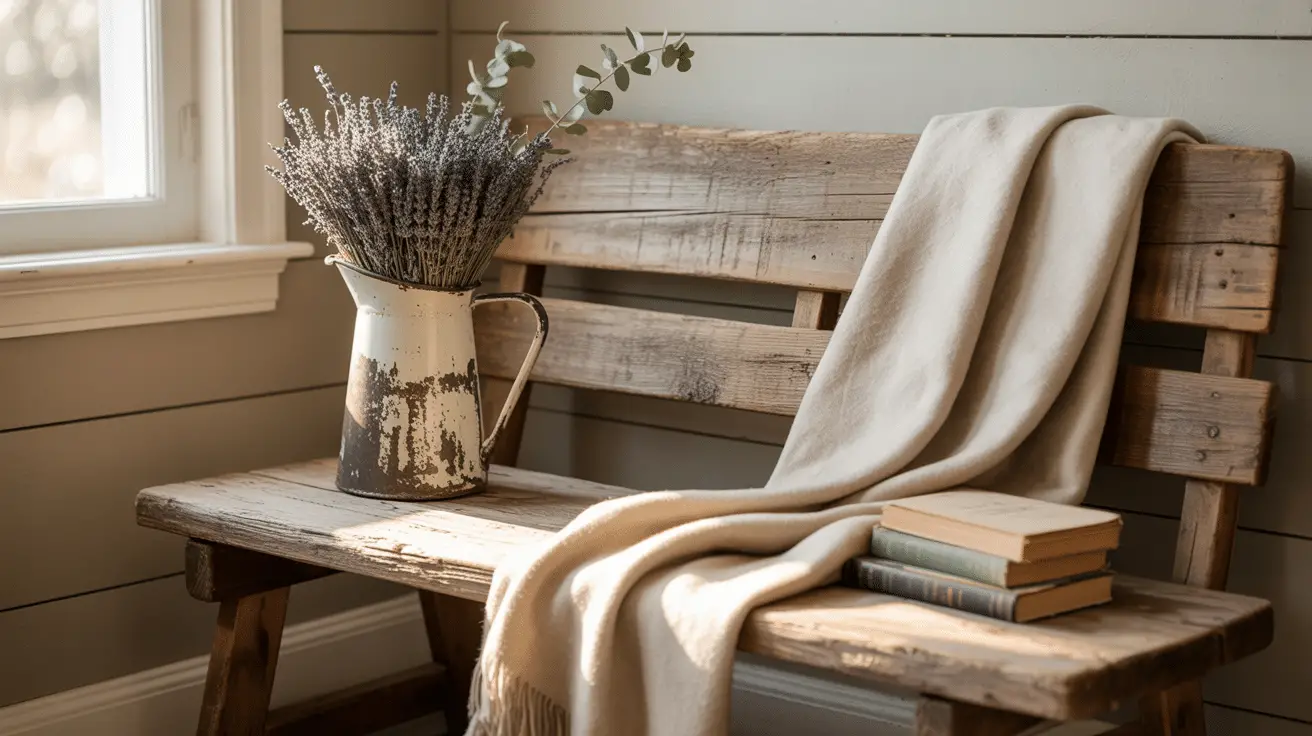
To make your bench truly unique, add a few decorative touches. A cozy throw blanket or a couple of decorative pillows can make the bench feel more inviting. You could also stencil or paint a design onto the wood for a more personalized touch.
Final Thoughts on Creating a Rustic Entryway Bench
Building your own entryway bench is not only a rewarding DIY project but also a way to introduce rustic charm to your home. From selecting the right materials to adding finishing touches, every step allows you to put your personal touch on a piece of furniture that’s both functional and beautiful. A well-crafted entryway bench not only provides a practical seating and storage solution but also adds a welcoming element to your home that reflects your personal style.
Whether you’re a seasoned DIY enthusiast or just getting started, building a rustic entryway bench is a project that’s sure to impress. So roll up your sleeves, grab your tools, and start creating a charming piece that you’ll enjoy for years to come.

