DIY Garage Gym Ideas for Strength Training
Table of Contents
Introduction
Have you ever wondered how you can turn that dusty corner of your garage into a high-performance strength training hub? With nearly 60% of fitness enthusiasts investing in home gyms in recent years, the garage has emerged as the prime candidate for a DIY workout space that’s both functional and stylish. A well-designed garage gym not only saves you time and money on gym memberships but also offers the privacy and convenience of working out on your own schedule. However, without a plan, it’s easy to end up with uneven flooring, cramped layouts, and neglected maintenance issues that derail your gains.
In this guide, we’ll walk you through every step of crafting your own DIY garage gym for strength training—from choosing the right flooring and essential equipment to clever, budget-friendly hacks that maximize impact without breaking the bank. You’ll discover layout strategies to optimize space, safety measures to protect yourself and your gear, and personal touches that turn an ordinary garage into an inspiring workout sanctuary. Whether you’re a seasoned lifter or just starting your strength journey, these practical tips and detailed breakdowns will help you design a setup tailored to your goals. Let’s dive in and transform your garage into the ultimate strength training environment.
Garage Flooring and Setup for DIY Garage Gym Ideas for Strength Training
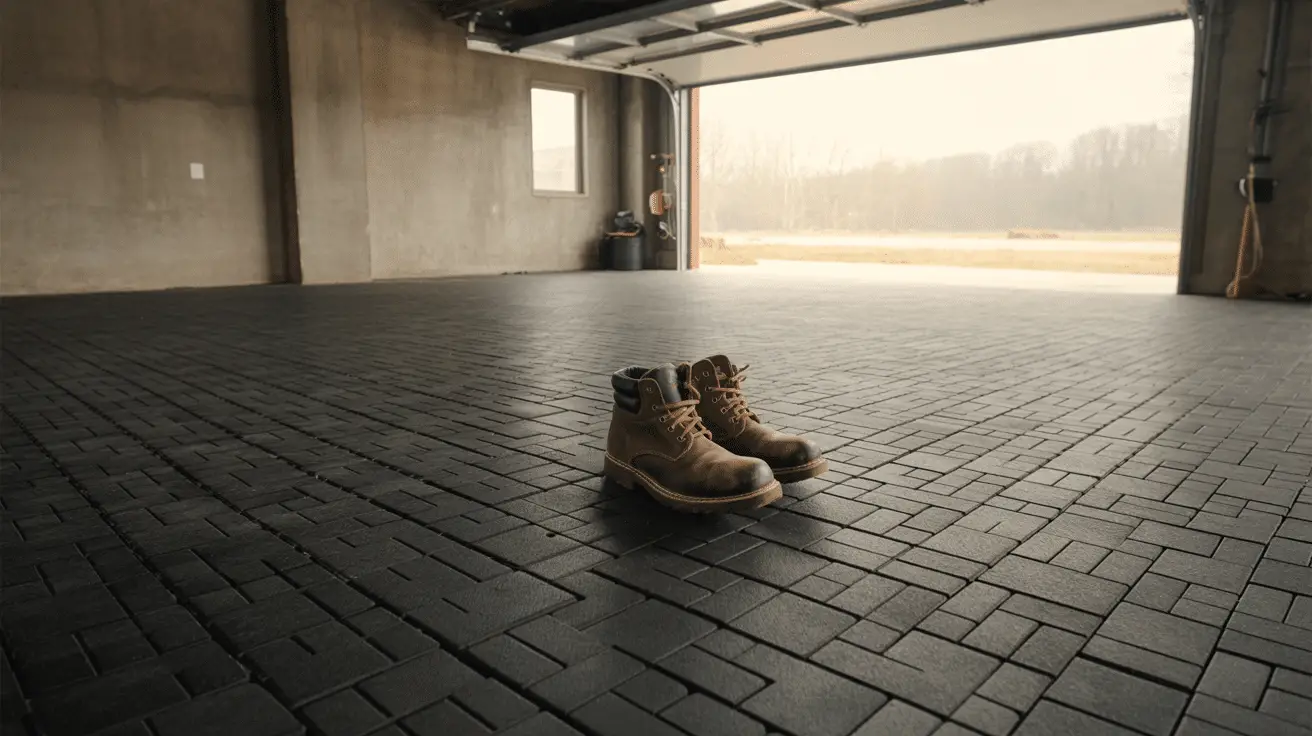
Proper flooring sets the foundation for any strength-focused space. Concrete garages can be cold and unforgiving on equipment and joints, so investing in protective, shock-absorbing mats is key. Rubber interlocking tiles are popular—they’re easy to install, replace, and clean. Alternatively, roll-out rubber flooring covers large areas seamlessly and resists sweat, oil, and chalk.
| Flooring Option | Cost per sq. ft. | Shock Absorption | Durability | Installation Effort |
| Interlocking Rubber Tile | $2–$4 | High | High | Easy |
| Roll-Out Rubber Mat | $1.50–$3 | Medium | Medium | Medium |
| PVC Gym Tiles | $1–$2 | Low | Medium | Easy |
| Foam EVA Tiles | $0.80–$1.50 | Low | Low | Very Easy |
When preparing your garage, clear out clutter and sweep thoroughly. Use a moisture barrier paint or epoxy coating if humidity is an issue; this prevents mold under mats and protects equipment. Finally, measure your available square footage and sketch a basic floor plan to ensure your chosen tiles or mats cover the key workout zones: lifting area, cardio spot, and a small open space for bodyweight exercises.
Essential Strength Training Equipment
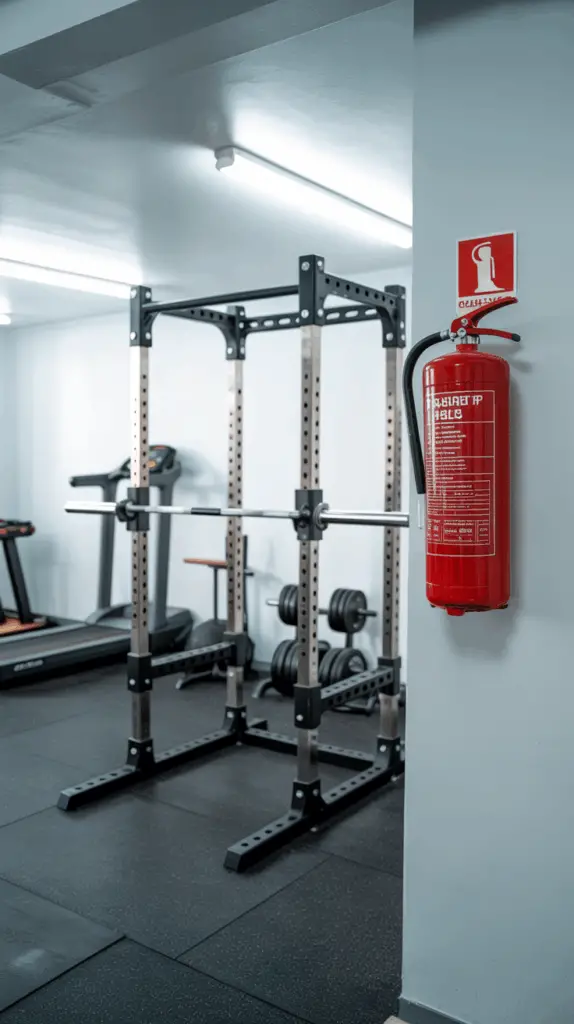
A pared-down yet powerful equipment list ensures your DIY garage gym delivers on strength training goals. Start with a sturdy power rack that accommodates pull-ups, squats, and bench presses. Look for one with adjustable safety bars and plate storage pegs to keep weights organized. A quality Olympic barbell and a set of bumper plates form the backbone of any lifting routine; bumper plates protect flooring and allow safe drops.
| Equipment | Purpose | Average Cost | Space Required |
| Power Rack | Multi-exercise station | $300–$800 | 4’×4’ footprint |
| Olympic Barbell & Plates | Squats, deadlifts, presses | $200–$600 | 7’ length |
| Adjustable Bench | Incline/flat/decline presses, rows | $100–$300 | 3’×2.5’ footprint |
| Pull-Up Bar Attachment | Bodyweight pulls; ergonomic training | $30–$80 | Rack or door mount |
| Resistance Bands | Accessory work, mobility | $20–$50 | Hangs or drawer |
Beyond the basics, consider a set of kettlebells for dynamic strength moves and a pair of dumbbells—adjustable options maximize versatility while minimizing space. If budget allows, add a landmine attachment for rotary presses and T-bar rows. Store plates on vertical posts or wall-mounted racks to free up floor space and mitigate trip hazards.
Content Table: Essential Equipment Comparison
| Feature | Budget Model | Mid-Range Model | Premium Model |
| Power Rack Capacity | 500 lbs | 700 lbs | 1000 lbs+ |
| Bench Adjustability | 3 positions | 5 positions | Fully adjustable |
| Plate Storage | None | 4 pegs | 8 pegs + shelving |
| Warranty | 1 year | 2 years | Lifetime |
Budget-Friendly DIY Gym Hacks
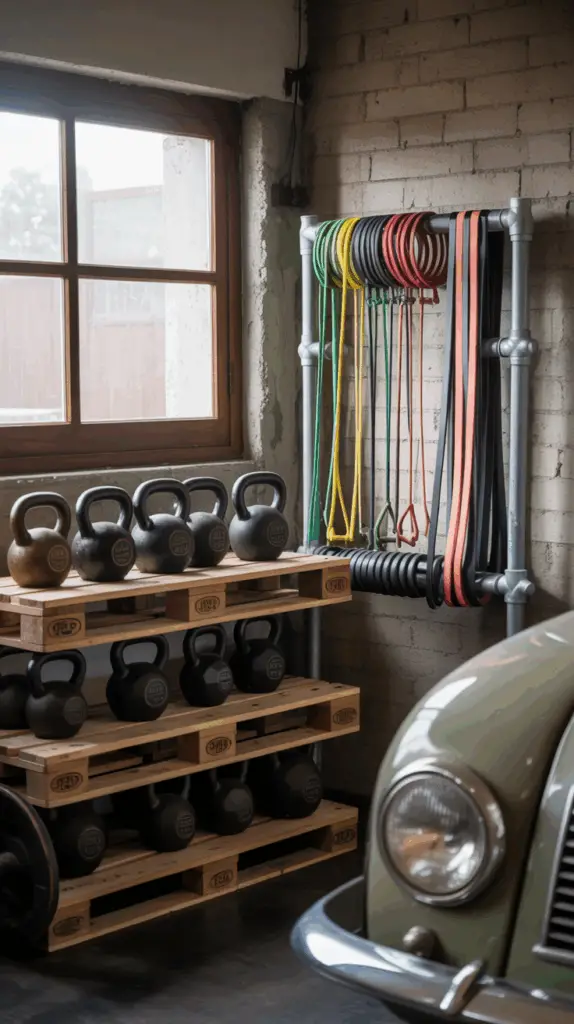
Creating a pro-level garage gym doesn’t have to drain your wallet. Many fitness enthusiasts have repurposed pallet wood to build platforms, squat stands, or weight storage shelves. With a few cuts and screws, pallets become sturdy racks for kettlebells and medicine balls. Similarly, PVC pipe and elbow joints can be fashioned into resistance band storage or barbell holders mounted on the wall.
| Hack | Materials Needed | Estimated Cost | Skill Level |
| Pallet Wood Shelves | Pallets, screws, brackets | $0–$20 | Beginner |
| PVC Band Station | PVC pipes, glue, mounts | $10–$15 | Beginner |
| DIY Plyo Box | Plywood, screws, paint | $30–$50 | Intermediate |
| Painted Cinder Blocks | Cinder blocks, spray paint | $5–$10 per set | Easy |
Another wallet-friendly upgrade is spray-painting old metal stands and benches in matte black for a cohesive, professional look. Salvaged gym mirrors can be sourced from classifieds or community groups—installing one large mirror not only makes the space feel bigger but also helps you monitor form. Don’t overlook secondhand equipment marketplaces; with patience, you can snag barbells, benches, or racks at half the retail price.

Layout and Space Optimization
Optimizing your garage gym’s layout ensures every square foot contributes to your workout flow. Begin by zoning areas: designate one wall for your power rack and lifting, another for cardio or mobility, and a clean area for floor-based exercises. Map these zones in a simple sketch, accounting for equipment footprint plus at least two feet of clearance around each piece for safety.
| Zone | Equipment | Clearance Needed |
| Lifting Area | Power rack, barbell, bench | 6’×6’ |
| Mobility/Cardio Spot | Jump rope, yoga mat, bands | 4’×4’ |
| Storage Corner | Plate racks, shelves, hooks | 2’ deep |
Vertical space is your ally. Wall-mounted racks can hold barbells horizontally, freeing floor space. Use pegboards for small items—jump ropes, gloves, bands—and label each hook to maintain order. Ceiling-mounted pulleys can support TRX straps or heavy bags without intruding on floor real estate. Reflective light-colored paint on walls helps bounce natural and artificial light, making the area feel more expansive.
Content Table: Layout Planning Checklist
| Step | Action Item | Notes |
| Measure Dimensions | Record length, width, height | Include door swing clearances |
| Sketch Zones | Draw equipment footprints | Block out 6’×6’ lift zones |
| Plan Vertical Storage | Identify wall and ceiling mounts | Confirm stud placements |
| Optimize Lighting | Position fixtures above each zone | Use daylight bulbs if possible |
Maintenance and Safety Measures
A safe, clean gym is a durable gym. Establish a weekly checklist to inspect bolts, chains, and welds on racks and benches. Wipe down equipment after each session with a non-abrasive cleaner to remove sweat and chalk, preventing rust and grime buildup. If you use chalk, invest in chalk trays or place mats under your lifting platform to catch debris.
| Maintenance Task | Frequency | Tools Needed |
| Bolt & Joint Inspection | Weekly | Wrench set |
| Equipment Cleaning | After each use | Microfiber cloth, cleaner |
| Floor Mat Disinfection | Monthly | Mild detergent, mop |
| Rust Prevention | Quarterly | Rust inhibitor spray |
For safety, install a bright overhead light—motion-sensor fixtures add convenience for late-night workouts. A wall-mounted fire extinguisher and first-aid kit make emergencies manageable. Anchor heavy equipment to studs or concrete floors to prevent tipping. Finally, post clear instructions for spotter use and emergency procedures on a visible board to reinforce safe lifting habits.

Adding Personal Touches to Your Garage Gym
Your gym should inspire you. Personalize the walls with motivational quotes stenciled in a contrasting matte finish—think “Earned, Not Given” in deep charcoal on a light background. Display memorabilia: a framed race bib, team photo, or vintage weightlifting poster adds character. Accent lighting—such as LED strip lights under shelves—creates ambiance and highlights décor.
| Personalization Element | Example Ideas | Impact |
| Wall Art | Custom canvas prints, stencils | Motivates, sets tone |
| Accent Lighting | LED strips, small spotlights | Enhances mood |
| Sound System | Wall-mounted Bluetooth speaker | Energizes workouts |
| Rug or Runner | Industrial-style mat, logo-printed | Defines zones, adds comfort |
Integrate technology: mount a tablet stand on your rack to stream workout programs, or install a small wall shelf for your phone and water bottle. A chalkboard paint section lets you track PRs, workouts of the day, and goals in real time. Finish with a signature scent—lavender sachets near air vents or a subtle essential-oil diffuser keep the space fresh and inviting.
Conclusion
Transforming your garage into a dedicated strength training haven is entirely achievable with thoughtful planning, strategic equipment choices, and a dash of creativity. By selecting the right flooring and gear, leveraging budget-friendly DIY hacks, and optimizing layout, you ensure both function and form. Regular maintenance and safety protocols keep your space reliable, while personal touches fuel motivation and make the gym uniquely yours. Whether you’re dropping into heavy deadlifts or flowing through mobility drills, your customized garage gym will support every rep, set, and goal—right at home.

