Easy Wall Decor DIY Projects That Instantly Refresh Any Room
Table of Contents
Introduction
Blank walls can make even the most thoughtfully furnished room feel incomplete. Whether you’re dealing with a bare living room, an uninspired hallway, or a bedroom that just needs something more, wall decor is often the missing piece that ties everything together. Yet, art and decor can be expensive, and not everyone has the budget for a gallery wall or custom frames.
Fortunately, refreshing your space doesn’t have to mean splurging on high-end artwork. With a little creativity and some hands-on fun, you can transform any wall with simple, stylish, and surprisingly easy DIY decor projects. According to a 2023 report from Pinterest, searches for “DIY wall art” increased by over 80%, proving that more homeowners and renters are embracing the joy of personalized interiors.
This blog post explores a curated list of wall decor DIY projects that are affordable, beginner-friendly, and highly customizable. Whether you prefer a modern, boho, rustic, or minimalist aesthetic, these ideas can adapt to your space and style. From painted canvases and textile art to geometric shelves and photo displays, there’s something for every room and skill level. Let’s dive in and start reimagining your walls with flair and personality.
Painted Canvas Art with a Modern Twist
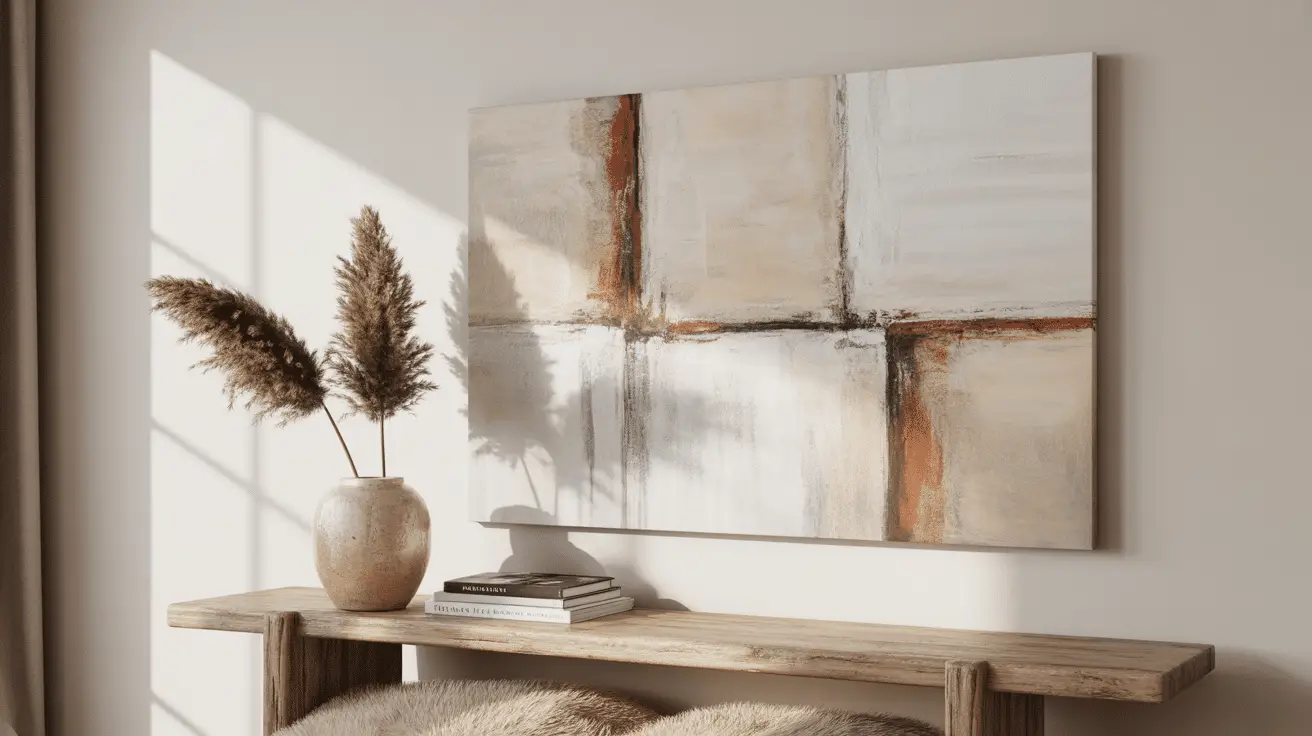
Painted canvas art is one of the most accessible DIY projects that makes a big impact, even if you’re not an experienced artist. You don’t need to know how to draw portraits or landscapes—abstract designs, geometric blocks, and textured brush strokes can create stunning results with just a few materials.
Start with a blank stretched canvas, which you can find at most craft or dollar stores. Choose 2–3 complementary paint colors that reflect your room’s palette. Using painter’s tape, divide the canvas into shapes or sections, then fill in each space with your chosen colors. Remove the tape for a clean, modern design. Alternatively, create freeform swirls or a tonal ombré effect using a sponge or palette knife.
Once dry, hang the piece as-is or create a series of smaller canvases for a grouped wall arrangement. You can also paint over existing thrift store canvases for a sustainable twist.
DIY Painted Canvas Checklist
| Step | Materials Needed | Tips for Success |
| Prep Canvas | Blank canvas, sandpaper (optional) | Lightly sand for smoother texture |
| Choose Colors | Acrylic paint, paintbrush or sponge | Test swatches before applying |
| Create Design | Painter’s tape, pencil (optional sketch) | Keep it simple—less is often more |
| Add Texture | Palette knife or sponge | Adds visual interest without complexity |
| Hang Your Art | Picture hangers, adhesive strips | Level carefully for a polished look |
Textile Wall Hangings for a Soft, Boho Touch
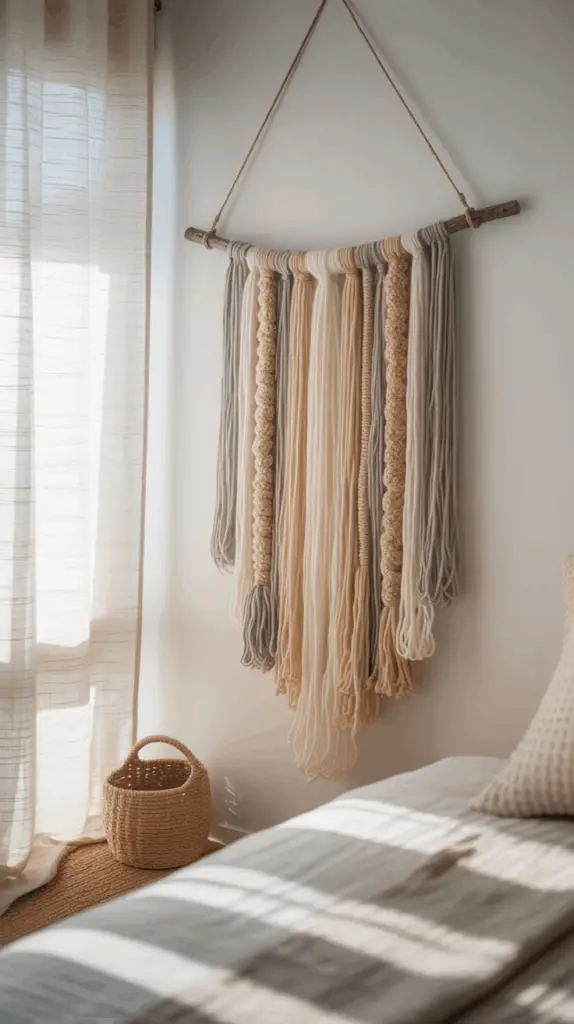
If your space needs warmth and texture, DIY textile wall hangings are the answer. These boho-inspired pieces soften modern interiors and add dimension to flat walls. Best of all, they require no sewing skills and are completely customizable in size, color, and style.
Macramé is a popular route, but even simpler options like yarn fringe hangings can achieve the look. Start by cutting lengths of yarn, rope, or fabric strips, then tie or loop them onto a wooden dowel or branch. Vary the lengths to create a V-shape, add knots or beads for interest, or incorporate dip-dyed sections for an ombré effect.
Textile hangings work beautifully above beds, entryway benches, or as focal points in gallery walls. They’re lightweight, easy to switch out, and ideal for renters.
Yarn Wall Hanging Steps
| Step | Supplies Needed | Customization Tip |
| Base Structure | Dowel, copper pipe, or branch | Natural wood adds a rustic feel |
| Yarn or Fabric | Cotton yarn, rope, jersey strips | Use colors from your existing decor |
| Cutting and Tying | Scissors, ruler | Keep strands even for clean design |
| Embellish | Beads, dip dye, fringe scissors | Adds texture and visual weight |
| Hang Securely | Twine or command hooks | Balance sides to prevent slanting |

DIY Gallery Wall with Printable Art
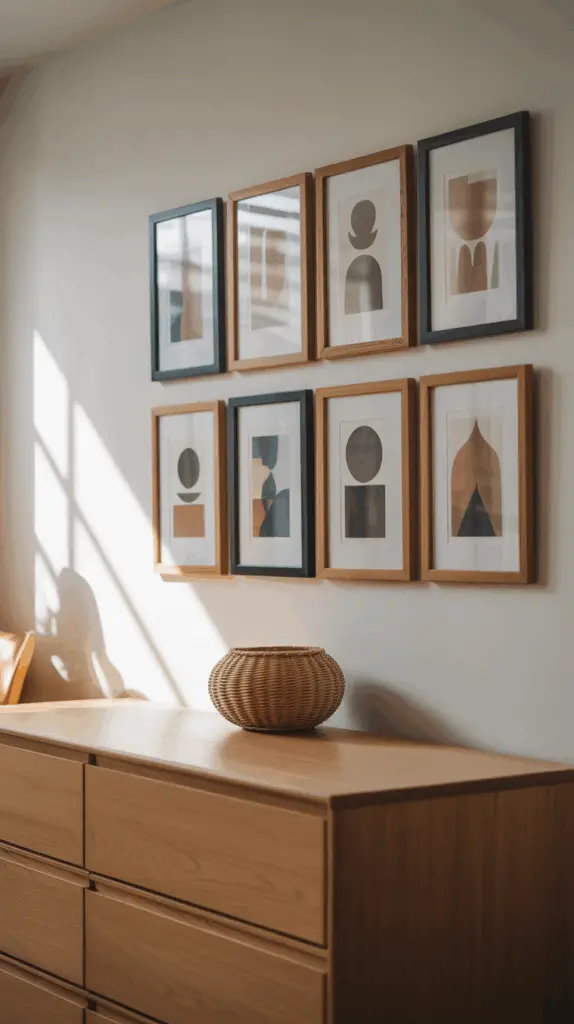
A DIY gallery wall allows you to curate your own art collection without the price tag of custom prints. Thanks to free and affordable digital downloads, you can print cohesive artwork from sites like Etsy, Unsplash, or Canva and display it in stylish, budget-friendly frames.
Begin by selecting a theme—nature, typography, abstract shapes, or vintage photography. Print your selections on high-quality matte paper, then mix and match frame sizes and finishes for variety. Plan your layout on the floor before hanging to ensure balanced spacing.
Add depth by including non-art items like mirrors, woven baskets, or small shelves with plants. This curated mix brings life and personal flair to your walls.
Gallery Wall Assembly Guide
| Step | Materials Needed | Design Note |
| Choose Art Prints | Digital downloads, printer, or print shop | Stick to 1–2 color families |
| Frame Selection | Thrifted or affordable frames | Use a mix of thin and chunky styles |
| Layout Planning | Tape measure, kraft paper for mockup | Keep even spacing between pieces |
| Add Extras | Baskets, mirrors, letterboards | Break up the flatness of all frames |
| Secure on Wall | Nails, command strips, level | Always double-check alignment |

Geometric Wood Wall Art for a Clean, Modern Feel
If you love clean lines and the texture of natural wood, geometric wall art might be your perfect DIY match. This project uses scrap wood pieces or craft sticks arranged in symmetrical or abstract patterns for a sharp, architectural look that brings warmth and sophistication.
Start with a plywood backing or old frame. Cut and sand your wood pieces, then lay them out in your chosen pattern—herringbone, chevrons, triangles, or spirals all work well. Secure the pieces with wood glue or a nail gun, then stain or paint the design in tones that match your room.
This type of artwork is durable, impactful, and makes a beautiful focal point for living rooms, offices, or bedrooms.
Wood Art Design Elements
| Pattern Type | Wood Finish Ideas | Room Pairing Tips |
| Chevron | Natural stain + whitewash | Great above couches or in entryways |
| Grid or Block | Painted sections in bold colors | Use as a modern art statement |
| Herringbone | Mixed wood tones | Neutral rooms with earthy tones |
| Triangles or Arrows | Raw wood + black paint | Ideal for industrial or Scandinavian spaces |
Floating Shelves with Styled Decor Vignettes
Floating shelves combine form and function in one neat package. Not only do they provide additional storage and display opportunities, but they also allow you to create constantly evolving mini-vignettes with decor items you already own.
Install 1–3 shelves on a blank wall, staggered or aligned horizontally. Use them to display books, framed art, candles, plants, or decorative objects. Keep your styling cohesive by sticking to a color palette and varying object heights and textures.
This approach is especially useful in smaller rooms, as it draws the eye upward and makes walls more dynamic.
Shelf Styling Formula
| Shelf Level | Suggested Items | Styling Tip |
| Top Shelf | Small plants, tall frames | Lean items instead of hanging |
| Middle Shelf | Decorative bowl, candle, art print | Group in threes or odd numbers |
| Bottom Shelf | Books, sculpture, photo frame | Layer front and back objects for depth |
Pressed Botanical Art for a Natural, Organic Touch
Pressed floral or botanical art is a delicate, nature-inspired DIY that brings a breath of fresh air into your space. It’s simple, timeless, and incredibly calming—perfect for bedrooms, bathrooms, or cozy reading corners.
To create your own, press dried leaves, flowers, or grasses between books for 1–2 weeks. Once dry, arrange them on white or black paper and secure them inside floating or double-glass frames. You can add handwritten labels for a vintage herbarium look or keep it clean and modern with minimal composition.
Pressed botanical art works beautifully in sets of two or three and can add life to narrow wall spaces or over bedside tables.
Pressed Botanical DIY Guide
| Step | Materials Needed | Finishing Touch |
| Collect & Dry | Fresh flowers, parchment paper, books | Choose flat plants like ferns or lavender |
| Arrange & Frame | Floating glass frames, tweezers | Align stems and petals symmetrically |
| Mount on Wall | Picture hooks or adhesive strips | Position at eye level for visual flow |
| Bonus Option | Add labels or date stamps | Personalize for a gallery-style effect |
Conclusion
Refreshing your space doesn’t require a full renovation or a trip to an expensive design store. With just a little creativity and a willingness to try something new, these easy wall decor DIY projects can breathe new life into any room. Whether you’re drawn to the simplicity of modern canvas art, the warmth of geometric wood designs, or the coziness of textile hangings, there’s a project on this list that fits your style and skill level.
The best part? Each idea is fully customizable. You get to choose the colors, textures, and finishes that match your home’s personality. DIY wall decor not only saves money but also creates a sense of pride in a space that’s truly your own. Let your walls tell your story—one project at a time.

