Nursery Curtains DIY: Budget-Friendly Ideas to Make Your Baby’s Room Adorable
Table of Contents
Nursery Curtains DIY: Why Handmade Wins in Style and Savings
A baby’s nursery is more than just a room—it’s a sanctuary, a place where dreams begin and comfort reigns. But outfitting this special space can quickly become expensive, especially when it comes to décor. One of the most underrated yet transformative elements in any nursery is the curtains. They set the mood, filter light, and frame your design vision.
Store-bought nursery curtains can cost a small fortune. Custom options? Even more. Fortunately, DIYing your nursery curtains isn’t just affordable—it’s fun, creative, and surprisingly simple. Whether you’re a seasoned crafter or picking up fabric scissors for the first time, you can design something beautiful, functional, and deeply personal.
In this guide, we’ll walk you through everything from choosing the right fabric to sewing techniques, no-sew options, blackout linings, and budget hacks. You’ll find practical advice, visuals, and inspiring examples tailored for all skill levels. Let’s explore how a little fabric, creativity, and effort can turn your baby’s room into a cozy dreamland.
Choosing the Right Fabric for DIY Nursery Curtains
When starting your DIY curtain project, fabric selection is crucial. The right material affects everything—from how the curtains hang to how well they block light. You want something soft, safe, and stylish for your little one’s space.
Cotton is a popular go-to thanks to its breathability and ease of use. Linen offers an airy, rustic charm, while polyester blends are wrinkle-resistant and more durable. For nurseries, opt for OEKO-TEX® certified or organic cotton to avoid harmful chemicals. Bonus points for washable fabrics—you’ll thank yourself later.
Consider how much natural light you want in the room. Sheer cottons let in soft, ambient light ideal for daytime naps. If you’re looking to encourage longer sleep, pair light fabrics with blackout lining or go for heavier options like canvas or velvet.
| Fabric Type | Pros | Cons |
| Cotton | Soft, breathable, easy to sew | May wrinkle, less light control |
| Linen | Elegant drape, airy | Expensive, can shrink |
| Polyester Blend | Durable, affordable, resistant to wrinkles | Less breathable |
| Blackout Lining | Excellent light control | Requires careful sewing, heavier weight |
Simple Sewn Curtain Panels for Beginners
Sewing your own curtain panels can be much easier than you think, even for first-timers. If you can sew a straight line, you can make nursery curtains. Start with measuring your window—width and length. A good rule of thumb is to double the width of the window for a fuller look.
Choose a medium-weight cotton or a light linen for ease of sewing. After cutting the fabric to size (add a few extra inches for hems and header), hem all sides. For the top, decide if you want a rod pocket, tabs, or to use curtain rings with clips.
A rod pocket style is the simplest: just fold over the top edge about 3 inches, sew it down, and slide the curtain rod through. For a more refined look, add a contrasting border or playful trim.
| Step | Task |
| 1 | Measure and cut fabric with seam allowances |
| 2 | Iron and pin all edges for neatness |
| 3 | Hem sides and bottom |
| 4 | Sew a rod pocket at the top |
| 5 | Hang and adjust for drape |

No-Sew Curtain Options That Look Amazing
No sewing machine? No problem. DIY nursery curtains can still look stunning with a few clever techniques and the right tools. Fabric glue, iron-on hem tape, and clip rings are your best friends here.
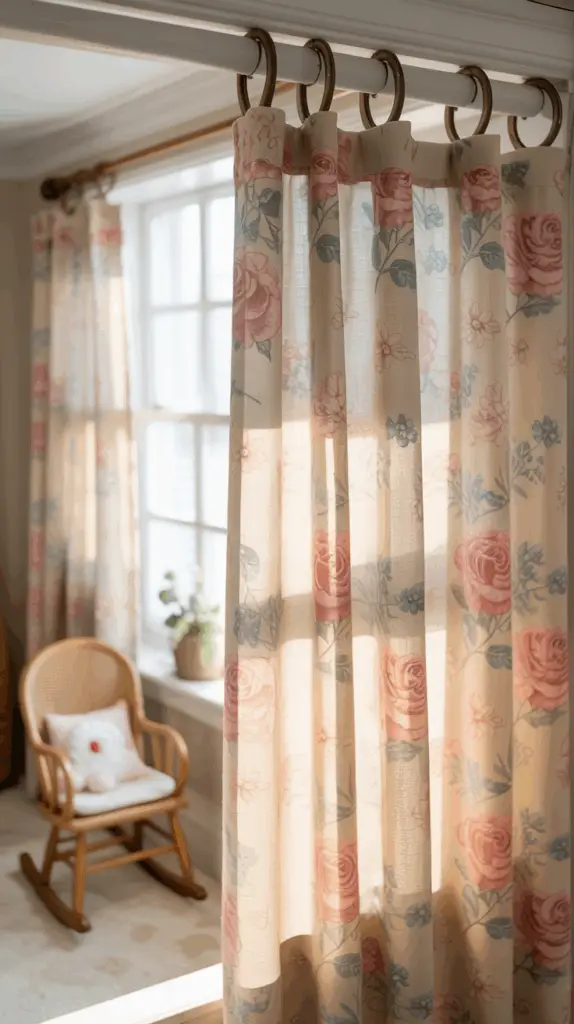
Start with pre-cut fabric or even repurpose items like flat sheets or tablecloths. Use iron-on hem tape to seal the edges and create a clean fold. To make a header, fold the top edge and glue or tape it down. Or skip this and use curtain clip rings for an effortlessly chic look.
Want to add personality? Attach ribbon or pom-pom trim along the sides with fabric glue. Add iron-on patches or felt shapes for a whimsical touch.
| Material | Usage |
| Iron-on hem tape | Creates hems without sewing |
| Fabric glue | Attaches trims, headers |
| Curtain clip rings | No header needed—just clip and hang |
| Repurposed fabrics | Affordable and unique base options |

Adding Blackout Lining for Better Sleep
Sleep is golden—for babies and parents alike. If your nursery gets strong morning light, adding a blackout lining is a smart move. Blackout lining not only darkens the room but also insulates against heat and noise.
You can sew blackout fabric directly to your curtain panels or keep them separate using double rods. For a no-sew version, use fabric glue or attach with clip rings behind your decorative curtains.
Make sure the lining is the same length as your curtain to prevent peeking. If using a rod pocket style, insert both fabrics into the same pocket or sew side seams to connect them.
| Blackout Method | Pros | Best For |
| Sewn-in lining | Professional finish | Experienced DIYers |
| Clip-on lining | Easy to remove | Renters, non-sewers |
| Double rod system | Flexible layering | Versatility in light control |
Decorative Touches to Personalize Your Curtains
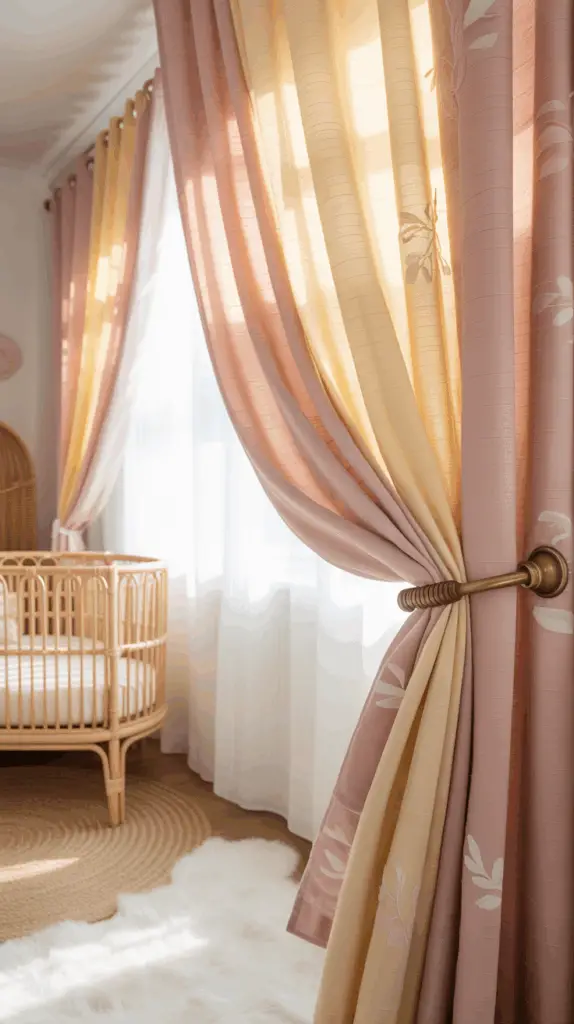
This is where the magic happens—turning functional curtains into keepsake-worthy décor. Personalizing your nursery curtains allows you to reflect your baby’s personality, theme, or even family traditions.
Add trims like lace, pom-poms, or tassels to the edges. Use fabric paint or stencils to create patterns like stars, moons, or animals. Sew or glue on felt shapes for a tactile experience. For a storybook charm, applique your child’s name or favorite quotes.
Tiebacks are another opportunity to get creative. Use braided rope, crocheted loops, or stuffed animals with Velcro hands—cute and functional!
| Personalization Ideas | Materials Needed |
| Pom-pom trim | Trim, fabric glue or sewing kit |
| Painted motifs | Fabric paint, stencils, brushes |
| Name applique | Felt, glue or stitching |
| Whimsical tiebacks | Ribbons, toys, snaps |
Budget Breakdown: DIY vs. Store-Bought Curtains
Creating nursery curtains from scratch can be remarkably affordable—and satisfying. Here’s a quick look at how DIY compares to buying pre-made or custom options.
A quality store-bought set can cost anywhere from $40 to $150, especially if they feature blackout lining or themed designs. Meanwhile, DIY materials often total less than half that. Plus, you control the quality, look, and feel.
| Item | DIY Cost (Approx.) | Store-Bought Cost |
| Fabric (2 yards) | $10–$20 | Included in price |
| Lining (optional) | $8–$15 | Often extra |
| Trim or paint | $5–$10 | Varies |
| Curtain rings/rod | $10–$20 | $10–$30 |
| Total | $25–$60 | $50–$150+ |
Beyond savings, DIYing your nursery curtains creates something meaningful—crafted with love, personalized with intention, and free from unnecessary chemicals or mass-market designs.
Curtain Ideas to Match Popular Nursery Themes
Your DIY curtains can be a central design feature that harmonizes with your nursery theme. Whether you’re going for modern, whimsical, or gender-neutral, there’s a curtain style that can tie the entire room together.
For a woodland nursery, go with linen panels in earth tones and add felt leaf appliqués. In a minimalist Scandinavian nursery, opt for sheer white curtains with leather tab ties. If you’re crafting a dreamy celestial room, use navy blue fabric and sew on tiny stars or constellations with embroidery thread or paint.
| Theme | Curtain Idea | Color Palette |
| Woodland | Linen with felt leaves | Forest green, beige |
| Boho | Muslin with fringe trim | Terracotta, cream |
| Celestial | Navy with gold stars | Midnight blue, silver |
| Modern Neutral | Sheer with bold tiebacks | Gray, white, black |
Conclusion: Handcrafted Beauty for Your Baby’s First Room
Designing your baby’s nursery is an act of love—and making your own curtains is a beautiful way to contribute something tangible to that sacred space. Whether you sew them from scratch or use clever no-sew hacks, your nursery curtains can be as functional as they are sentimental.
From selecting safe, cozy fabrics to customizing every detail, you have the freedom to create a look that aligns with your taste, budget, and baby’s needs. Beyond the savings, there’s something truly special about surrounding your little one with items made by hand and heart.
Your DIY nursery curtains won’t just hang in a window—they’ll tell a story. One of creativity, intention, and the soft beginnings of a life you’re carefully building, stitch by stitch.

