How to Style a Trinket Wall Display with Ease
Table of Contents
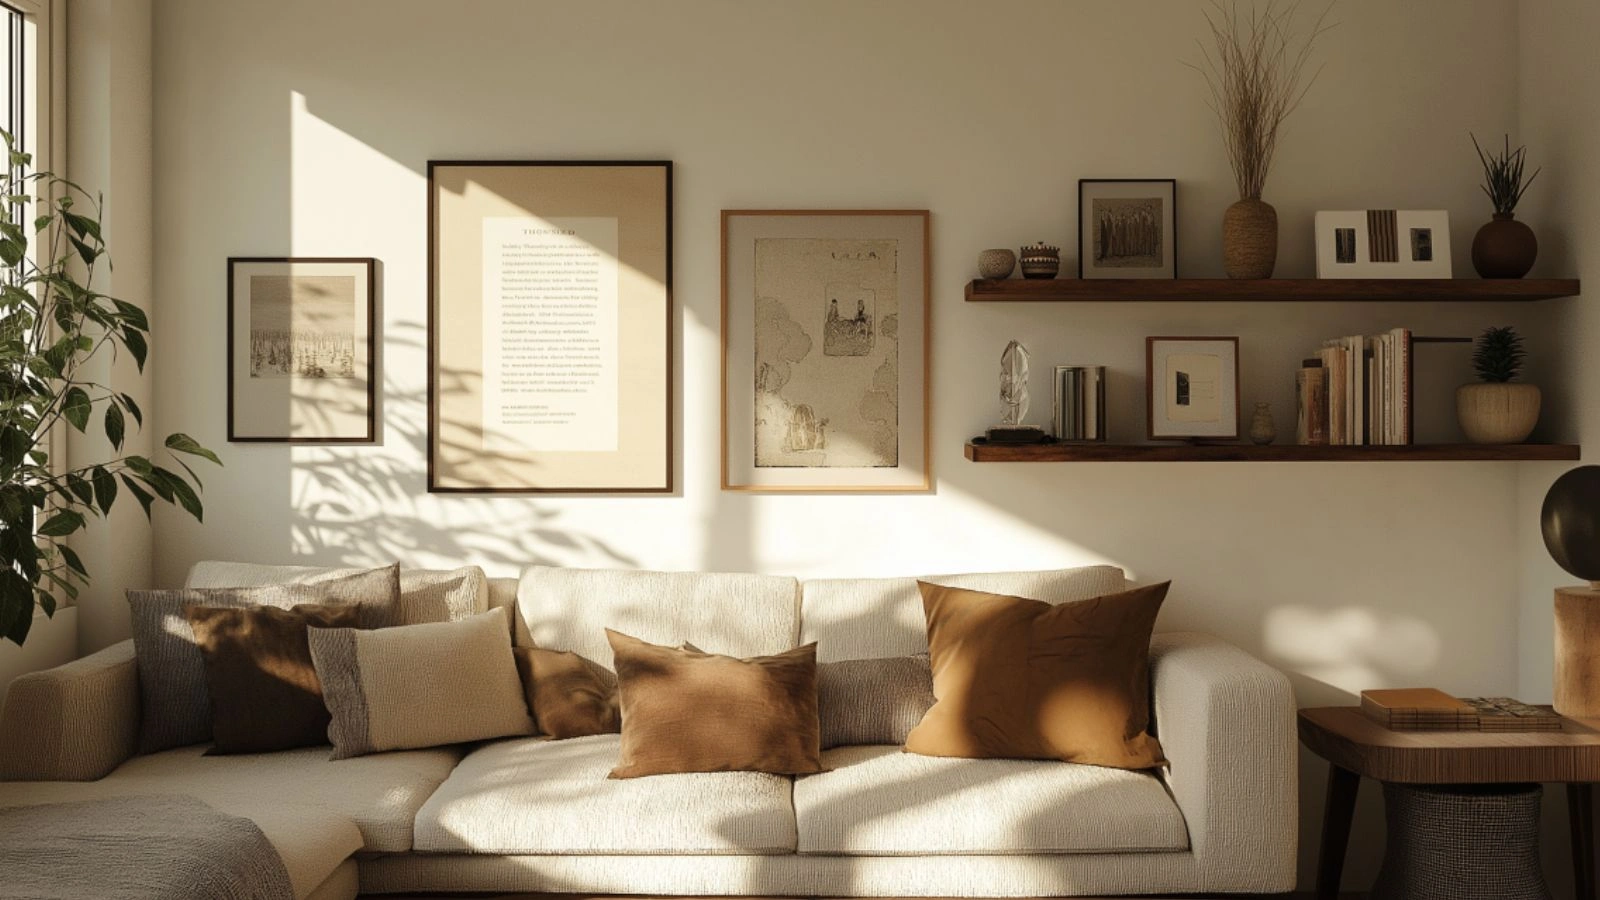
Ever wonder why some homes look effortlessly curated while yours feels cluttered? A trinket wall display can be the secret. According to interior styling experts, showcasing small treasures—think postcards, shells, vintage finds—on a single wall can make a space feel deeply personal and elegantly collected. It’s like turning the art of memory-making into a focal décor piece.
Creating a trinket wall display matters because it transforms random keepsakes into meaningful visual rhythms. Rather than hiding away souvenirs or childhood toys, you’re celebrating them. A well-styled trinket wall becomes a living memoir—a blend of art, sentiment, and design that blends seamlessly with your daily life.
In this guide, you’ll discover how to design a trinket wall display with ease. You’ll learn how to group items by size, color, or theme, plan the layout, style it with natural materials, and maintain a cohesive look even as your collection grows. With practical tips, visual breakdowns, and styling prompts, you’ll be ready to transform a bland wall into a charming display of stories and style.
Choosing the Right Wall and Layout
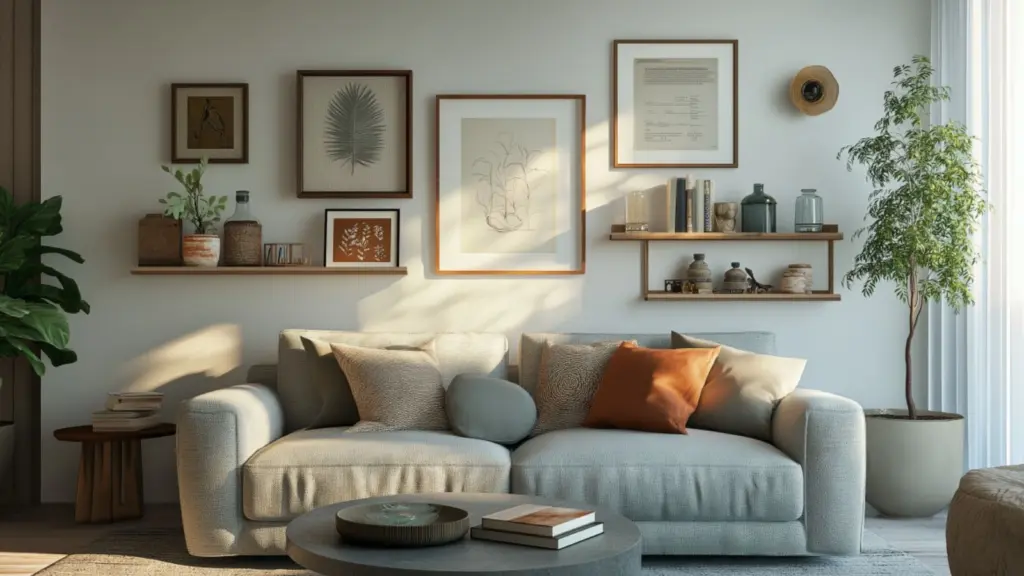
Before you start, decide which wall is perfect for your trinket display. Living rooms, hallways, home offices—even bedrooms can benefit from the charm of a curated wall display.
First, assess natural traffic flow. Choose a wall that’s visible but not obstructive—one that doesn’t compete with furniture or doorways. Hallway niches are often ideal, offering a clean, linear canvas. If you’re in a living room, one wall beside your sofa or TV can benefit from added visual texture.
Once you’ve picked the wall, plan your layout. Two popular approaches include balanced grids and organic clusters. Grids—like six boxes or framed items evenly spaced—offer order, while clusters can be playful and relaxed, mixing shapes and sizes dynamically.
Wall Selection Table:
| Wall Location | Best Layout Type | Practical Consideration |
|---|---|---|
| Hallway | Grid of small frames | You’ll pass by often so keep it low |
| Living room empty wall | Organic cluster | Mix souvenirs with art for depth |
| Home office | Linear shelf-based display | Arrange by theme or color for order |
| Bedroom | Above headboard | Centered for visual anchor |
Choose whichever format feels most natural in your space—your trinket wall should complement how you move through your home.
Selecting and Grouping Trinkets for Cohesion
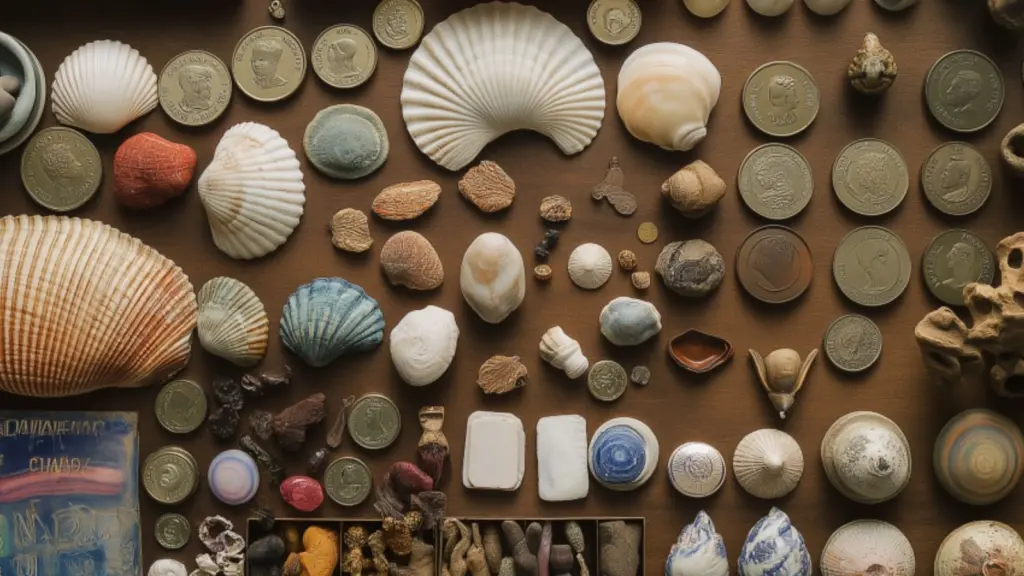
Styling a trinket wall display with ease depends on choosing items that work in harmony. It’s tempting to place every souvenir, but restraint yields elegance.
Start by gathering all your small items—tickets, seashells, tiny sculptures, vintage keys. Lay them all out on a table and sort them by color palette, shape, or emotional weight. This helps you see patterns and themes. You might group items by a shared color (like blues or metallics), material (wood, glass, ceramics), or memory (travel souvenirs, family heirlooms).
Once grouped, narrow down. Choose a mix of item types to avoid monotony. A single color-themed cluster might include one ceramic piece, two framed stamps, and a small shell. Keep sizes varied but balanced. Ideally, have a focal piece—a larger or more eye-catching item—surrounded by smaller companions.
Grouping Guide Table:
| Grouping Theme | Key Items Included | Visual Strategy |
|---|---|---|
| Travel Keepsakes | Map fragment, ticket, keychain | Thematically connect them |
| Natural Souvenirs | Shell, stone, driftwood piece | Bring nature indoors |
| Family Memorabilia | Vintage photo, locket, handwritten note | Arrange by sentimental value |
| Mixed Materials | Glass dot, metal coin, wood pebble | Use contrast to add tactile richness |
Resist the urge to include everything—leave negative space around your clusters to let each item shine and avoid visual clutter. Your trinket wall should feel curated, not chaotic.
Planning Placement and Measuring Layouts
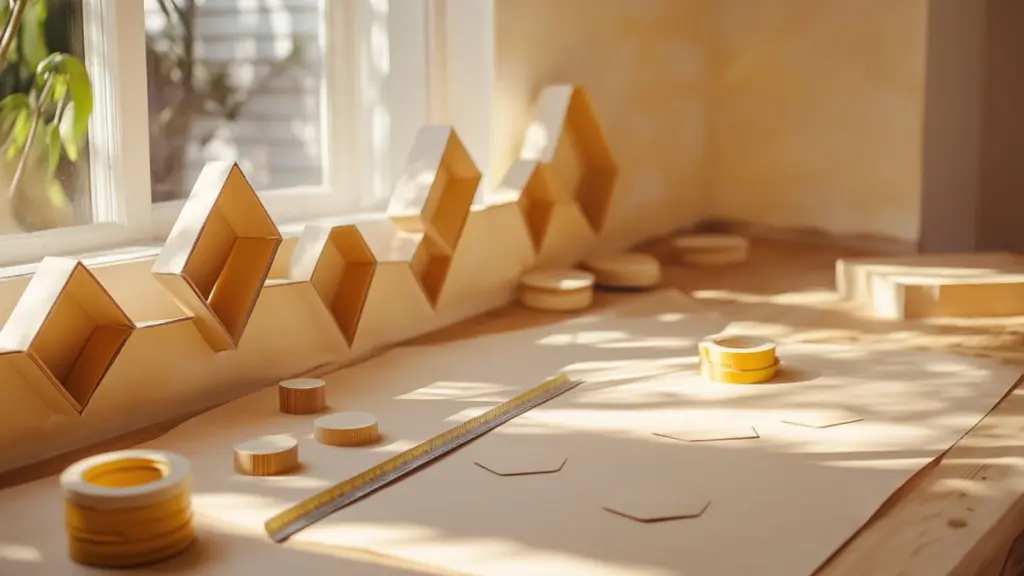
After selecting your items, the next step is planning placement. Measure your wall space and create a paper template. Trace each item’s outline on craft paper, number them, then stick the shapes on the wall with painter’s tape.
This method lets you refine spacing and arrangement without hammering nail holes. Aim for 2–3 inches of negative space around each item for breathing room. Use a level for precision—especially in grid layouts—while clusters can maintain slight asymmetry for charm.
Consider vertical elements like small floating shelves or shadow boxes to add depth. Use horizontal rulers or twine lines to ensure either top or bottom alignments create cohesion, even in organic layouts.
Placement Planning Table:
| Step | Purpose | Tool Needed |
|---|---|---|
| Measure wall dimensions | Understand space capacity | Tape measure |
| Trace item outlines | Visualize layout before installation | Craft paper, scissors, painter’s tape |
| Set grid or level lines | Maintain consistent alignment | Level, pencil, or temporary string line |
| Integrate mixed levels | Add texture and depth | Mini floating shelf or shadow box |
Once satisfied with the paper layout, swap shapes for actual items. Use small hooks or removable hanging strips rated for the weight of your objects.
Styling with Shelves and Shadow Boxes
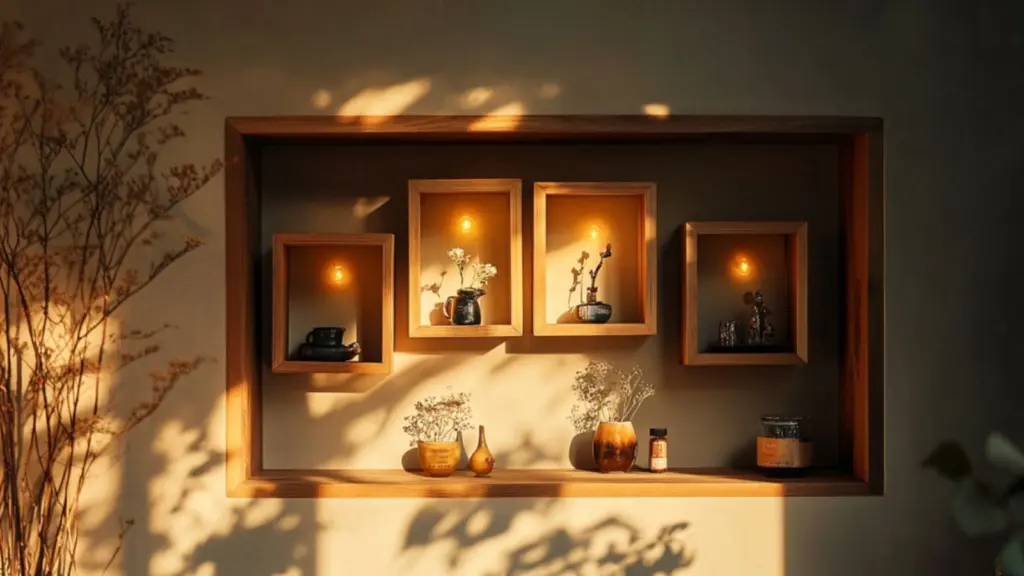
Flat items are lovely, but shelves and shadow boxes introduce architecture and depth to your trinket display. A single shelf can hold small plants, vases, or layered frames above or below flat pieces.
Shadow boxes are perfect for 3D items—souvenir shells, trinket jewelry, small toys. Choose shallow boxes with neutral backgrounds to let your items pop. Group three boxes unevenly around your wall layout to add dimension.
Shelves also offer practical storage—stacked bowls, favorite books, or seasonal items can sit alongside more permanent trinkets.
Shelf Styling Table:
| Display Type | Best Use Case | Design Tip |
|---|---|---|
| Single floating shelf | Small groupings of keepsakes | Use brackets hidden underneath |
| 3×3 Shadow box set | Showcases 3‑D trinkets | Align grid for order but space out visuals |
| Tiered mini shelves | Gradually rising display | Start with longer shelf, then shorter |
| Mix of hooks & shelves | Combines flat and dimensional items | Hang flat above, shelf below |
Avoid overcrowding shelves—a few special items are enough. Replacing seasonal elements keeps the display fresh and intentional.
Maintaining Balance Through Color and Texture
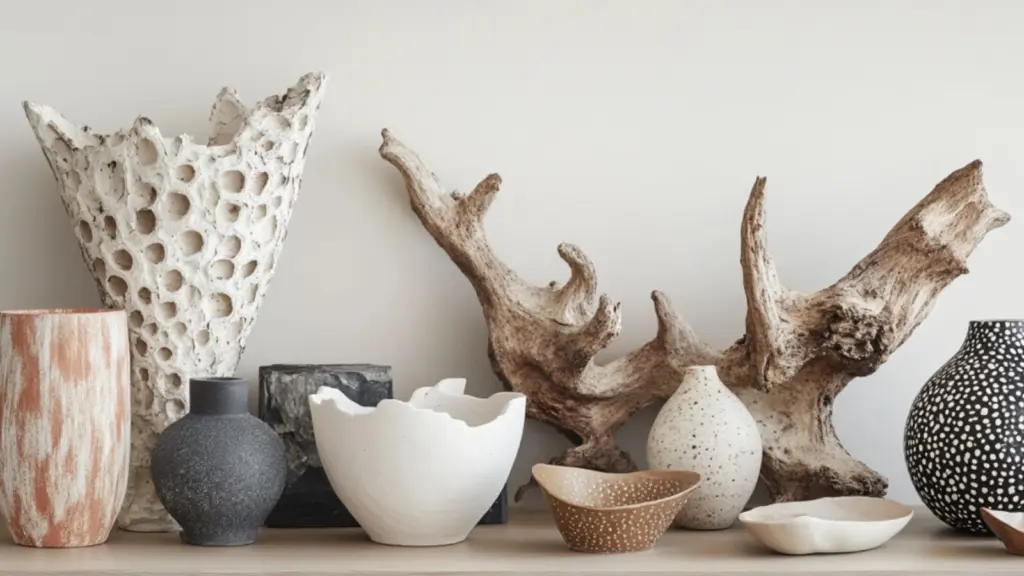
A trinket wall displays your memories, but balance keeps it elegant. Color and texture consistency ensures it doesn’t overwhelm.
Use a cohesive color palette—blues/greens for coastal vibes, earthy browns/golds for warm nostalgia, metallics for glam. If using all types of colors, space them evenly so one shade doesn’t dominate visually.
Textures—smooth ceramic, rough driftwood, shiny metal, plush tassels—create tactile contrast. Pair smooth items with organic ones in close proximity to keep the eye engaged. Matte or glossy finishes can also balance each other out.
Color and Texture Balance Table:
| Type of Trinket | Color Style | Texture | Placement Strategy |
|---|---|---|---|
| Shells | White/beige | Rough/smooth | Group with polished coins for contrast |
| Metal tokens | Gold/brass | Shiny | Arrange evenly among matte objects |
| Fabric scraps | Pastel or neutral | Soft | Place near textured wood for contrast |
| Hoy pottery | Blue/glazed | Glossy | Leave space around to make it pop |
A balanced trinket wall feels both personal and designed.
Lighting and Finishing Touches
Lighting transforms your trinket wall from a collection into a display. Soft directional lighting—like picture lights, LED strips, or wall-mounted lamps—brings depth without glare.
Highlight one or two key items, such as a special memento or framed image. Warm white bulbs (2700–3000K) maintain a cozy vibe and enhance natural tones. Mirrors or small metal trays on adjacent surfaces can reflect light and tie the look together.
For finishing touches, include natural accents like dried twigs in small vases or hanging garlands to frame the wall. Woven wall hangings or tassels at the edges tie the display back to your home’s textural aesthetic.
Lighting Finishes Table:
| Lighting Type | Purpose | Styling Placement |
|---|---|---|
| Picture light | Highlights flat items | Top of framed pieces |
| LED strip (warm white) | Provides soft ambient glow | Behind shelf or along top edge |
| Minimal spotlight | Accent special 3D object | Above or beneath shelf |
| Mirror accent | Reflects light, expands display | Opposite the trinket wall |
Touch the pieces occasionally—dust, shift, and refresh to keep things lively and personal.
Conclusion
A trinket wall display styled with ease is a celebration of memory, design, and personal narrative. By thoughtfully selecting trinkets, planning cohesive layouts, balancing color and texture, and adding subtle lighting, you can create a heartfelt accent that feels curated and homey.
This friendly and flexible approach ensures your display evolves along with you—seasonal updates, fresh finds, and hidden gems can all take their place in your visual story. When styled thoughtfully, a trinket wall adds warmth, intrigue, and an unmistakable sense of home.

