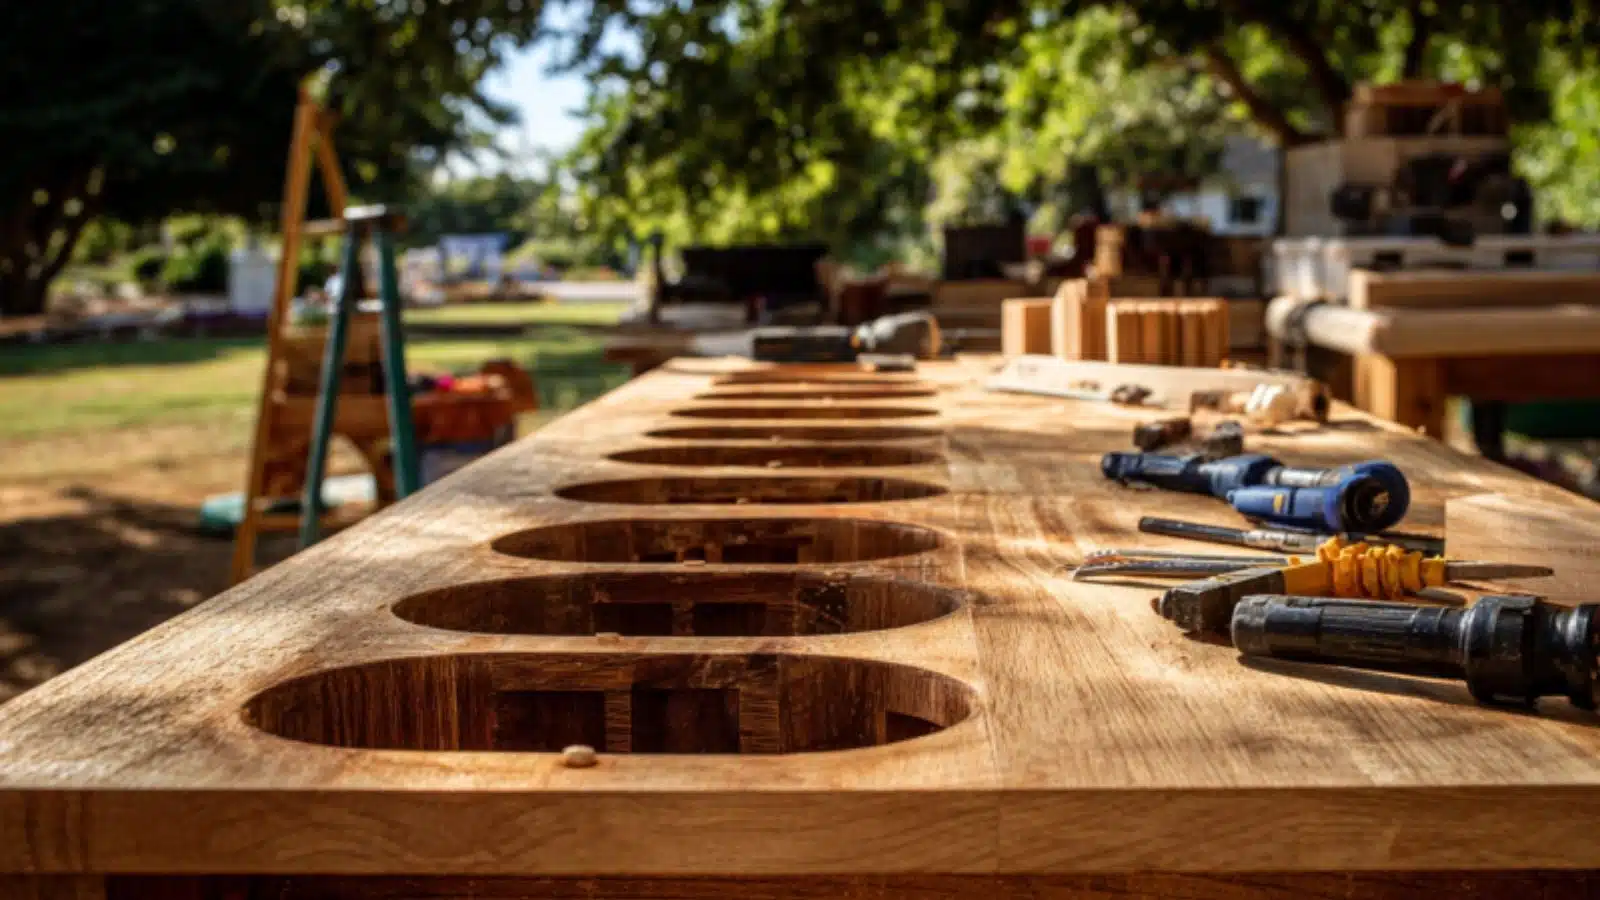
Build Your Own DIY Water Table with Wood and Bins: A Fun and Functional Backyard Project
Table of Contents
When it comes to combining playtime and outdoor decor, a DIY water table is one of the most rewarding projects you can tackle. Designed to encourage sensory development, creative play, and hands-on learning, a water table is a favorite among parents and toddlers alike. But what if you could build one yourself—with just a few wooden boards, storage bins, and a little time on the weekend?
A homemade water table offers more than just entertainment. It brings a rustic charm to your outdoor space, saves money compared to store-bought options, and allows you to customize everything—from height to finish—to perfectly suit your home’s aesthetic. It’s a perfect blend of functionality and form, especially for families looking to elevate their backyard or patio design with kid-friendly features.
In this post, we’ll guide you through every step of building your own DIY water table using wood and bins. You’ll learn how to design a sturdy structure, choose the best materials, integrate storage, and finish your table for long-lasting use. Whether you’re looking to enhance a play area or just want a satisfying DIY project that’s both practical and stylish, this water table project will deliver.
Choose the Right Materials for Durability and Style
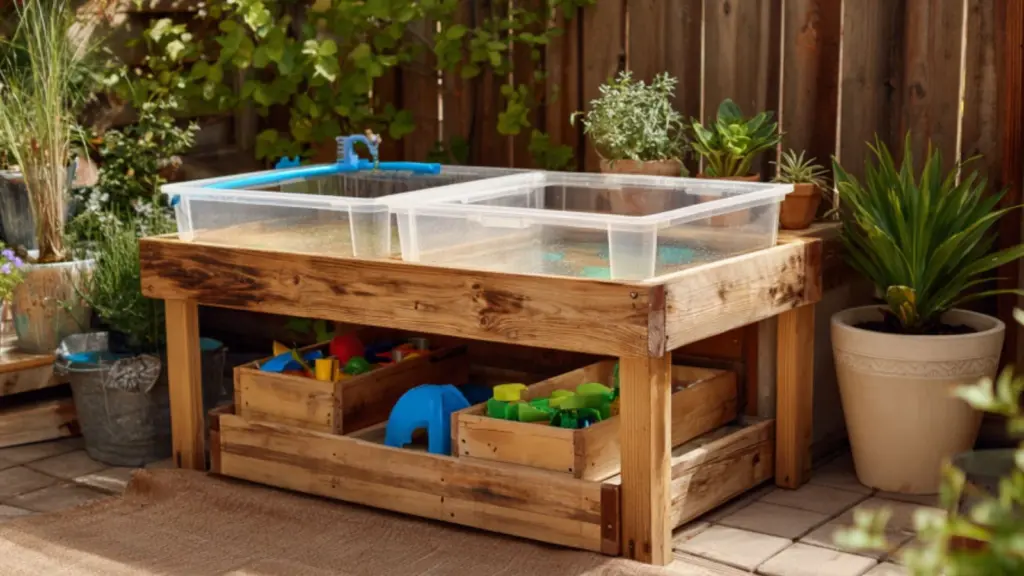
Your water table needs to be durable enough to withstand the elements while also safe and attractive for toddler use. Choosing quality materials at the start will help ensure long-term success.
Best Wood Choices for Outdoor Use
Opt for pressure-treated wood, cedar, or redwood for longevity. These woods naturally resist moisture and are great for outdoor furniture projects. For an eco-friendlier option, kiln-dried pine sealed with exterior-grade polyurethane can also work well.
Selecting the Right Bins
Clear plastic storage bins are ideal—they’re easy to clean, affordable, and allow you to see the water level. Choose bins with wide rims to help them rest securely inside the table’s wooden frame. Ideally, use two or three bins to separate different sensory stations (e.g., water, sand, and pebbles).
Materials Overview Table
| Component | Recommended Material | Notes |
|---|---|---|
| Frame | Cedar or pressure-treated wood | Weather-resistant, sturdy |
| Legs | 2×2 or 2×4 lumber | Ensure even height and weight balance |
| Tabletop Base | ¾” plywood or slats | Support bin weight and water volume |
| Storage Bins | Clear plastic, 6–12″ deep | Easy to remove and refill |
Design a Simple Yet Functional Layout for Your Water Table
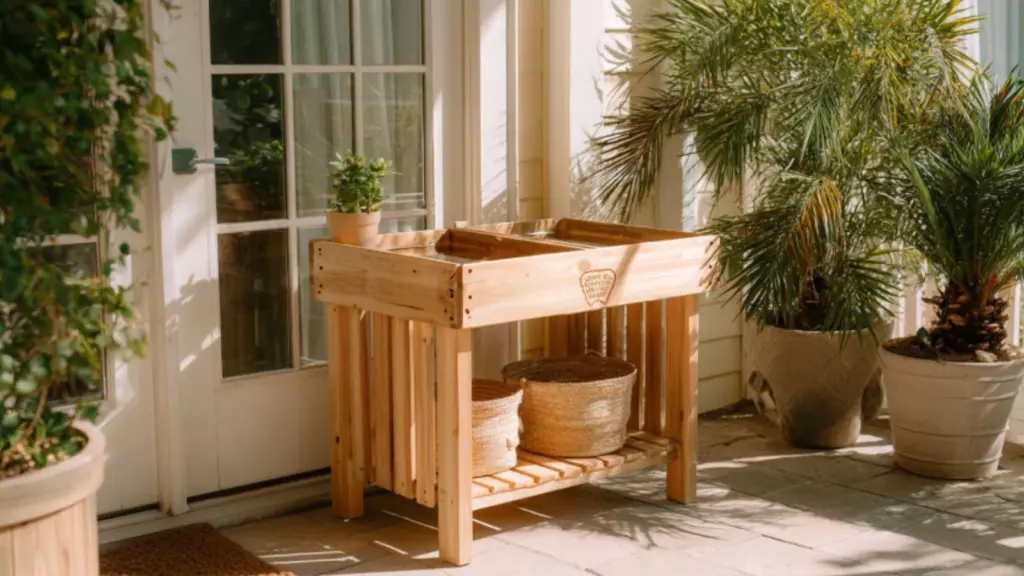
Before building, it’s essential to plan your table’s layout to ensure it fits both your space and your child’s needs. A functional layout should be easy to use, stable, and adaptable for different types of play.
Standard Water Table Dimensions
A toddler-friendly height is around 20 to 24 inches. Keep the table wide enough to comfortably accommodate two or more bins side by side, but not so large that it becomes difficult to move or store.
Layout Planning Tips
Include enough space between bins to prevent splashing into each other, and consider a side surface or shelf for storage. If you plan to include a drainage feature or plug, plan for slight tilts in the tabletop or drilled holes beneath each bin.
Layout Blueprint Table
| Feature | Suggested Dimensions | Purpose |
|---|---|---|
| Table Height | 22 inches (toddler-safe) | Easy reach for small children |
| Bin Openings | 14×18 inches each | Fits standard plastic storage bins |
| Side Shelf or Rail | 6–10 inches wide | Holds scoops, toys, or towels |
| Total Table Width | 40–50 inches | Comfortable multi-child use |
Build the Frame and Insert the Bins
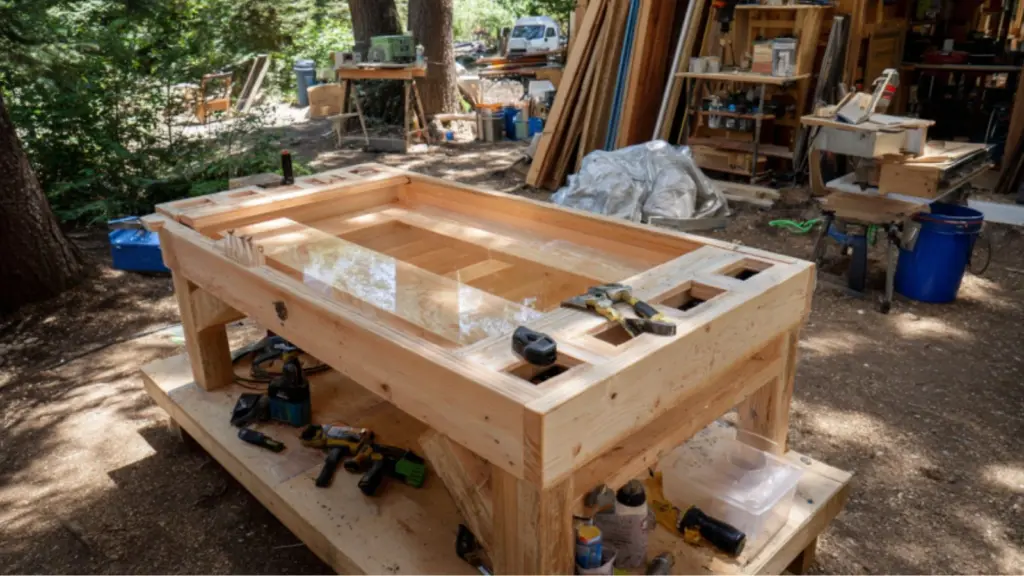
With your layout in hand and materials prepped, it’s time to assemble the structure. A straightforward rectangular frame can be assembled in just a few hours with basic tools.
Step-by-Step Construction Overview
- Build the outer frame using 2x4s or 2x2s cut to the desired dimensions.
- Cut openings in the tabletop surface to fit the bins securely.
- Attach the legs to each corner of the frame using screws and wood glue for stability.
- Add lower bracing for support and optional shelf installation.
- Sand all edges and seal wood to ensure safe, splinter-free use.
- Drop in the bins, ensuring a snug and stable fit.
Construction Summary Table
| Task | Tools Needed | Notes |
|---|---|---|
| Cutting wood | Circular saw, measuring tape | Use clamps for precision |
| Assembling frame | Drill, screws, wood glue | Reinforce joints for long-term durability |
| Cutting bin openings | Jigsaw | Trace bin outline before cutting |
| Finishing surfaces | Sander, sealant | Use non-toxic, waterproof options |
Customize Your Water Table with Paint, Sealer, or Stain
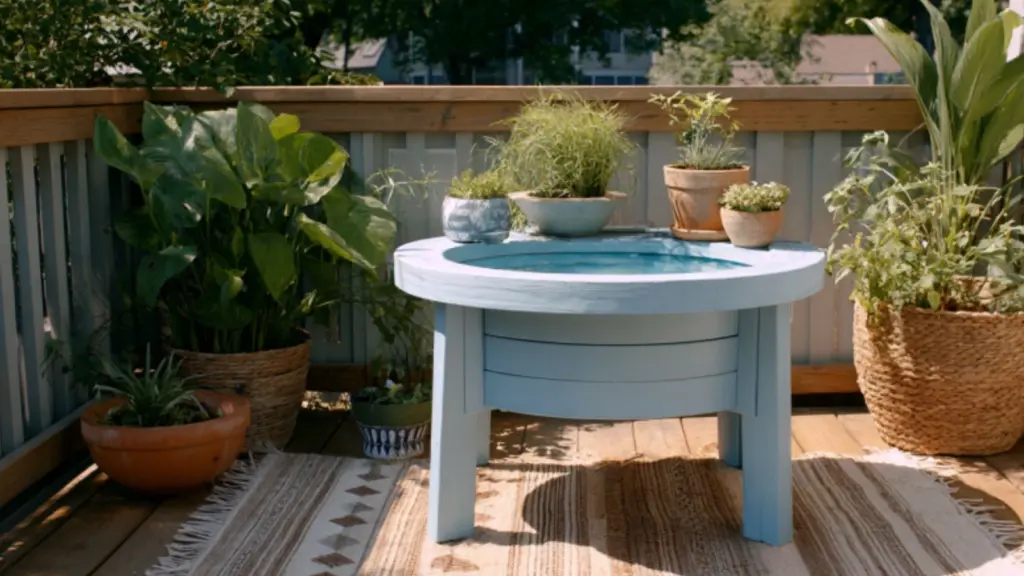
Once your table is built, it’s time to enhance it with design touches that reflect your style while protecting it from outdoor wear and tear. Whether you go rustic, colorful, or coastal-inspired, finishes play a key role in blending your water table with your home decor.
Paint vs. Stain: Which to Choose?
For a modern or playful look, go with an outdoor-safe paint in soft tones like sky blue, sage green, or white. Paint hides imperfections and adds color. For a more natural, earthy finish, choose an outdoor wood stain in shades like cedar, teak, or driftwood.
Adding Waterproof Sealer
Regardless of finish, always top your design with a clear waterproof sealant to extend the life of the table. Choose one that’s child-safe and food-safe for peace of mind.
Finishing Styles Table
| Finish Type | Best For | Aesthetic Result |
|---|---|---|
| Exterior Paint | Bold, bright playroom colors | Fun and vibrant |
| Natural Wood Stain | Rustic or coastal-themed homes | Warm, textured appearance |
| Whitewash | Minimalist or farmhouse look | Soft, weathered charm |
| Clear Sealer Only | Preserving raw wood | Natural grain with subtle protection |
Add Interactive Play Features for Endless Fun
Once your structure is complete, personalize the play experience. Accessories and sensory elements help extend attention span and encourage creative, tactile learning.
Ideas for Sensory Play Stations
Fill one bin with water and floating toys, the other with kinetic sand or smooth river rocks. Add scoops, measuring cups, toy boats, and sponges. Consider seasonal themes: blue-tinted water with ice cubes in summer, or mini pumpkins and leaves in fall.
Accessory Guide Table
| Bin Type | Fill Material | Add-On Toys/Tools |
|---|---|---|
| Water Bin | Clean tap water | Boats, cups, funnels, toy animals |
| Sensory Bin | Sand, rocks, dry pasta | Mini shovels, measuring spoons |
| Color Play Bin | Dyed water + foam letters | Tweezers, alphabet toys |
| Nature Bin | Leaves, flowers, bark chips | Magnifying glass, small baskets |
Store and Maintain Your Water Table for Long-Term Use
Even the sturdiest DIY project needs care. With proper storage and seasonal upkeep, your water table can last for years and continue offering fun throughout the seasons.
How to Maintain and Protect It
- Drain and clean bins after each use to avoid mold or dirt buildup.
- Reseal wood annually if exposed to full sun or heavy rain.
- Use a waterproof tarp or furniture cover when not in use.
- Bring indoors or under a covered patio during the winter months.
Maintenance Checklist
| Task | Frequency | Reason |
|---|---|---|
| Clean bins | After each play session | Prevents algae and buildup |
| Inspect joints and screws | Monthly | Ensure stability and safety |
| Reapply sealant | Annually | Protects wood from water damage |
| Cover during rain/snow | As needed | Extends lifespan of frame and bins |
Conclusion
Building your own DIY water table with wood and bins is a simple, budget-friendly project that brings both style and joy to your backyard. From selecting durable materials to finishing with a coastal-inspired stain or bold paint, every element of the build is customizable to suit your space. Thoughtful design choices not only ensure a fun play environment but also enhance the overall aesthetic of your home’s outdoor areas. Whether you’re a seasoned DIYer or just starting out, this project delivers long-term value through imaginative play and hands-on satisfaction.
